
How I did: AngelBells
An article written in 2008 for the DoItYourselfChristmas.com (DIYC) newsletter, from our eShepherds of Light days.
Introduction
The Christmas display I put up each year is oriented towards a nativity scene, because I prefer to emphasize the true meaning behind Christmas. Very few commercial props fit into this theme. Those that do are either too expensive or do not meet my other technical requirements1. Hence, I pretty much build all of the props from scratch.
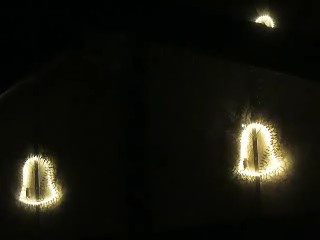
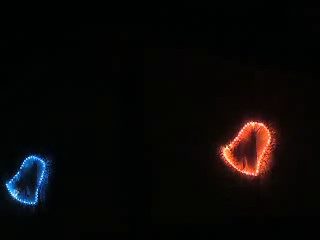
This article describes how I built “AngelBells” – props that can change back and forth between bells and angels, and are capable of limited animation. The ones I built have 3 display states, as shown below:
 |
 |
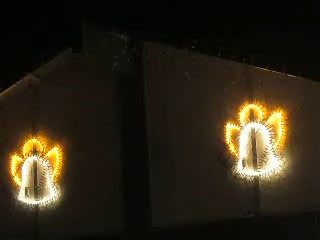 |
| As stationary bells | As ringing bells | As angels |
Sorry for the poor photos – I just grabbed some frames from a video because I didn’t have hi-res photos on hand. You can also see a short video showing the animations in effect at DIYC Newsletter Extras, or you can see them used in sequences on YouTube (search for “eShepherds of Light”).
I have found these props to be very versatile – they fit in well with almost any religious or non-religious Christmas music, because they can represent bells one moment, or angels the next. They are also capable of limited animation simply by turning parts of them on and off – this makes them ideally suited for control by software such as Vixen.
This article is a “How-I-did” rather than a “How-to” because it only describes the steps I used to build these props. I do not suggest that this is the “best” way to do it - in fact, in some cases it definitely is not the best way, so this is more like a “How-not-to” in some regards. As always, reader beware, use your own judgement; I do not accept liability for problems caused by this information, etc, etc.
To try to keep this article short, it will only describe the physical construction of the prop itself. Related topics such as mounting techniques, electrical hookup, and sample Vixen sequences are best deferred to a separate article, since there are many possible variations that do not affect the physical construction of the prop itself. If there is interest, I can write up those additional topics in another article.
Note to non-U.S. readers: This article assumes U.S. units of measurement and voltages, unless otherwise noted.
Materials and Tools
The total cost of materials for each AngelBell (as I built them) was under $10 (including mini-lights). I used the following materials:
- 3 or 4 - 6’ ceiling hanger wires (12 gauge wire)
- approx 4’ x 1’ hardware cloth (1/4” wire mesh or chicken wire)
- ½ of a 100 ct. white mini-light string
- ½ of a 100 ct. non-white mini-light string (red, blue, or green look nice)
- ½ of a 100 ct. yellow or orange mini-light string
- a few inches of duct tape
- a few 4” zip ties or thin wire
- a piece of cardboard at least the size of the prop
- a piece of wood and nails (optional, for a jig)
The overall size of the AngelBells I built was 18” W x 22” H – with 1” bulb spacing, this turns out to be exactly 50 bulbs for each segment, which “just happens to be” a very convenient number when using mini-light strings. However, you can change the size to suite your needs.
I cut 100 ct. mini-light strings in half because it was cheaper to buy 1 - 100 ct. string than 2 - 50 ct. strings, although there is more soldering work involved - it’s just a trade-off. The colors for the bells are optional – I found that white for the stationary position and a color for the ringing position highlighted the animation nicely, but the choice is yours.
Tools I used during the construction are:
- Wire cutters (strong ones needed to cut the ceiling hangers)
- Tin snips or some other means of cutting the hardware cloth
- Pliers
- Pen, pencil or marker
The wire cutters I had were not heavy enough, so I was only able to make a dint in the ceiling hangers when I tried to cut them - I had to bend the wire back and forth several times to break it off.
Construction
I built the AngelBells as 3 separate pieces: 2 bells, and 1 angel head/wings, then assembled them into an AngelBell as the last step. This is what the AngelBells looked like after assembly:
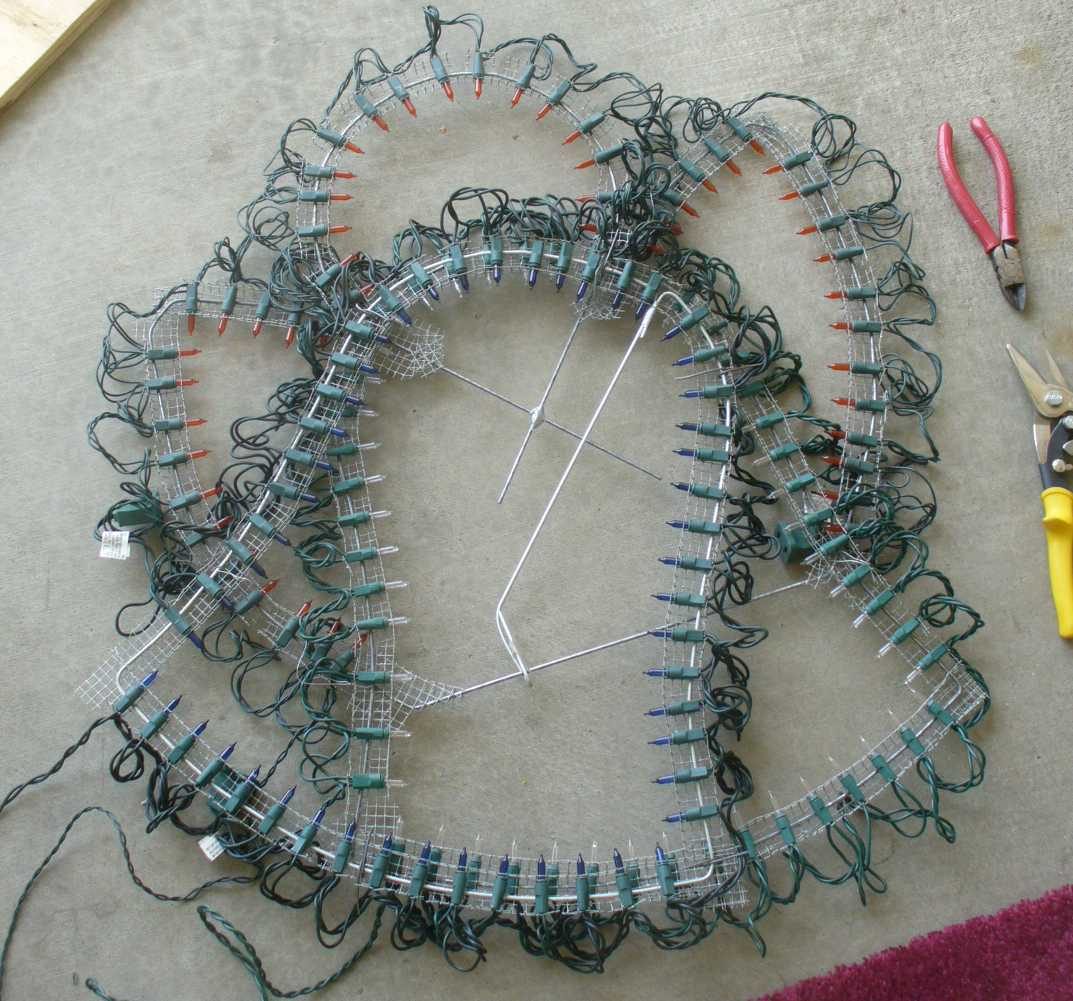
The design of the AngelBells is such that the 2 bells are angled with respect to each other to give the animated ringing effect if they are lit up alternatingly, with one of the bells also serving as the body of the angel. This allows an animated bell or an angel to be controlled using only 3 channels total.
The overall construction process I used was as follows:
- cut and bend wire shapes (3)
- attach mini-lights to wire shapes
- assemble shapes together into AngelBell
- connect to SSR and test
- mount in final position
The first 3 steps are described in more detail below. I will not cover the last 2 steps here, since they can vary widely depending on your setup, although they may become the subject of a future article.
Cut and bend wire shapes
First, I drew full-size patterns for the bell body and the angel head/wings on a piece of cardboard so I could get a consistent look (I was building 8 AngelBells altogether). If you are making the same size AngelBells that I did, I can make my patterns available to you – see the “More Info” section.
To make the patterns, I started by drawing lines where I wanted the bulb filaments to be – the bulb itself can be positioned in various ways, but the placement of the filament is what determines the visible shape of the prop when lit.
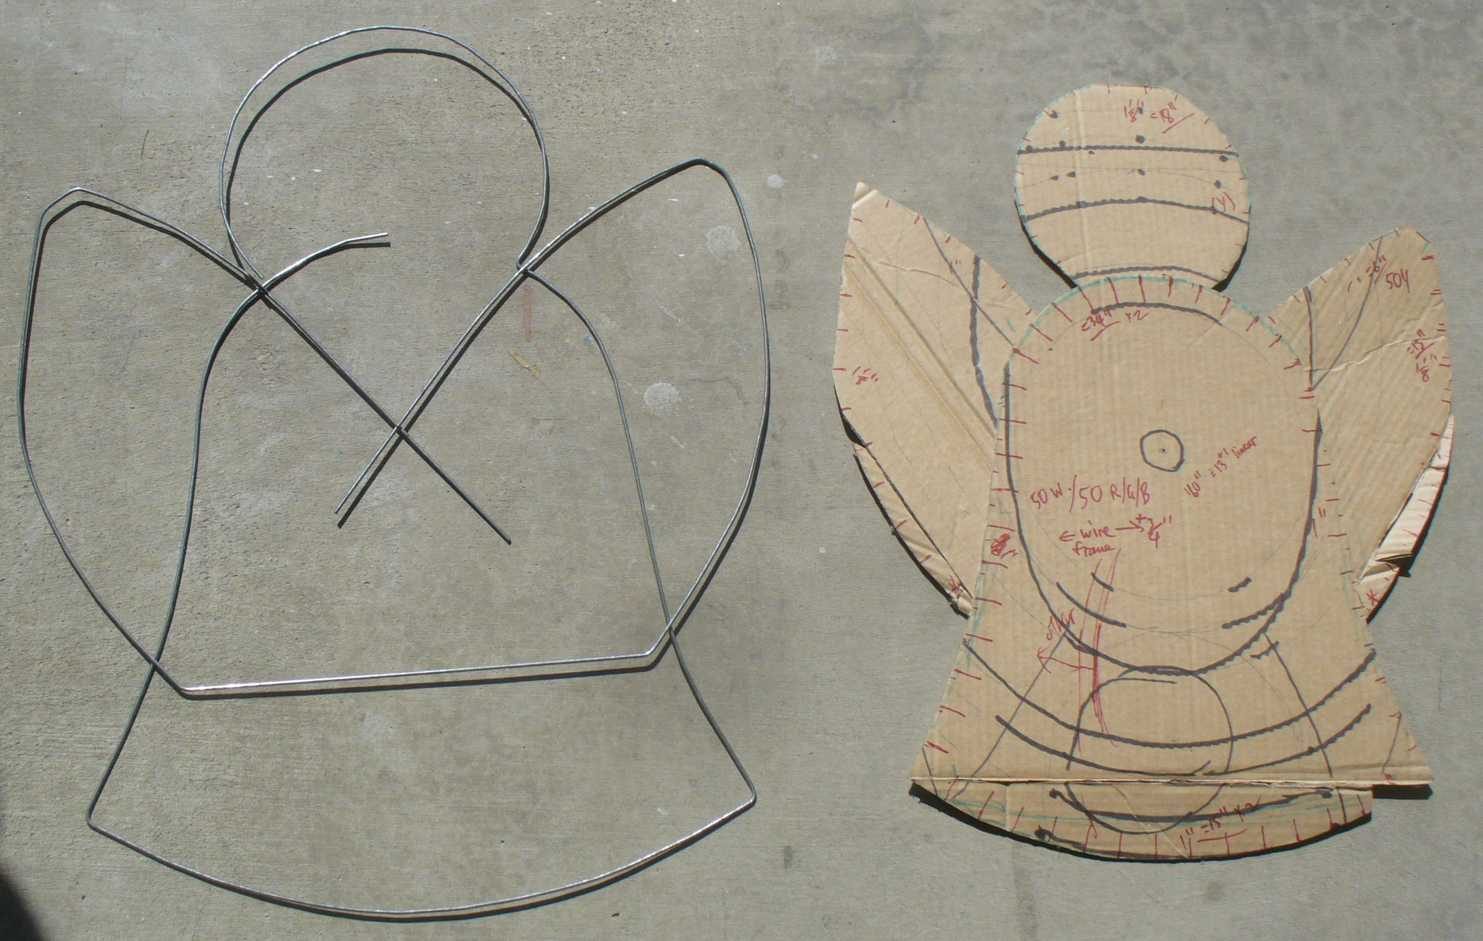
The technique I used to attach the bulbs to the shapes results in a ½” offset (described in the next step), so I drew another line for the wire form itself, offset ½” from the bulb filament line. The photos below show the cardboard patterns (bulb filament line) compared with the wire form shape (½” larger):
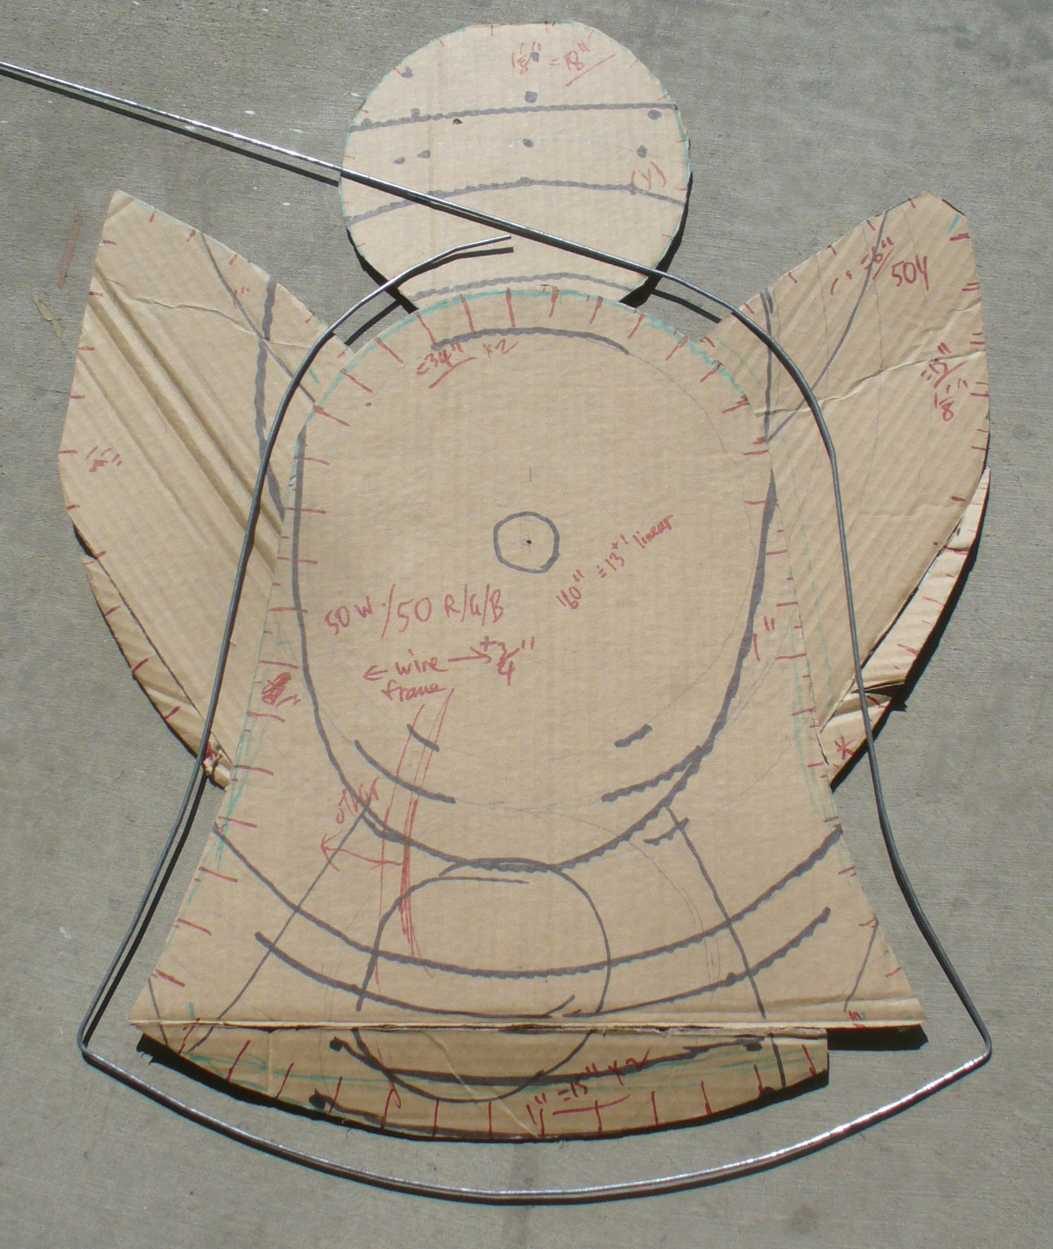
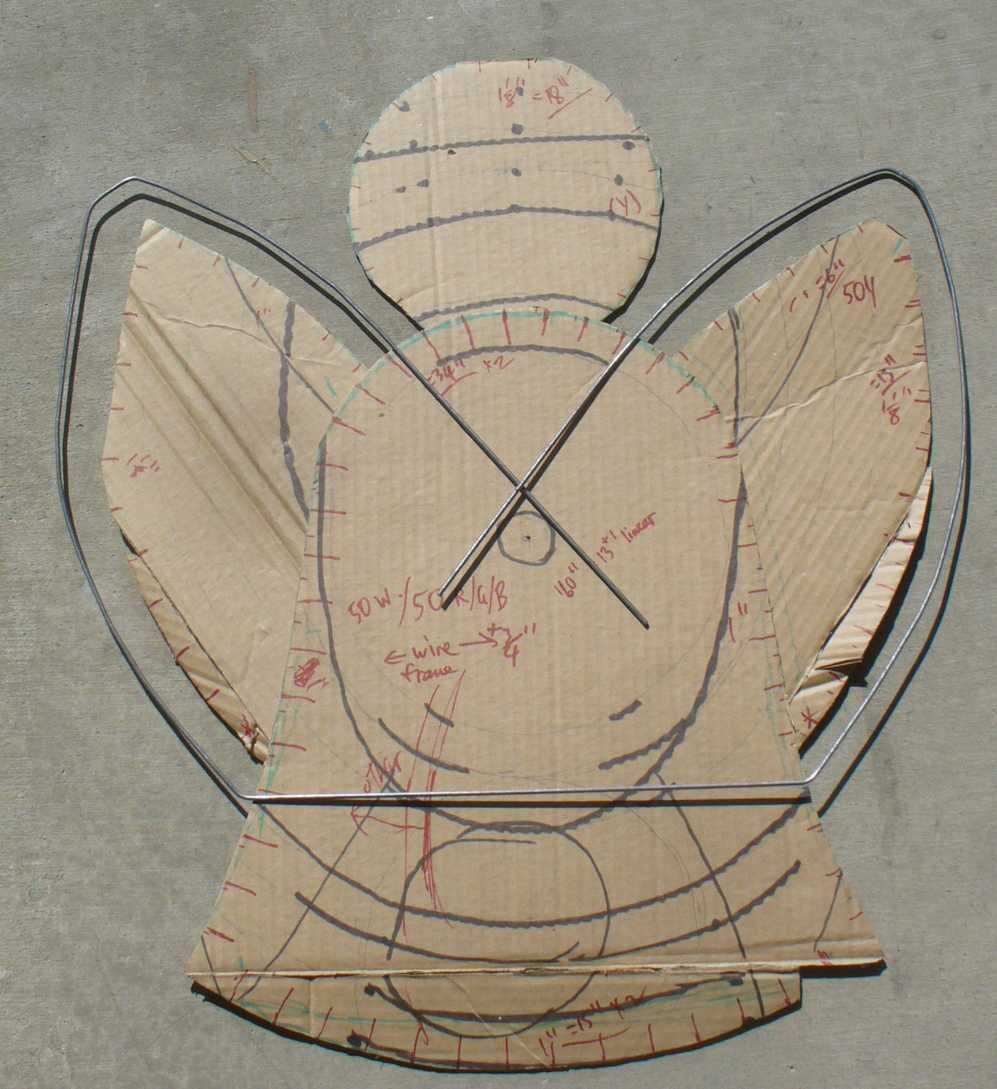
Since I would be making several AngelBells, I also made a jig by fastening the patterns to a piece of plywood and then putting a few nails around it to make it easier to bend the wire forms into shape:
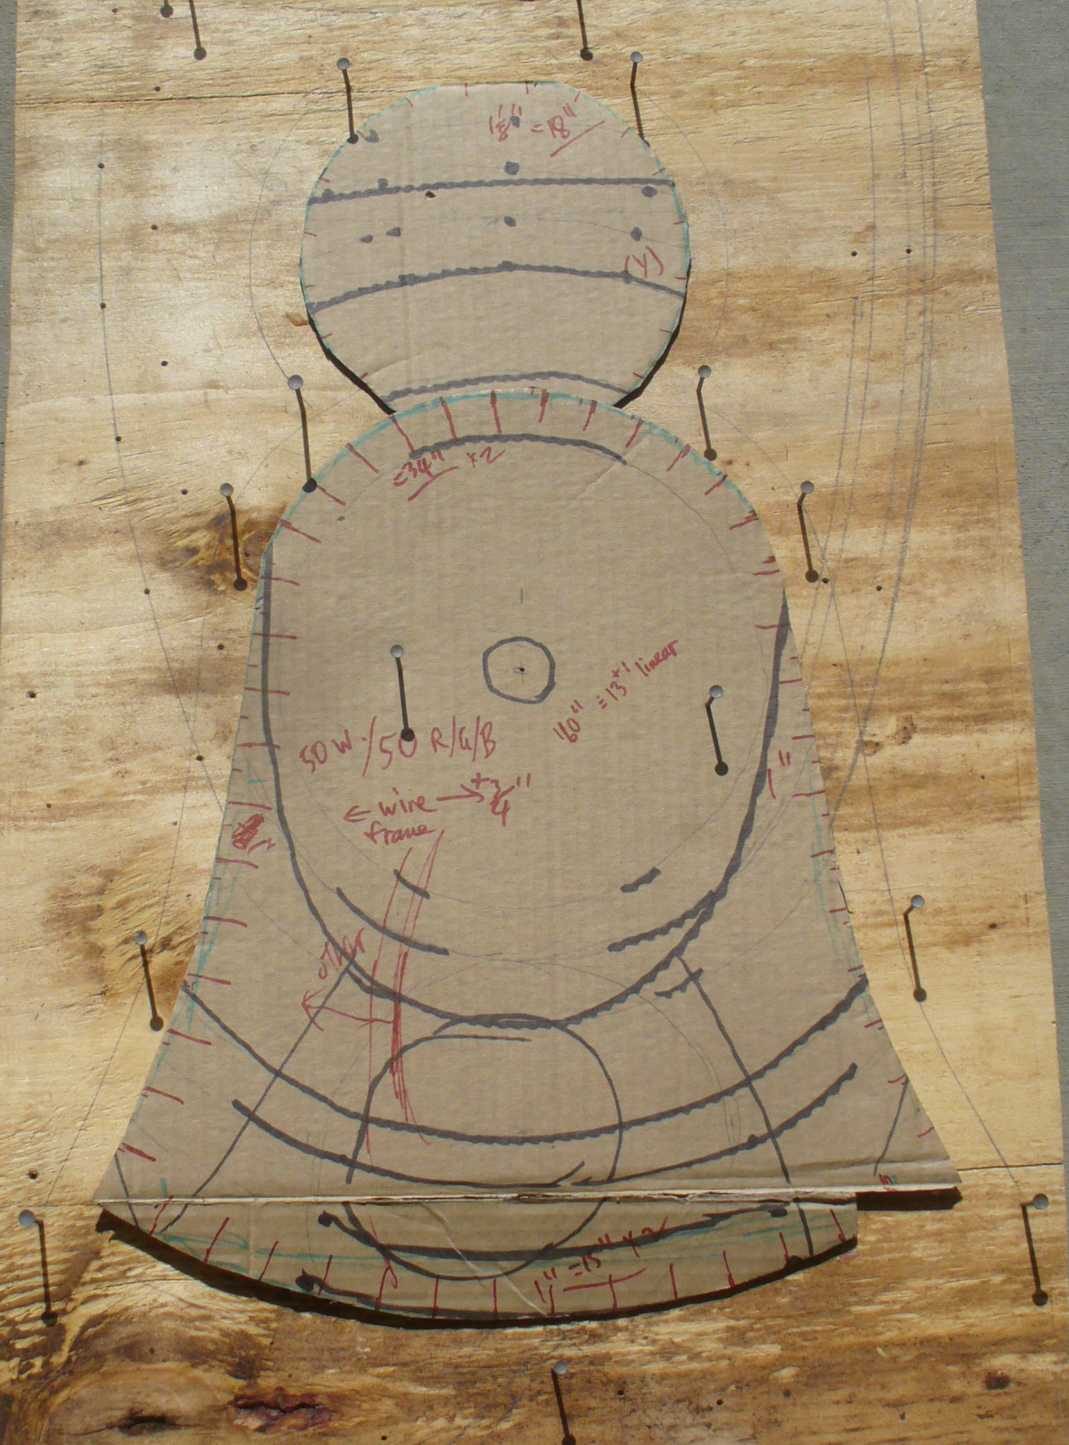
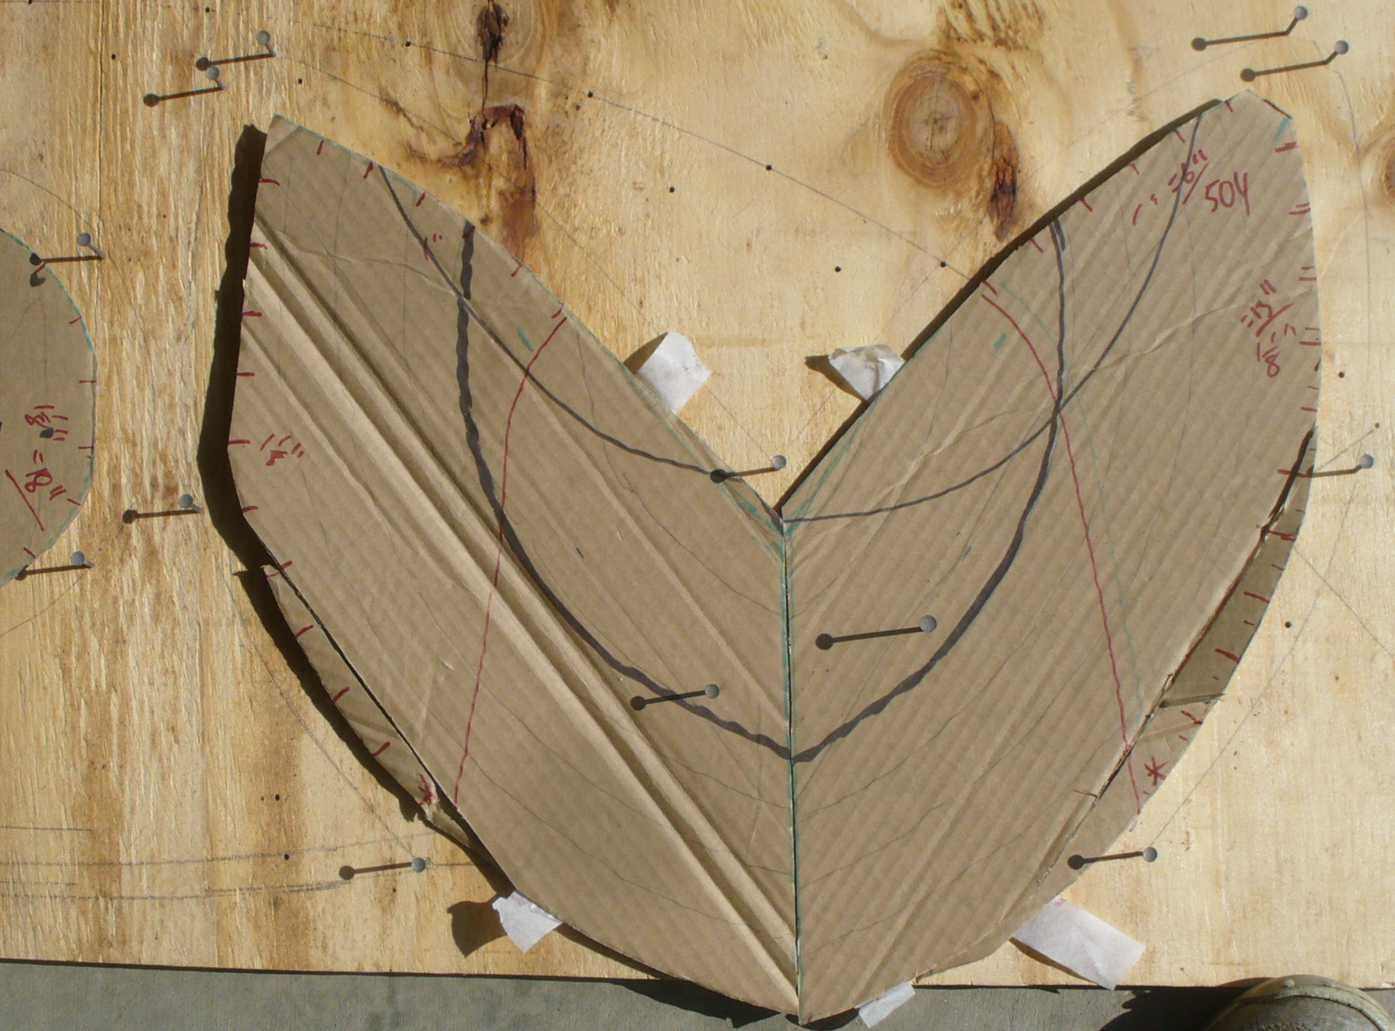
To make the wire forms, I placed one end of a ceiling hanger past one of the corners of the shape, then made slight bends to the ceiling hanger using pliers, so that the wire followed the shape of the pattern:
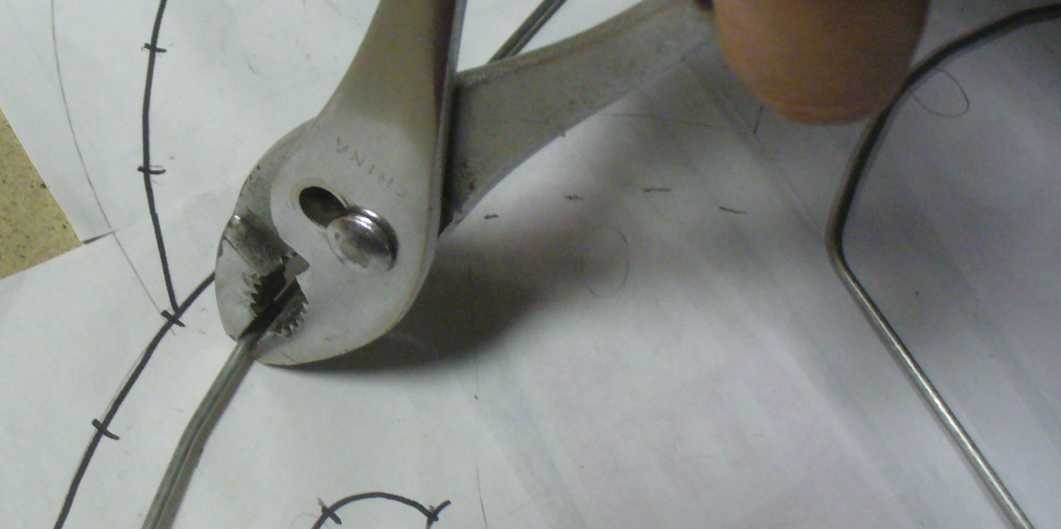
By making many smaller bends, the wire form follows the shape of the pattern pretty well.
Since I do not have access to welding equipment, and JB Weld didn’t work so well for me, I just wrapped some duct tape around the extra segments of ceiling hanger wire to hold it together:
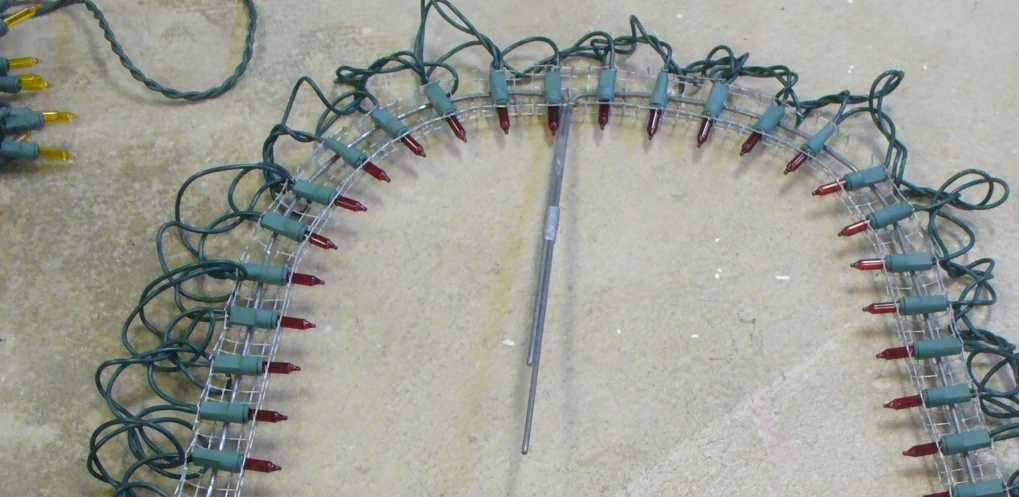
I did not cut off any extra length yet – the extra can be helpful for providing a way to fasten the wire forms together or for mounting the prop later. I used about 1 – 6’ piece for each of the 3 wire forms of the AngelBell.
Attach mini-lights
I used hardware cloth to fasten the mini-lights to the wire forms. This method is fairly easy, low cost, and results in nice, evenly spaced bulbs (which makes the final prop look a lot better).
I used hardware cloth (a.k.a. “chicken wire”) with a ¼” grid because it is just the right size to hold mini-lights, and it easily accommodates uniform bulb spacing from ½” or more at ¼” multiples. I used 1” bulb spacing for these props, so I placed a bulb in every fourth cell.
I started by cutting strips of hardware cloth 1½” wide and about 4’ or so long. Then I used a straight-edge to bend over one row of cells at 90 degrees:
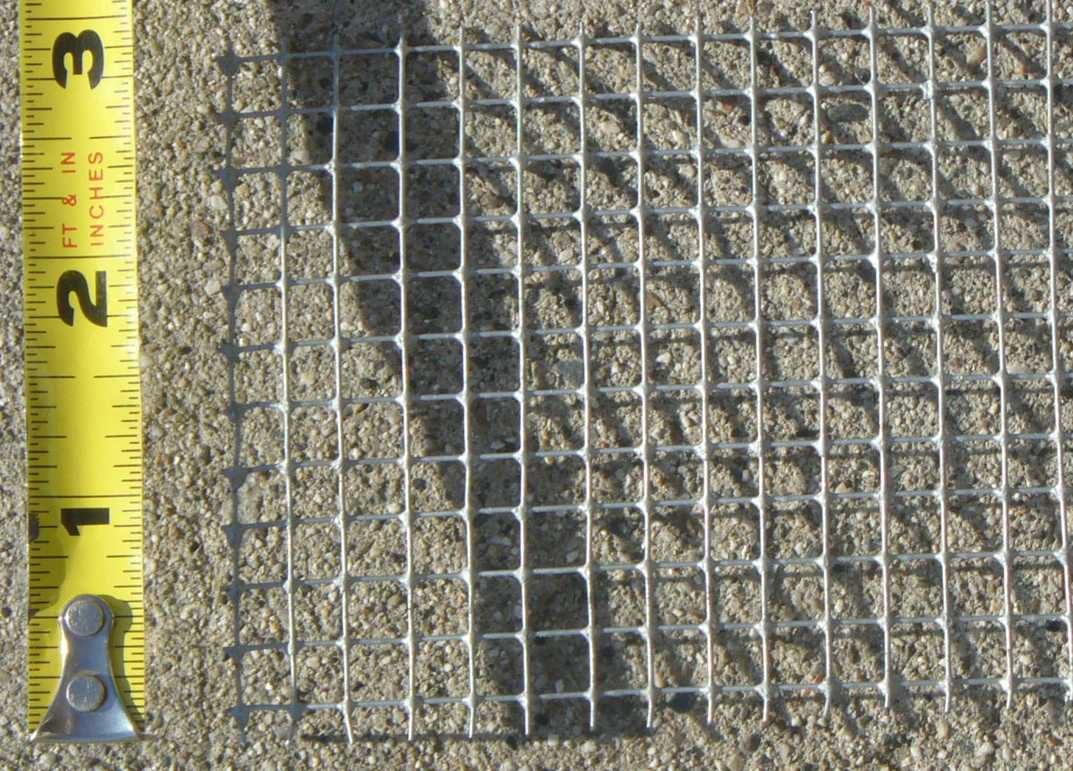
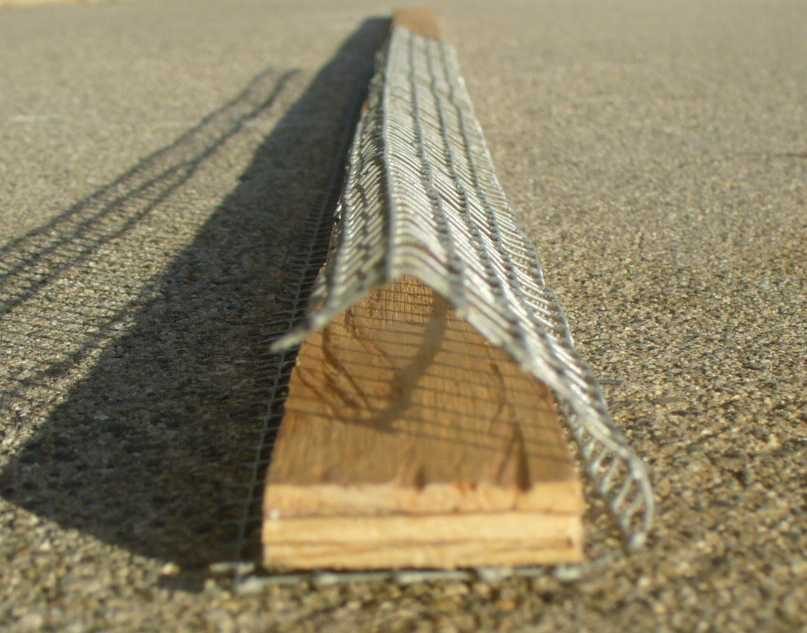
I had to flatten the strips after cutting but before folding over the edge, but after the edge was folded they held their shape quite well.
On the patterns, I placed marks where all the bulbs would go. This allowed me to plan out bulb placement ahead of time, rather than figuring it out as I went along. Otherwise, I would end up with the wrong number of bulbs left to fill a space, and then the prop would look uneven or sloppy when lit.
On the patterns I also marked where the strip of hardware cloth would need to bend, shown as green marks in the photo below (the red marks are where the bulbs would go). Then, where the hardware cloth needed to bend, I cut across it, leaving it fastened only at the bent over edge:
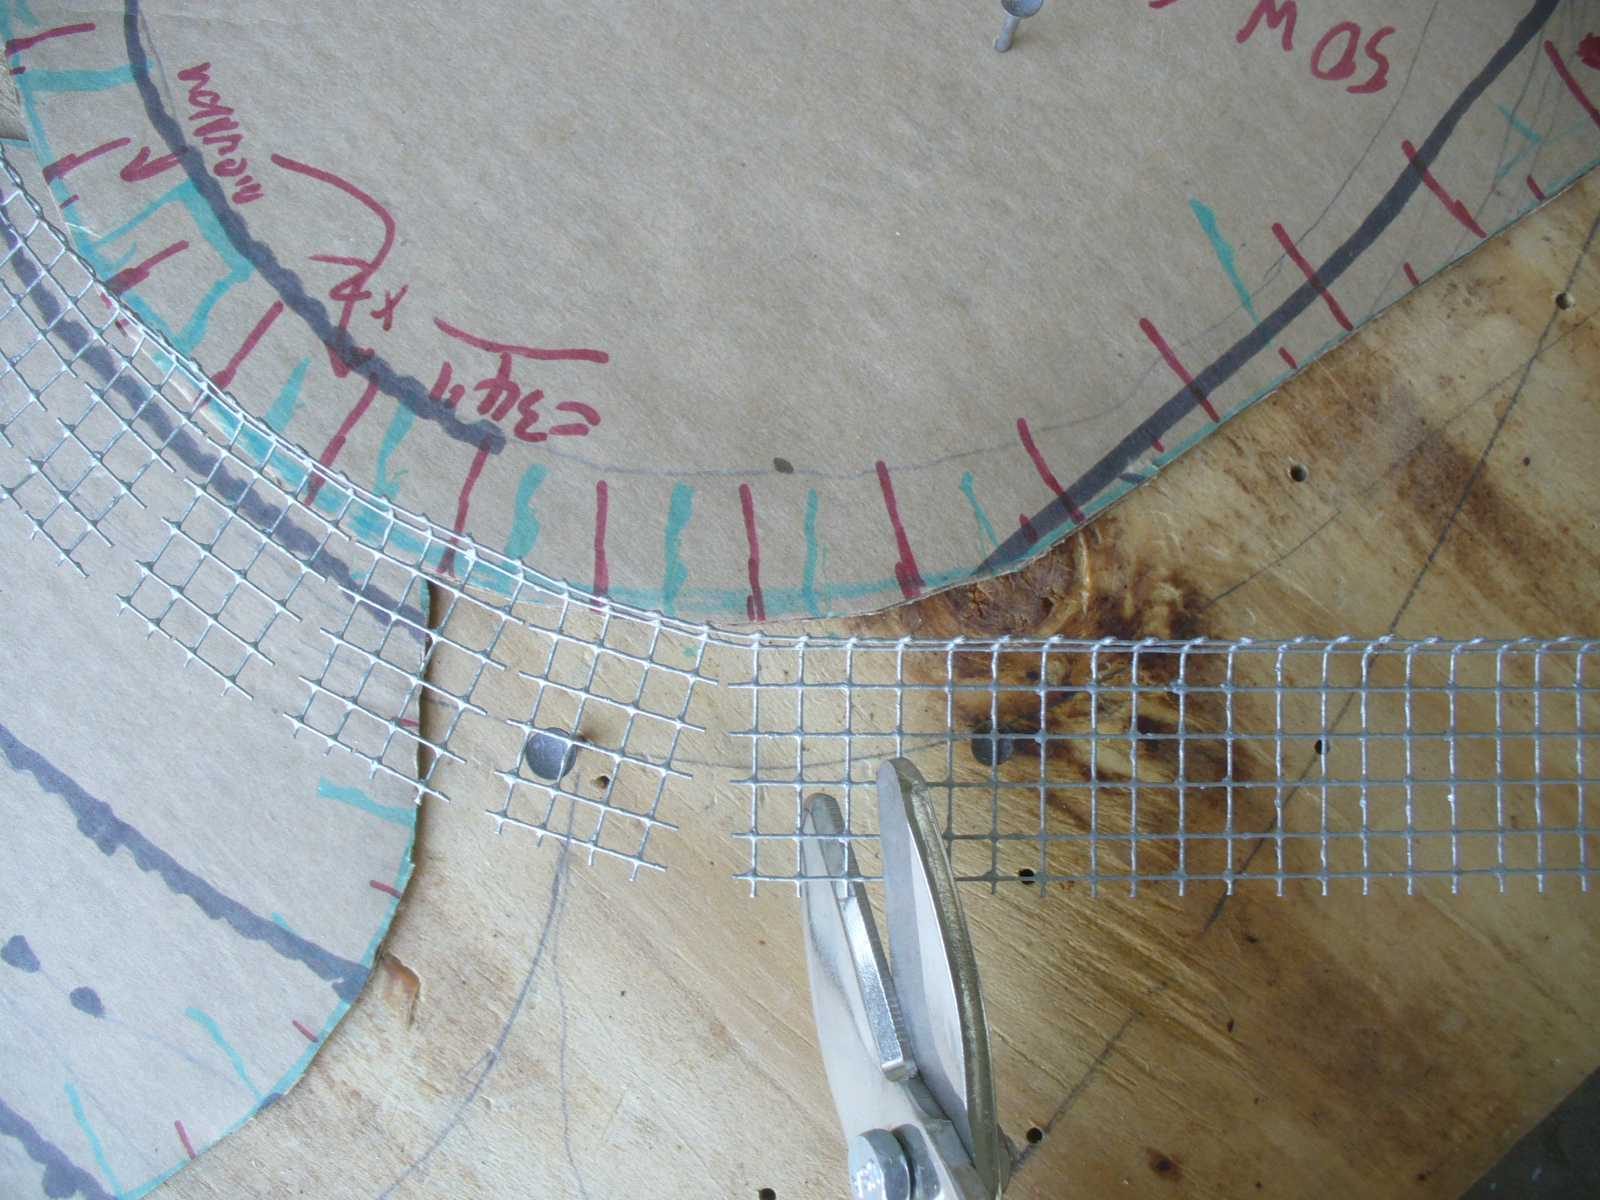
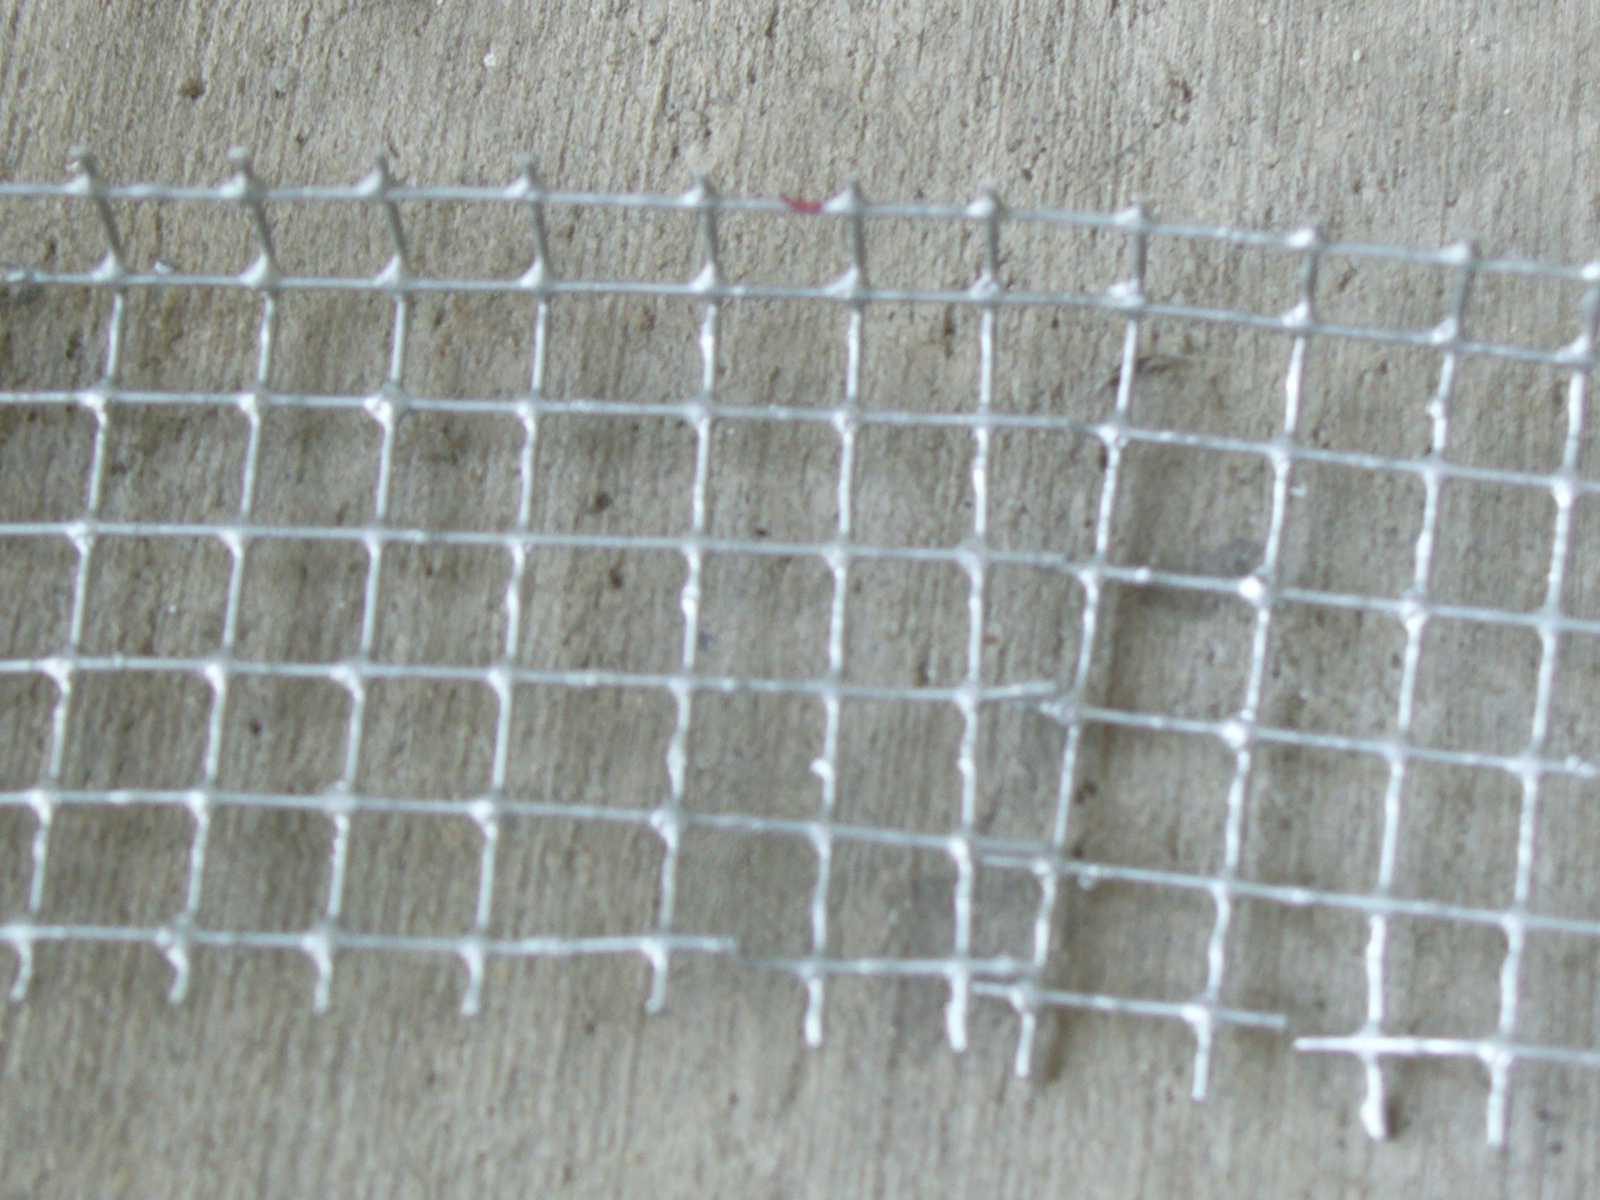
On the non-folded edge of the strip of hardware cloth, I also cut one cell where each bulb would go.
To attach the bulbs to the form, I placed the hardware cloth under the wire form, then inserted bulbs into the hardware cloth (on top of the wire form), and folded over the unfolded edge to “lock” the bulb in place:
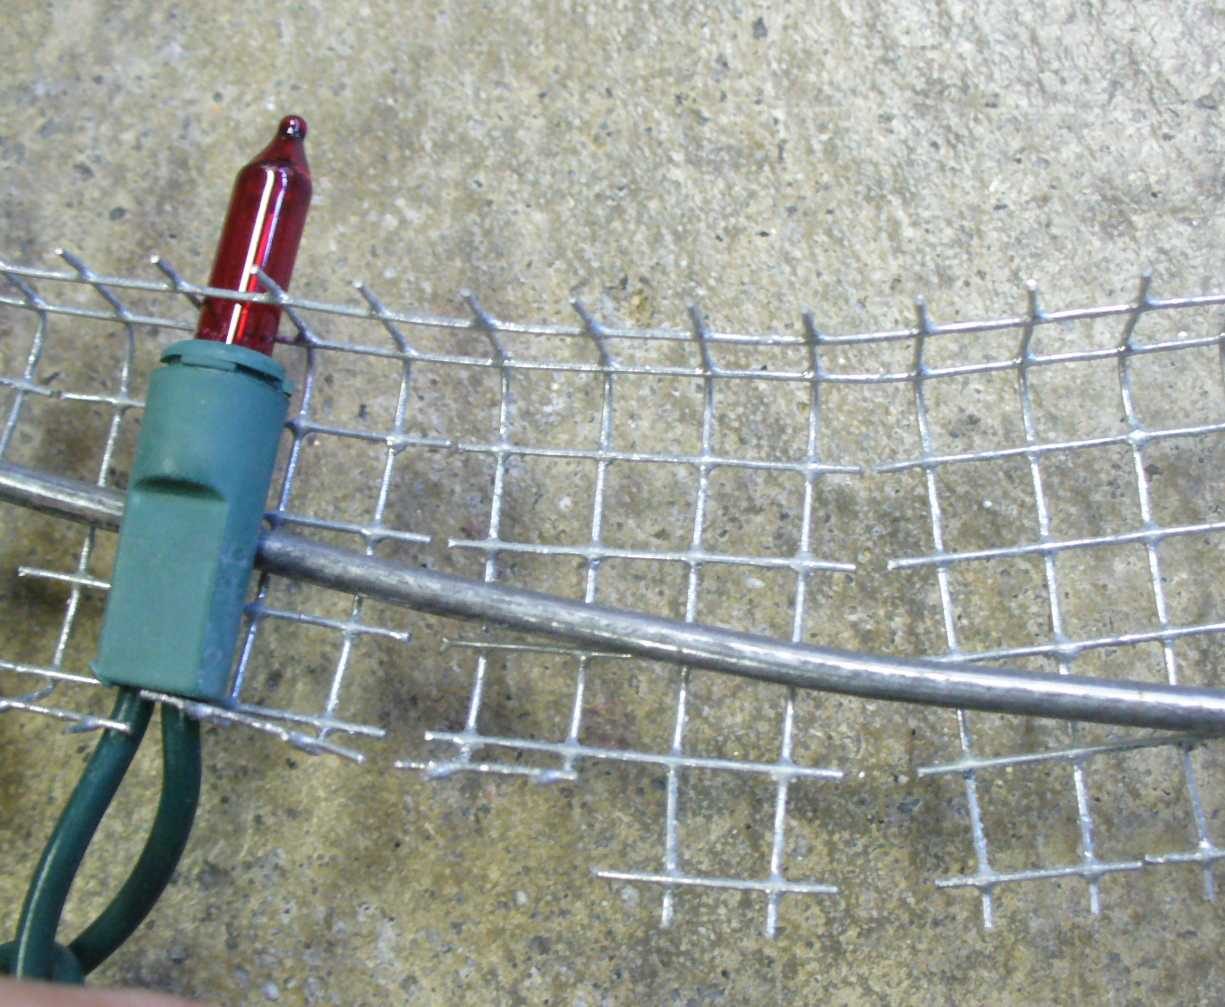
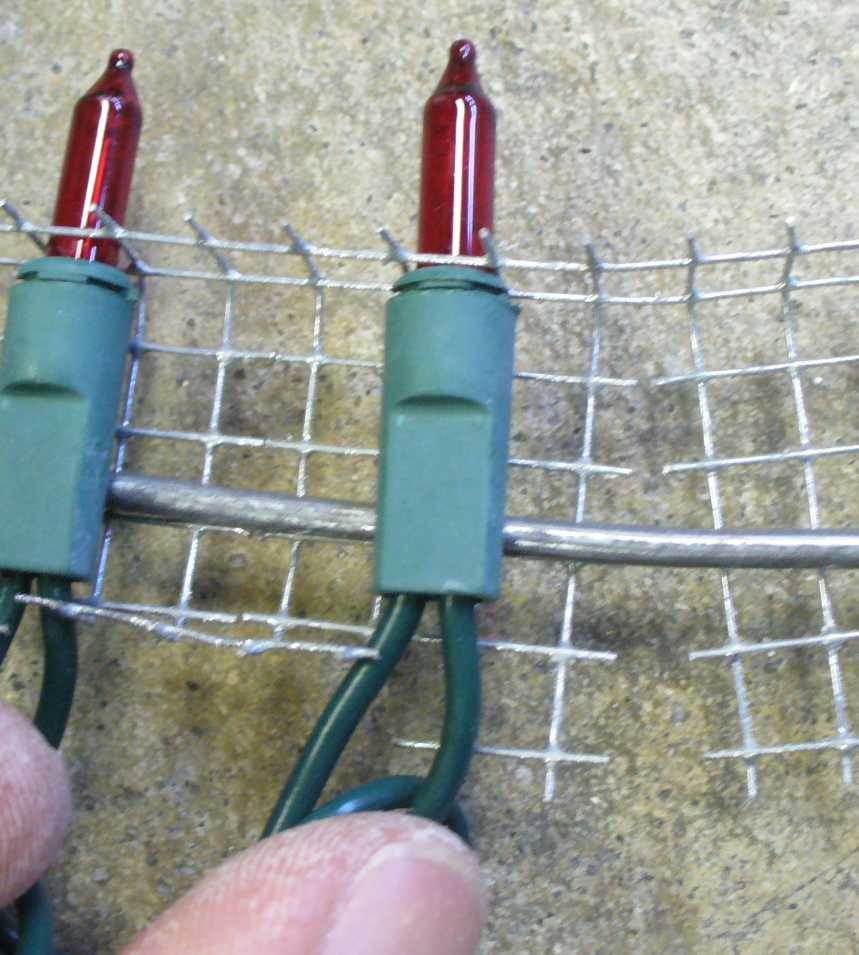
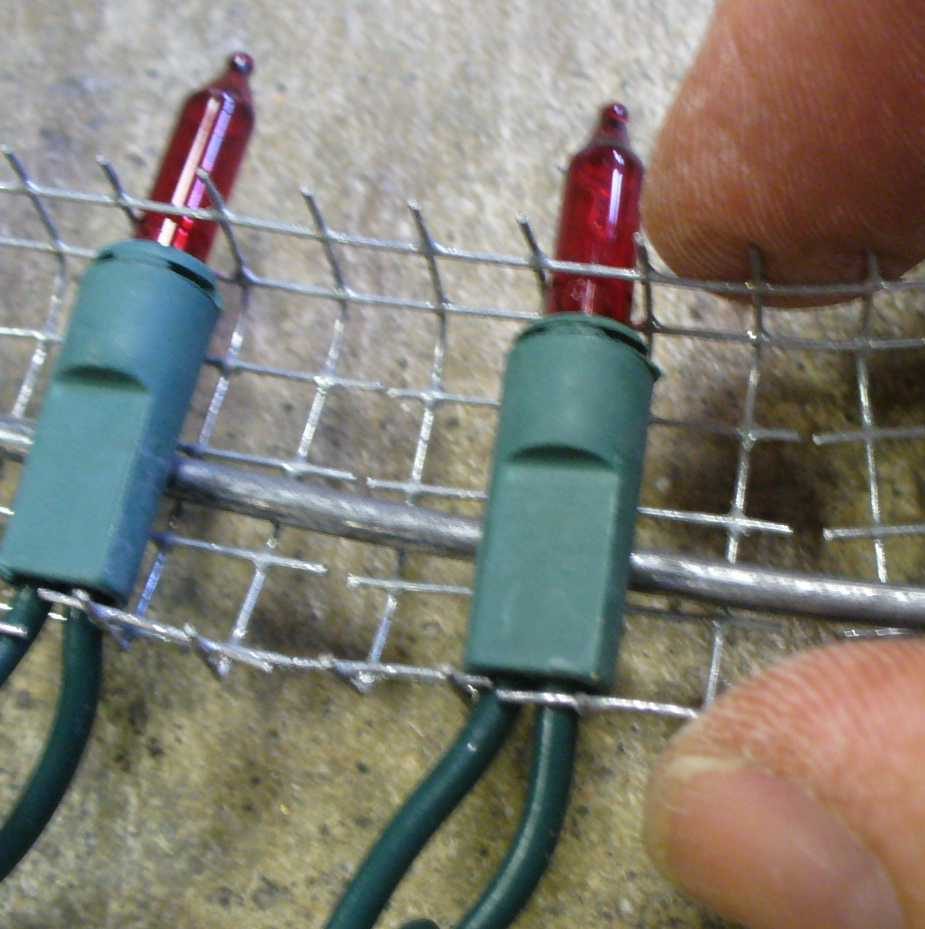
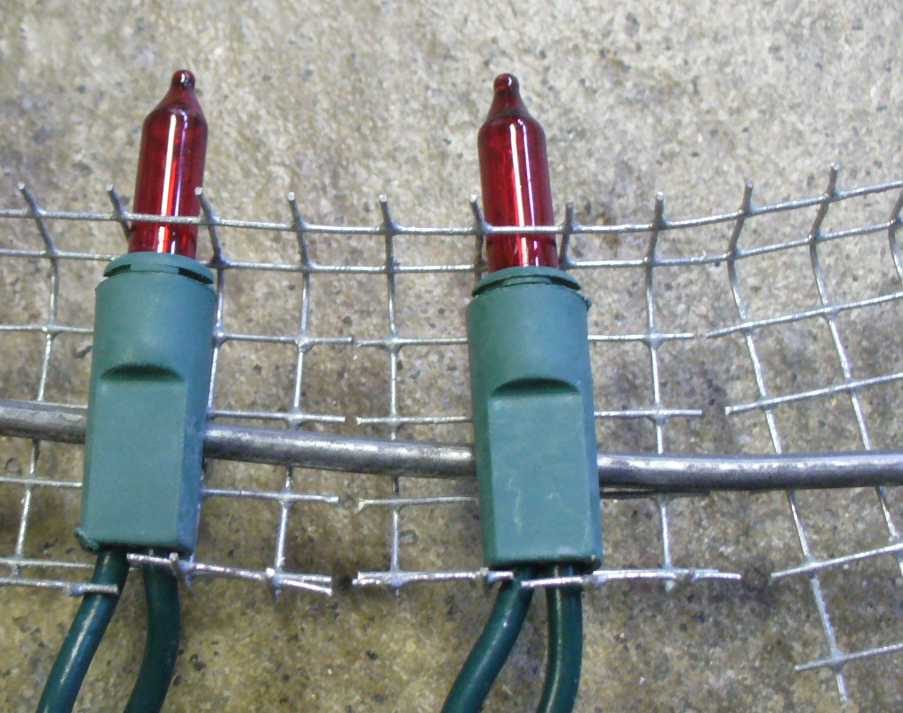
The bulb sockets hold the hardware cloth (and bulb) to the wire form, and the hardware cloth holds the bulbs in place. This technique is quite simple once you get used to it, and is very low cost. There is a short video of it on YouTube at http://www.youtube.com/watch?v=nDOq1VBzJHg.
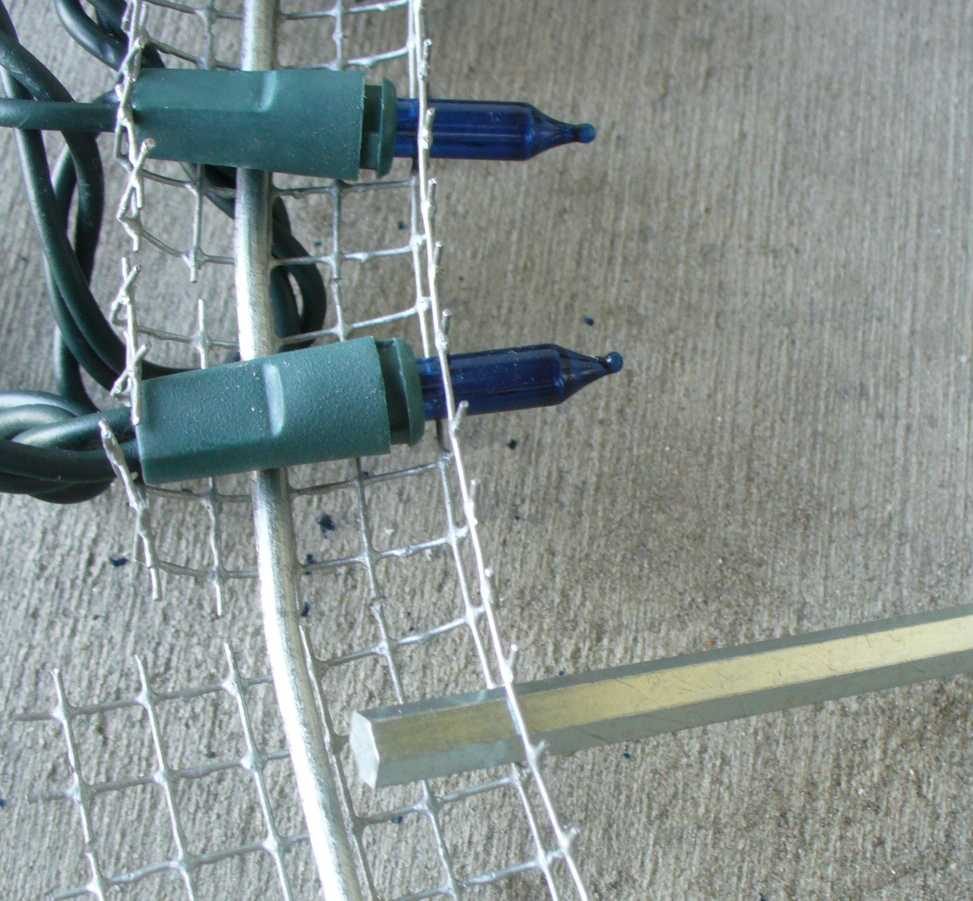
The only problem I have had with this method is potentially scraping the paint off the bulbs. This happened a few times when the cell was too small for the bulb (due to uneven hardware cloth), but a simple solution is to pry open the cell a little before inserting the bulb so it fits easily:
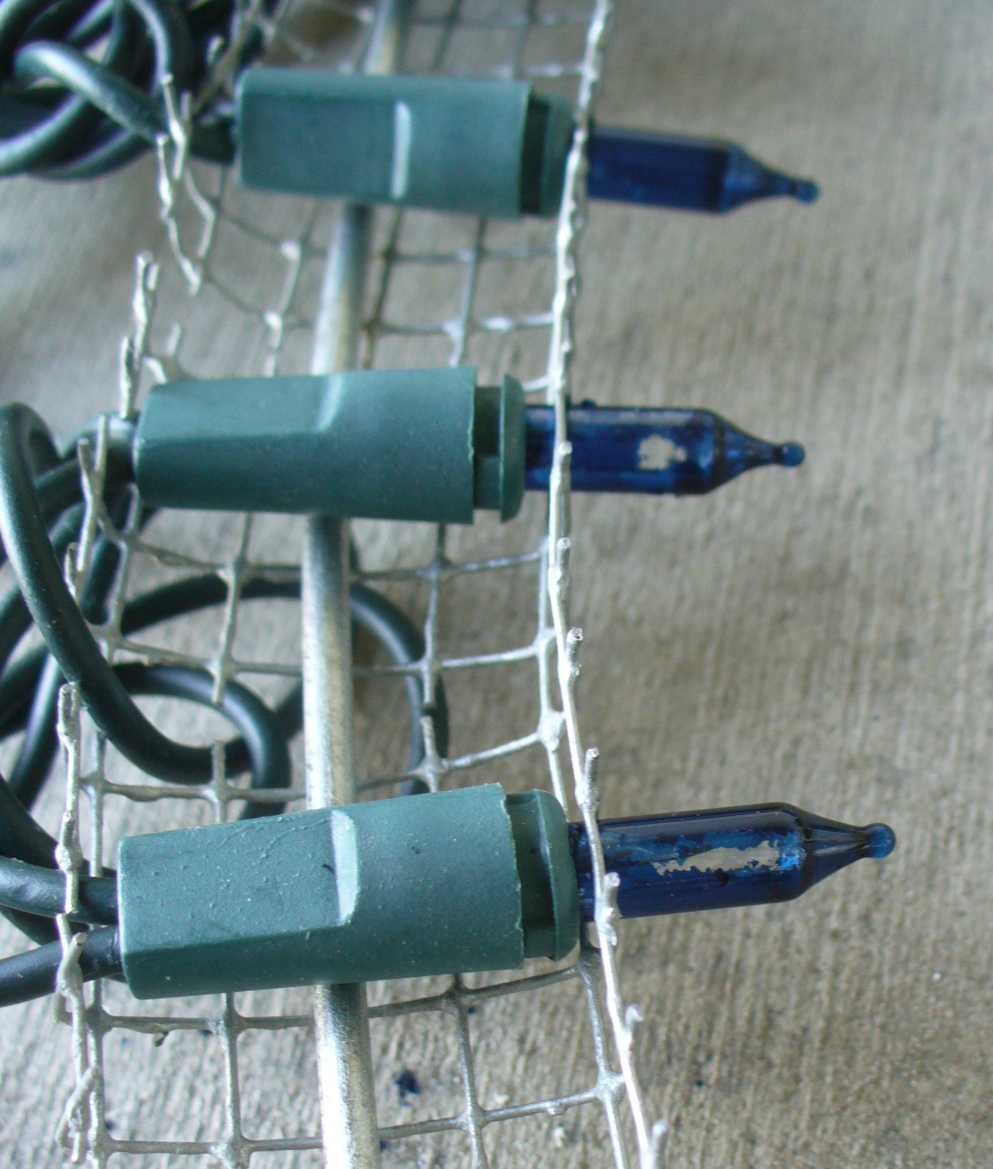
Going around corners is a little awkward, but not too bad as long as there is sufficient wire between bulbs in the string. If not, then I either put the corner bulbs closer (keeping in mind where the filaments lie), or leave an extra bulb at the corner.
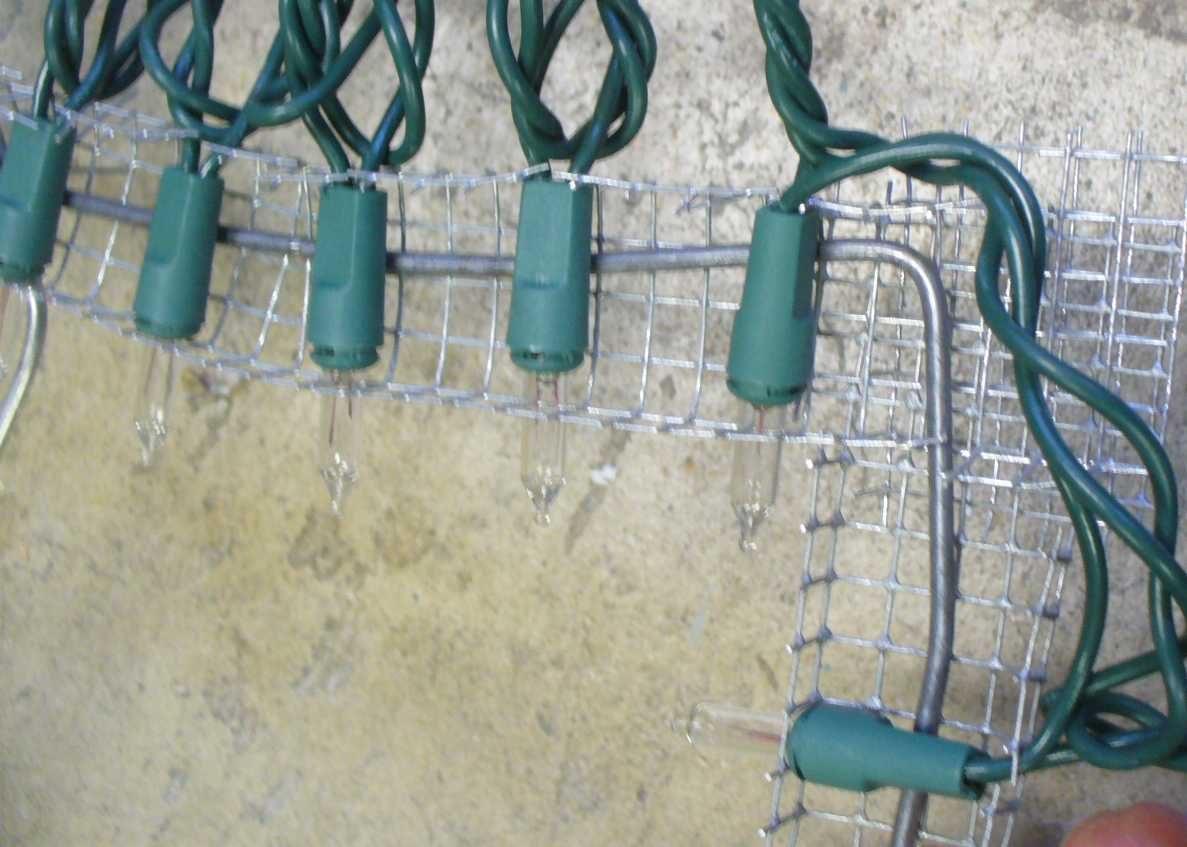
I also fold the hardware cloth over at the corners to hold the pieces together, which strengthens the corner.
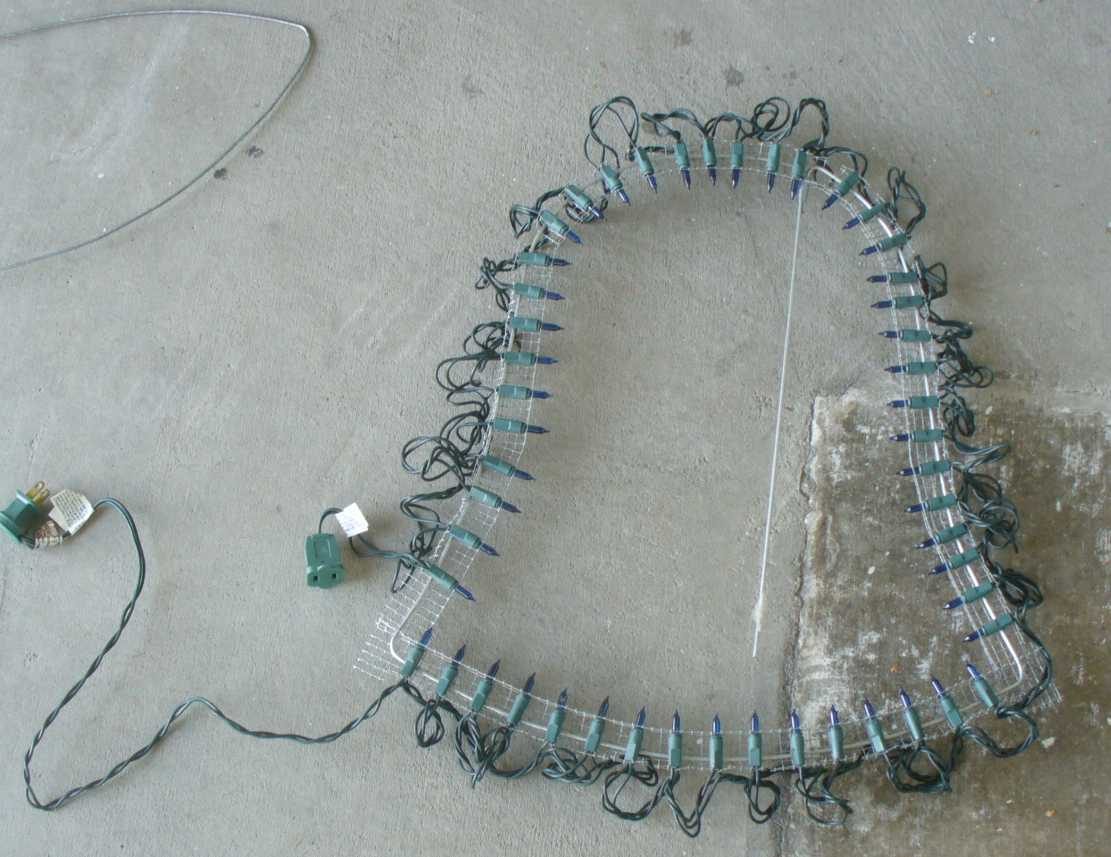
Once all the bulbs were in place, I had 2 bells and an angel head/wings form that I assembled as described in the next section.
Assemble shapes
Final assembly consisted of overlaying and fastening together the 2 bell forms and the angel head/wings, then bending or cutting excess ceiling hanger length if not needed to mount the prop.
There are various ways to fasten the forms together – I’ve used wire, zip ties and duct tape and they all seem to work okay, but I think the wire lasts longer. I also found that flipping one of the bell forms over made it easier to fasten to the other bell form (the hardware cloth ended up back-to-back this way), but it can be done either way.
I tried to align the forms so that no bulb filaments were hidden when viewed from my most probable viewing angle. This is easier to check when the bulbs are lit. In cases where a filament was hidden, I moved it slightly or tied back the wires that were hiding the filament. Otherwise, it will look like some of the bulbs are out.
I fastened the forms at each point where they overlapped, to make the AngelBell sturdier. I planned to mount these directly on walls of the house, so they didn’t need to be too sturdy, but past experience has shown that it’s always better to make a prop more sturdy than it needs to be - this makes it more resilient to bumps or drops or other accidents during or prior to installation.
After the forms were fastened, I bent or cut off the excess portions of ceiling hanger that would not be needed for mounting purposes.
More Information
If you have any questions or comments for improvement of this article, please send a note using our feedback page.
I also have additional info, including the “pattern” I used for the AngelBells, that I can make available if anyone is interested. It will be awkward to print, though, since it’s larger than 8½” x 11”.