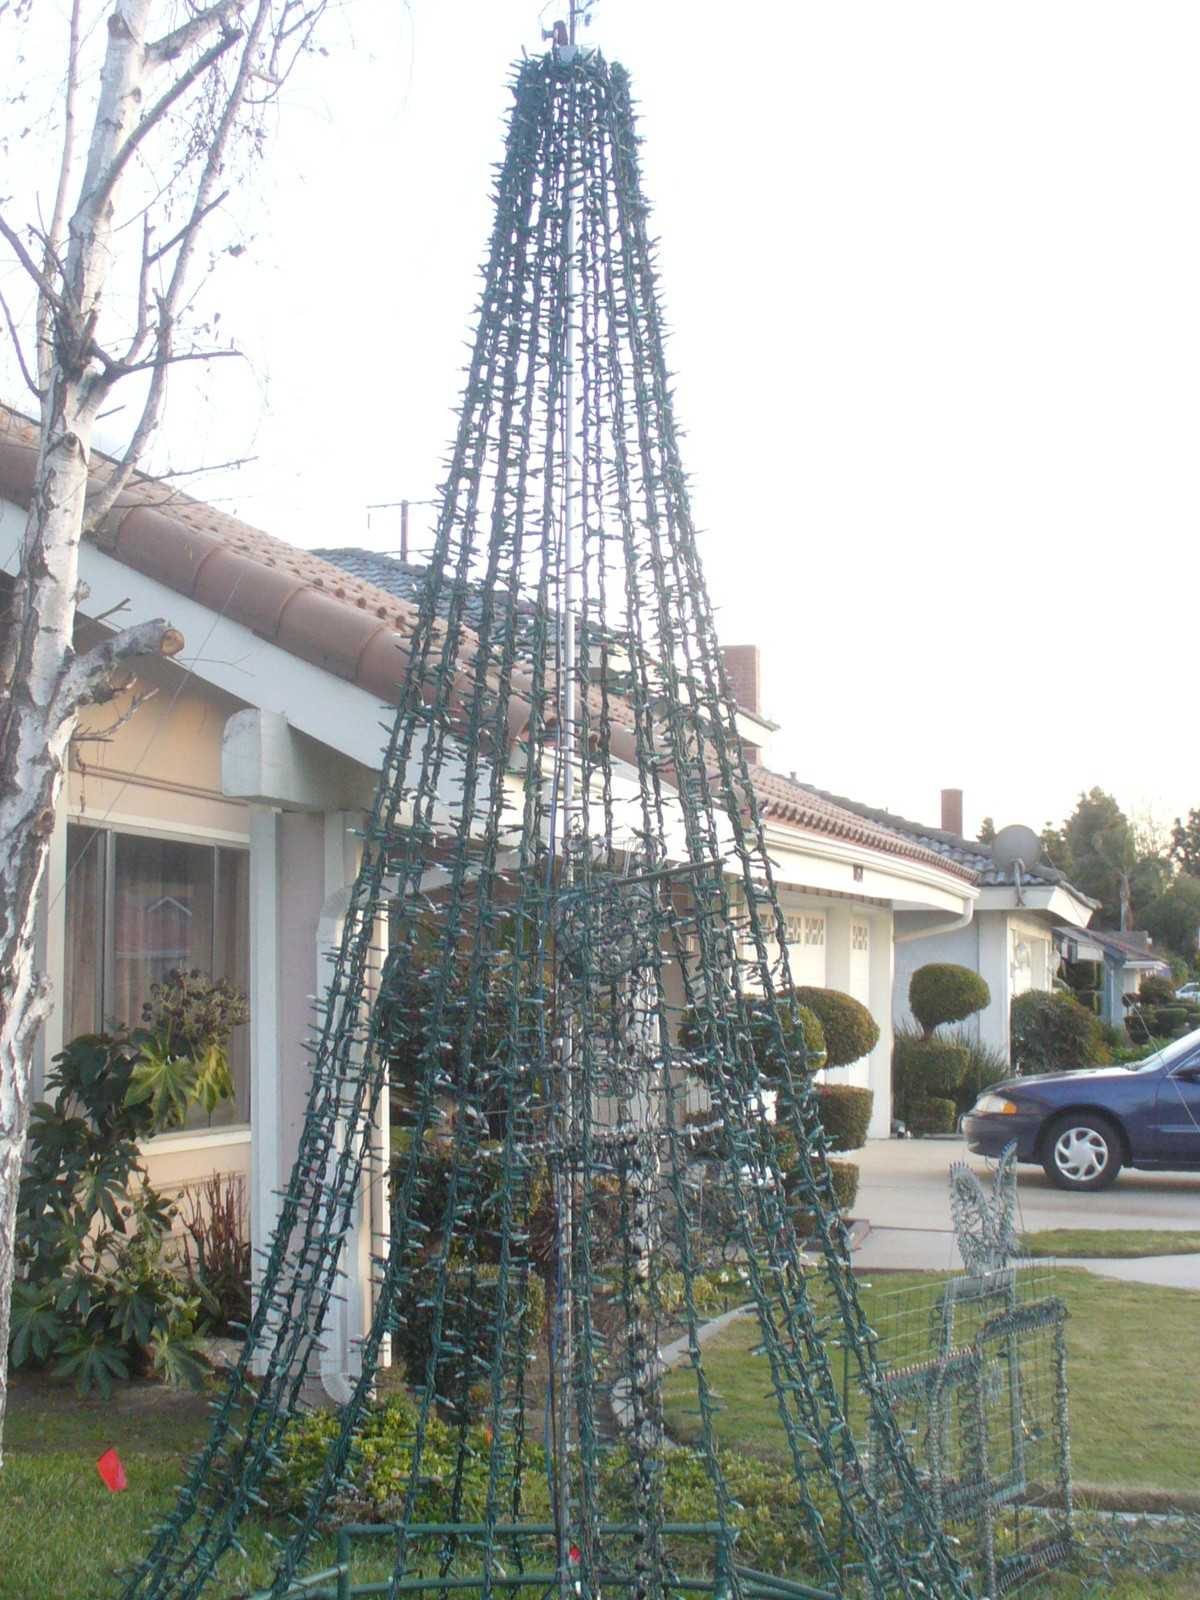
Watch Contains flashing lights

'Danger Zone' on YouTube

LED To Celebrate

Building the Mega-Tree

Step by step: the mega-tree's base, its home-built SSR controllers and its topper.

M-tree base
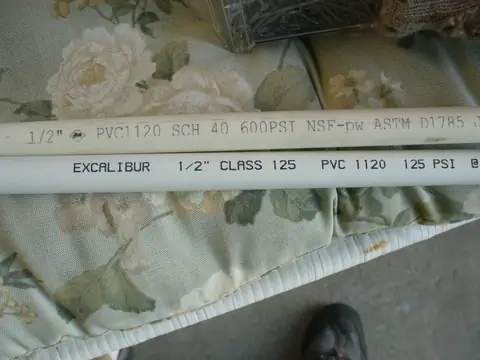
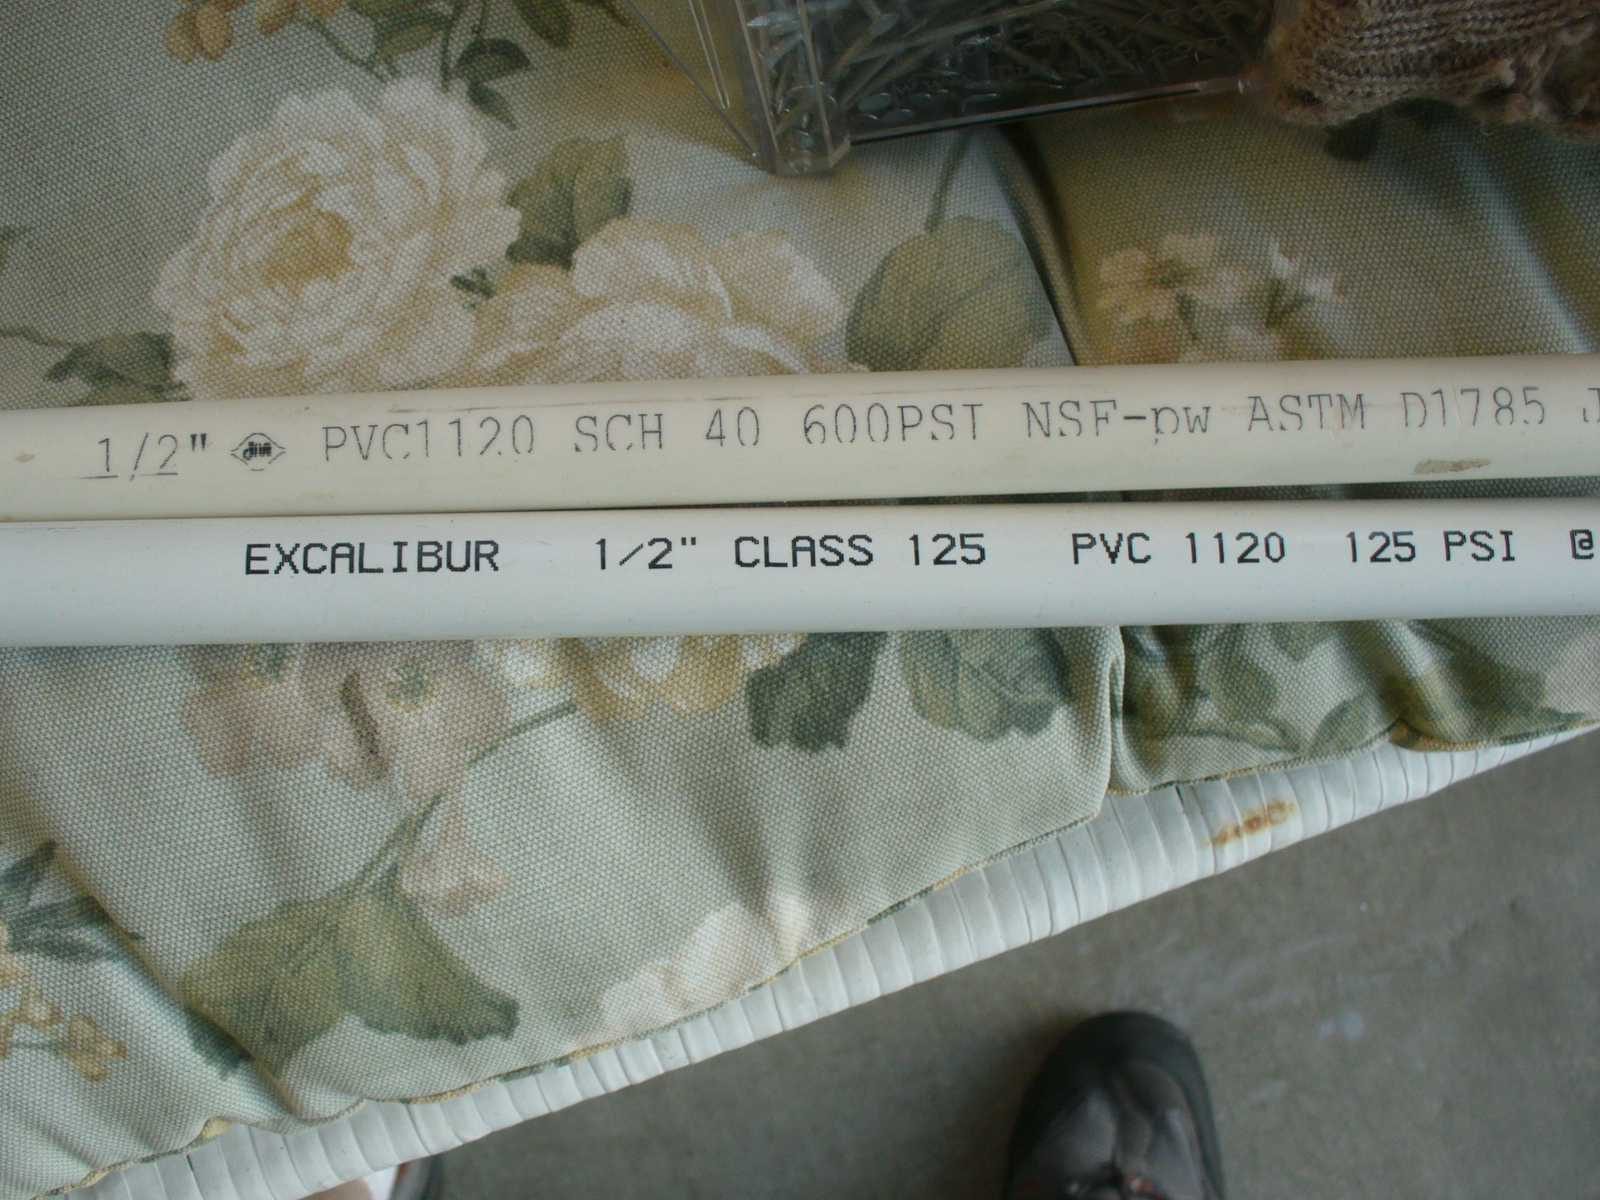
  • PVC selection - thin-walled PVC bends easier than thick wall (sched 40)
    PVC selection - thin-walled PVC bends easier than thick wall (sched 40)

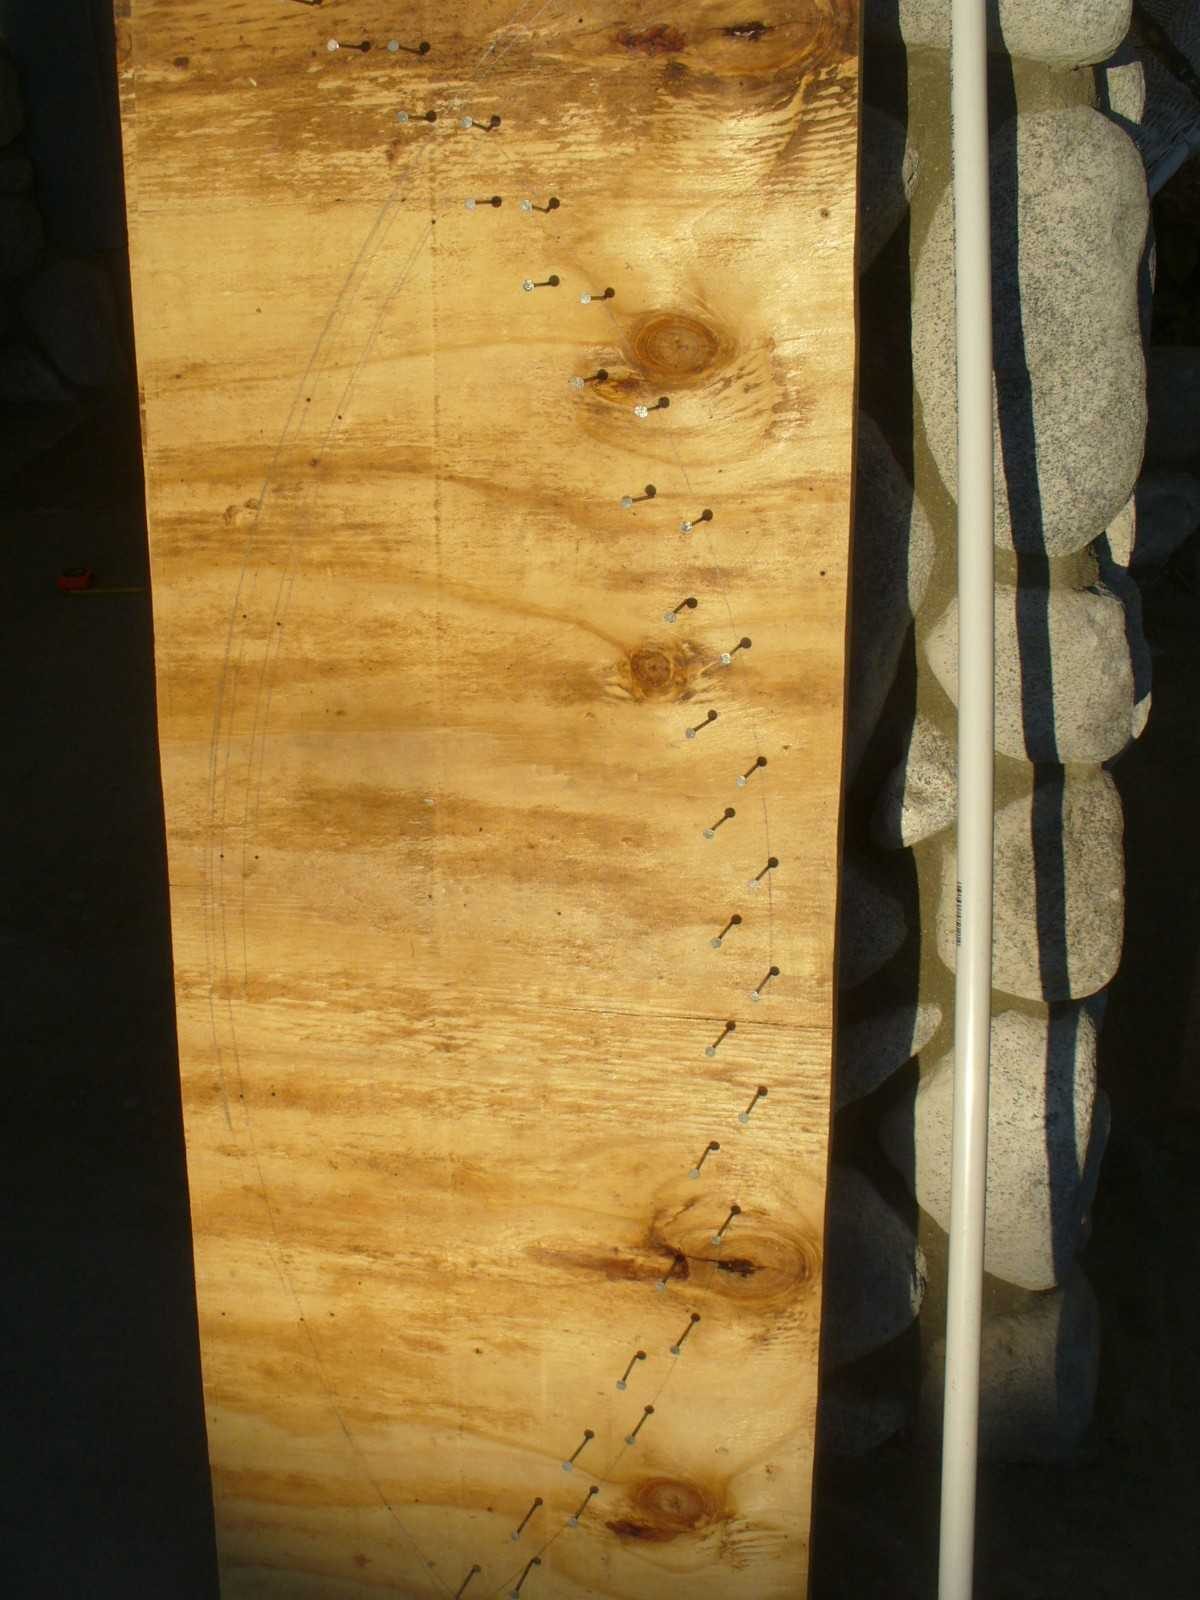
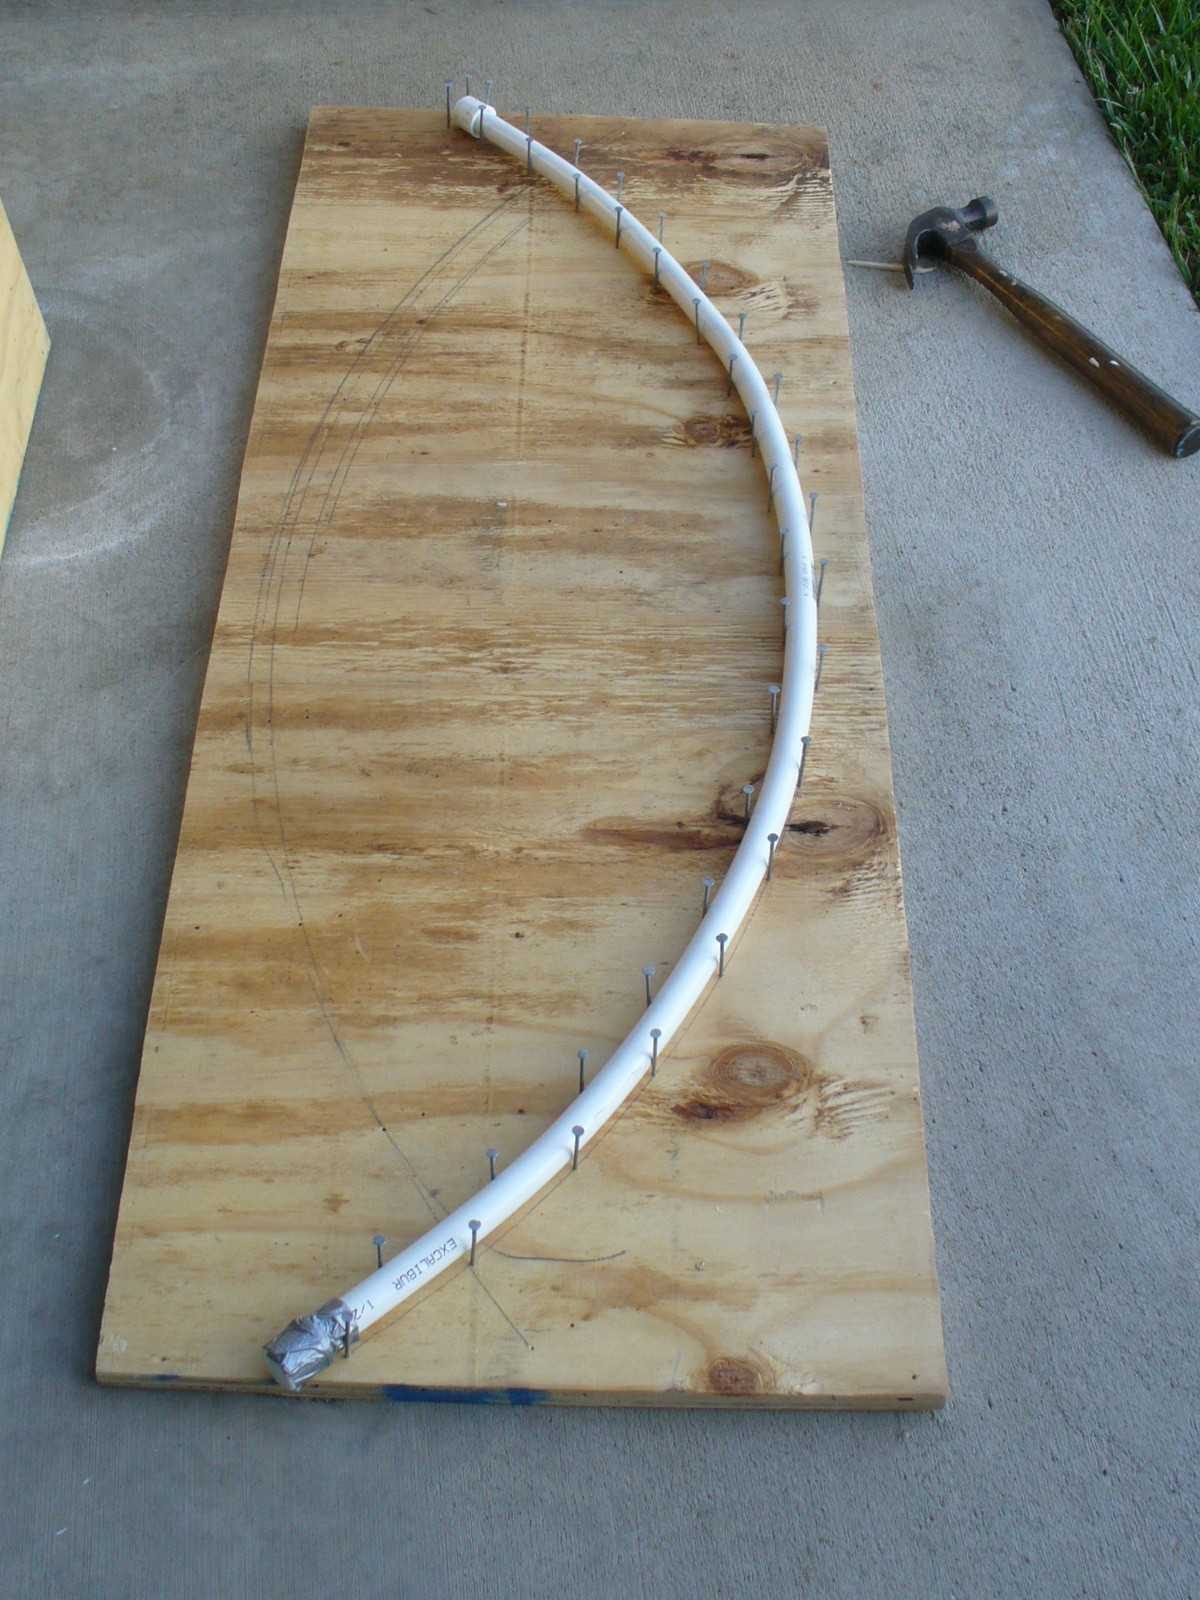
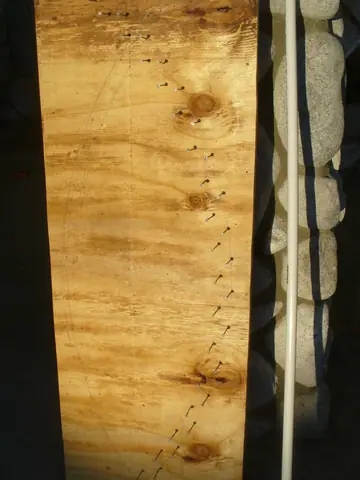
  • Prep - nails in wood to form a jig

    Prep - nails in wood to form a jig

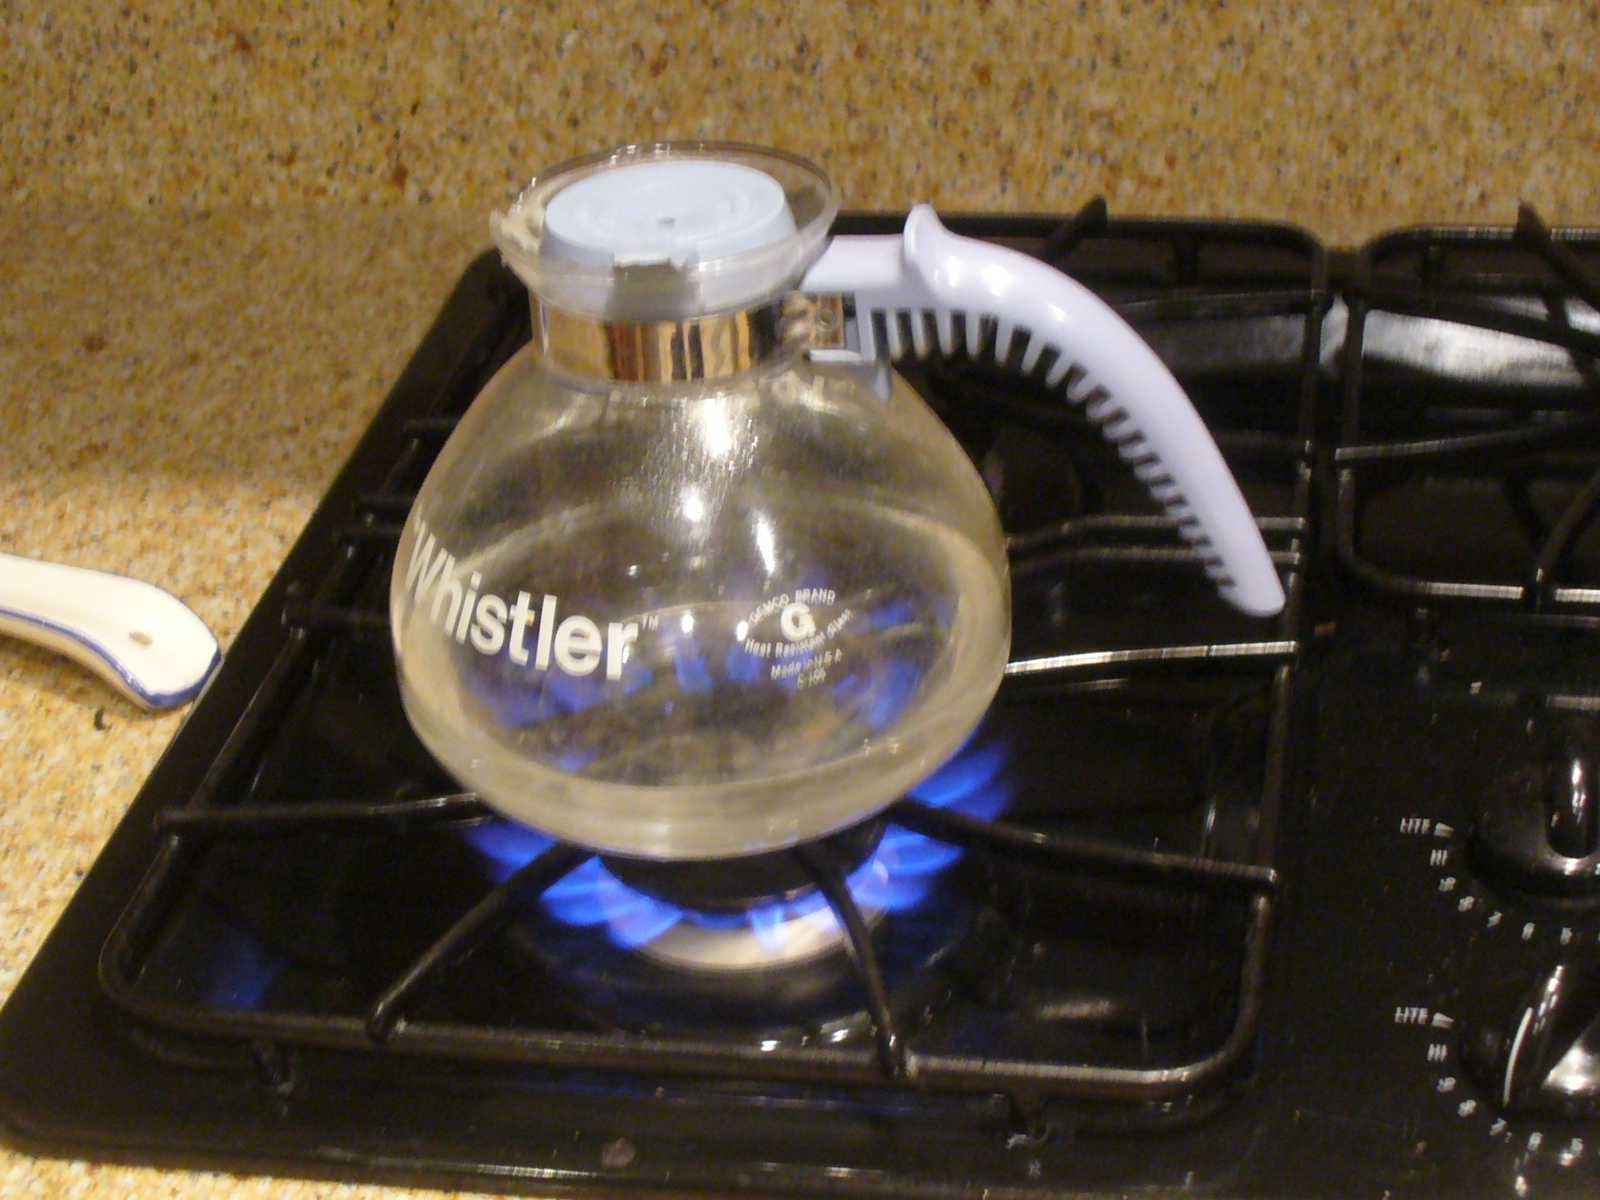
  • Prep - boiling water to help bend the PVC
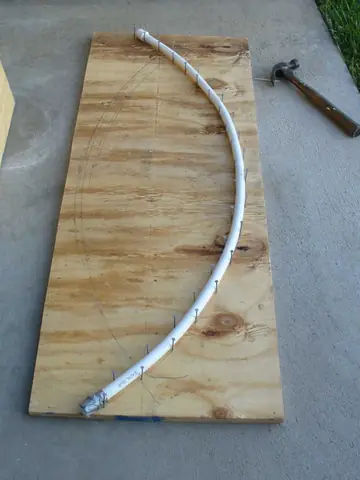
    Prep - boiling water to help bend the PVC

  • Prep - pour water into the PVC, then place on jig to bend to correct angle
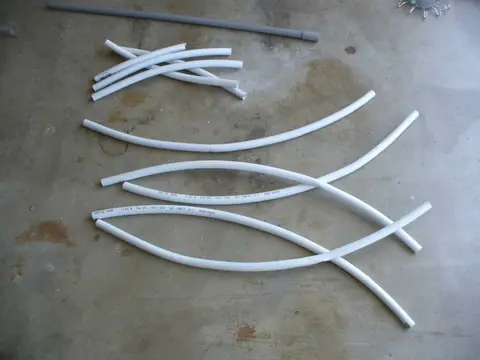
    Prep - pour water into the PVC, then place on jig to bend to correct angle

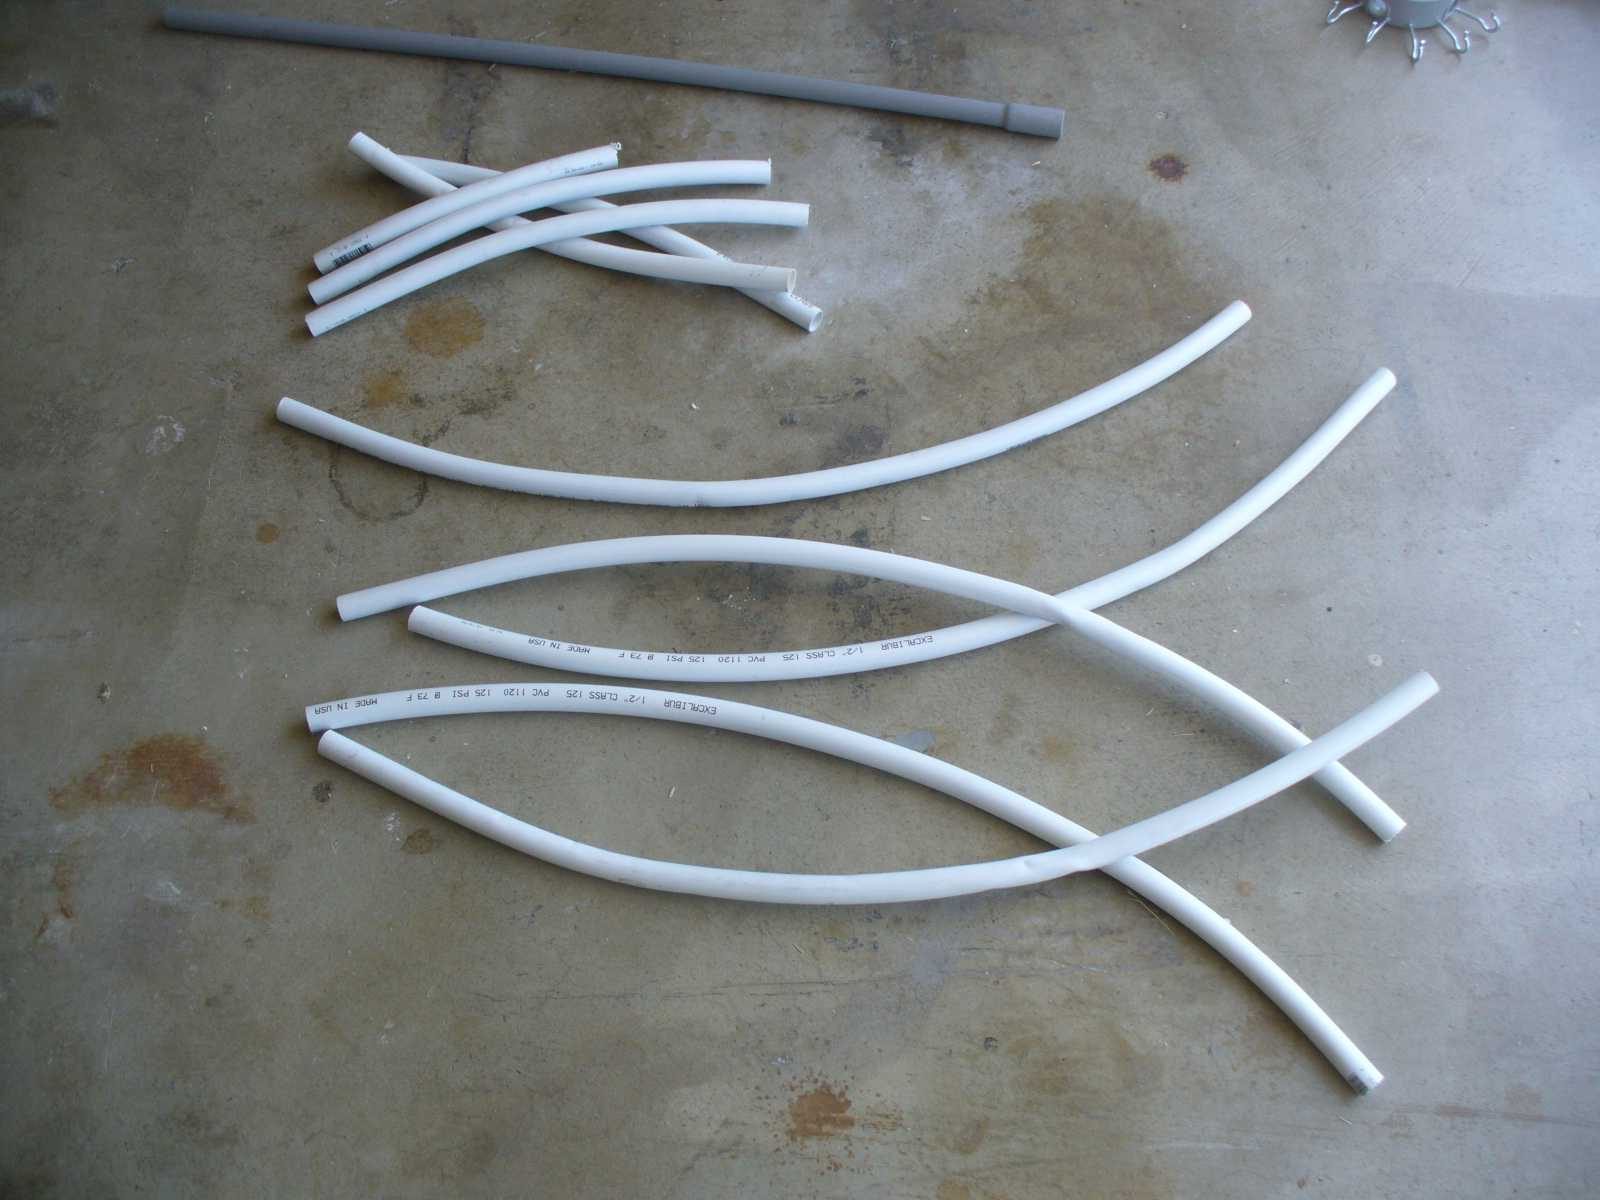
  • Prep - after cool, remove from jig and trim ends
    Prep - after cool, remove from jig and trim ends

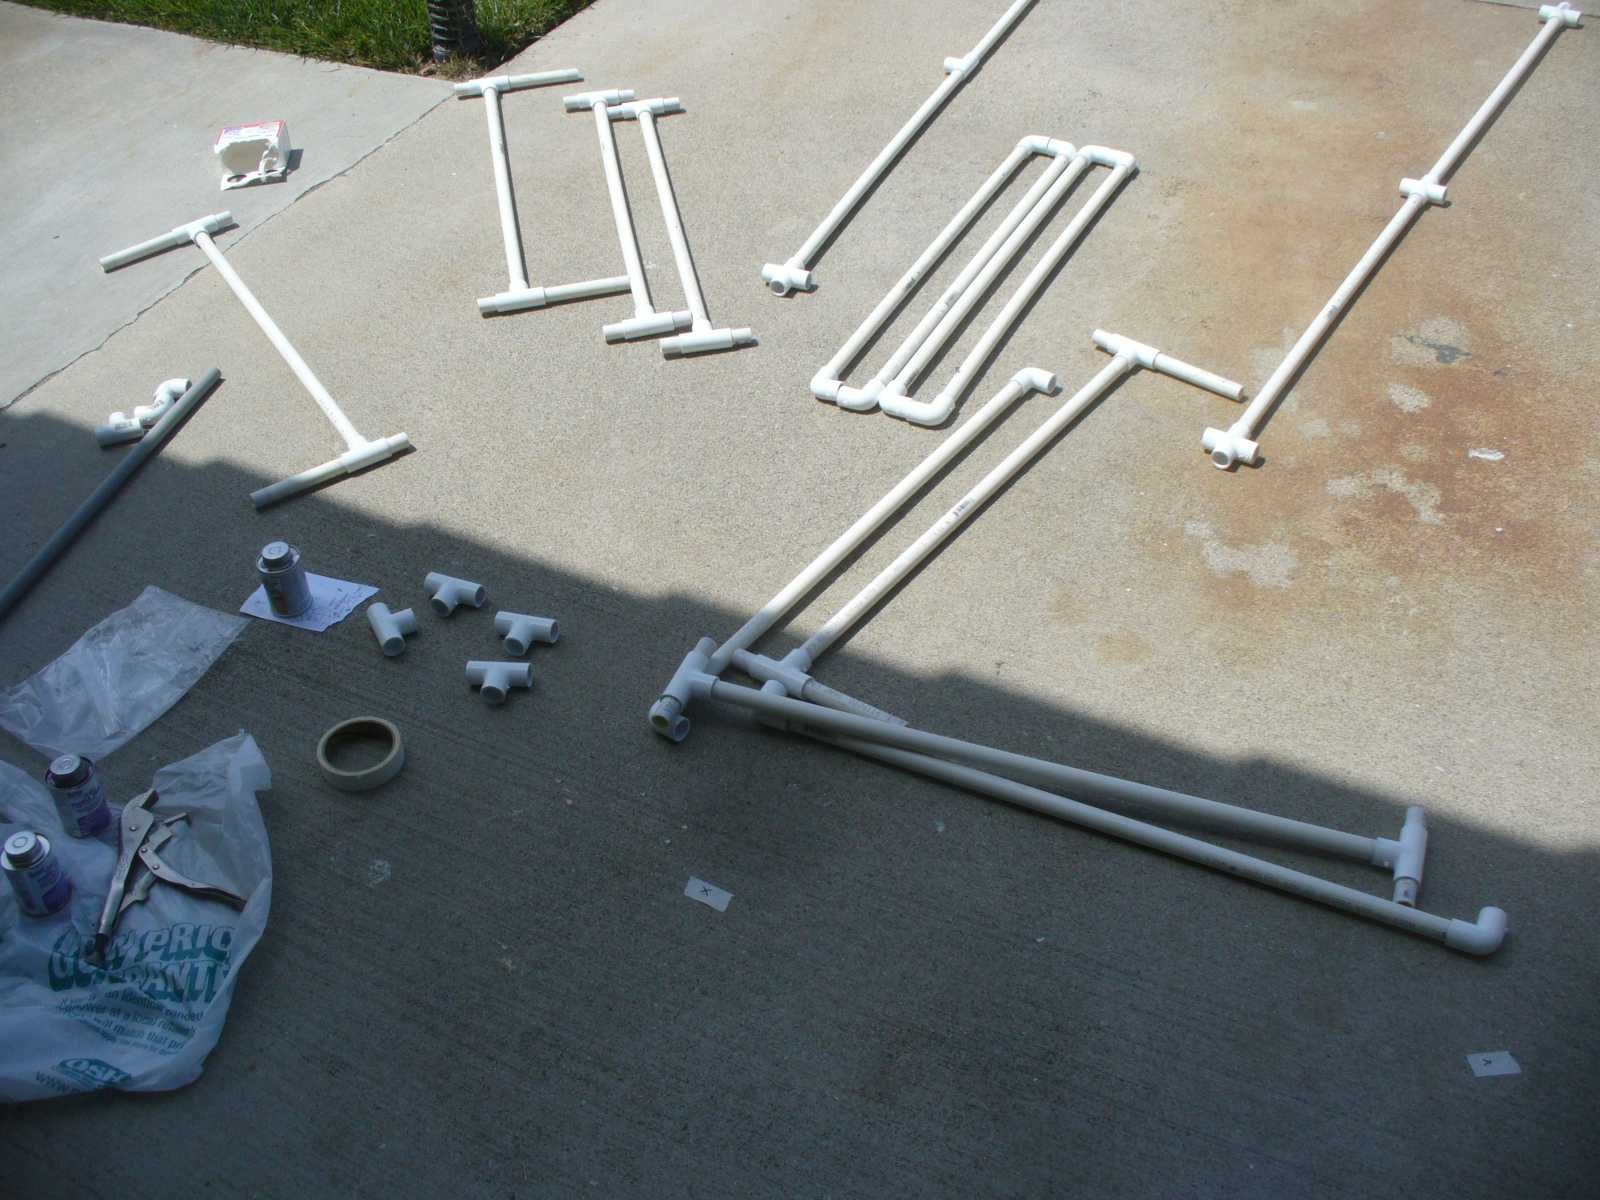
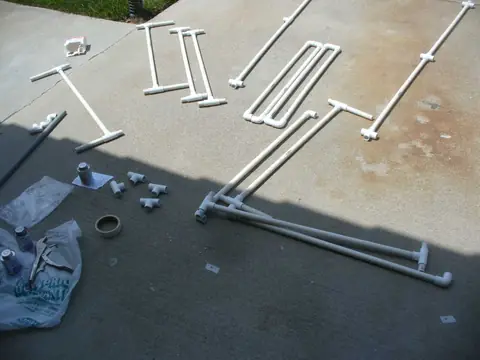
  • Assembly - cut PVC pieces and collect joiners
    Assembly - cut PVC pieces and collect joiners

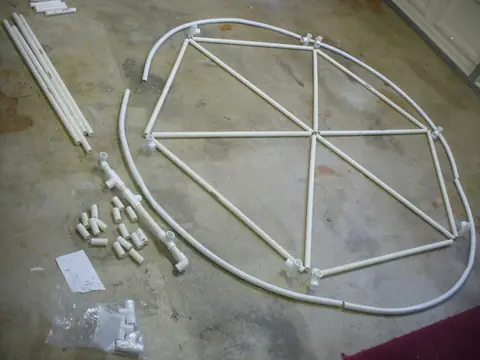
  • Assembly - lay out pieces to check if they will fit properly
    Assembly - lay out pieces to check if they will fit properly

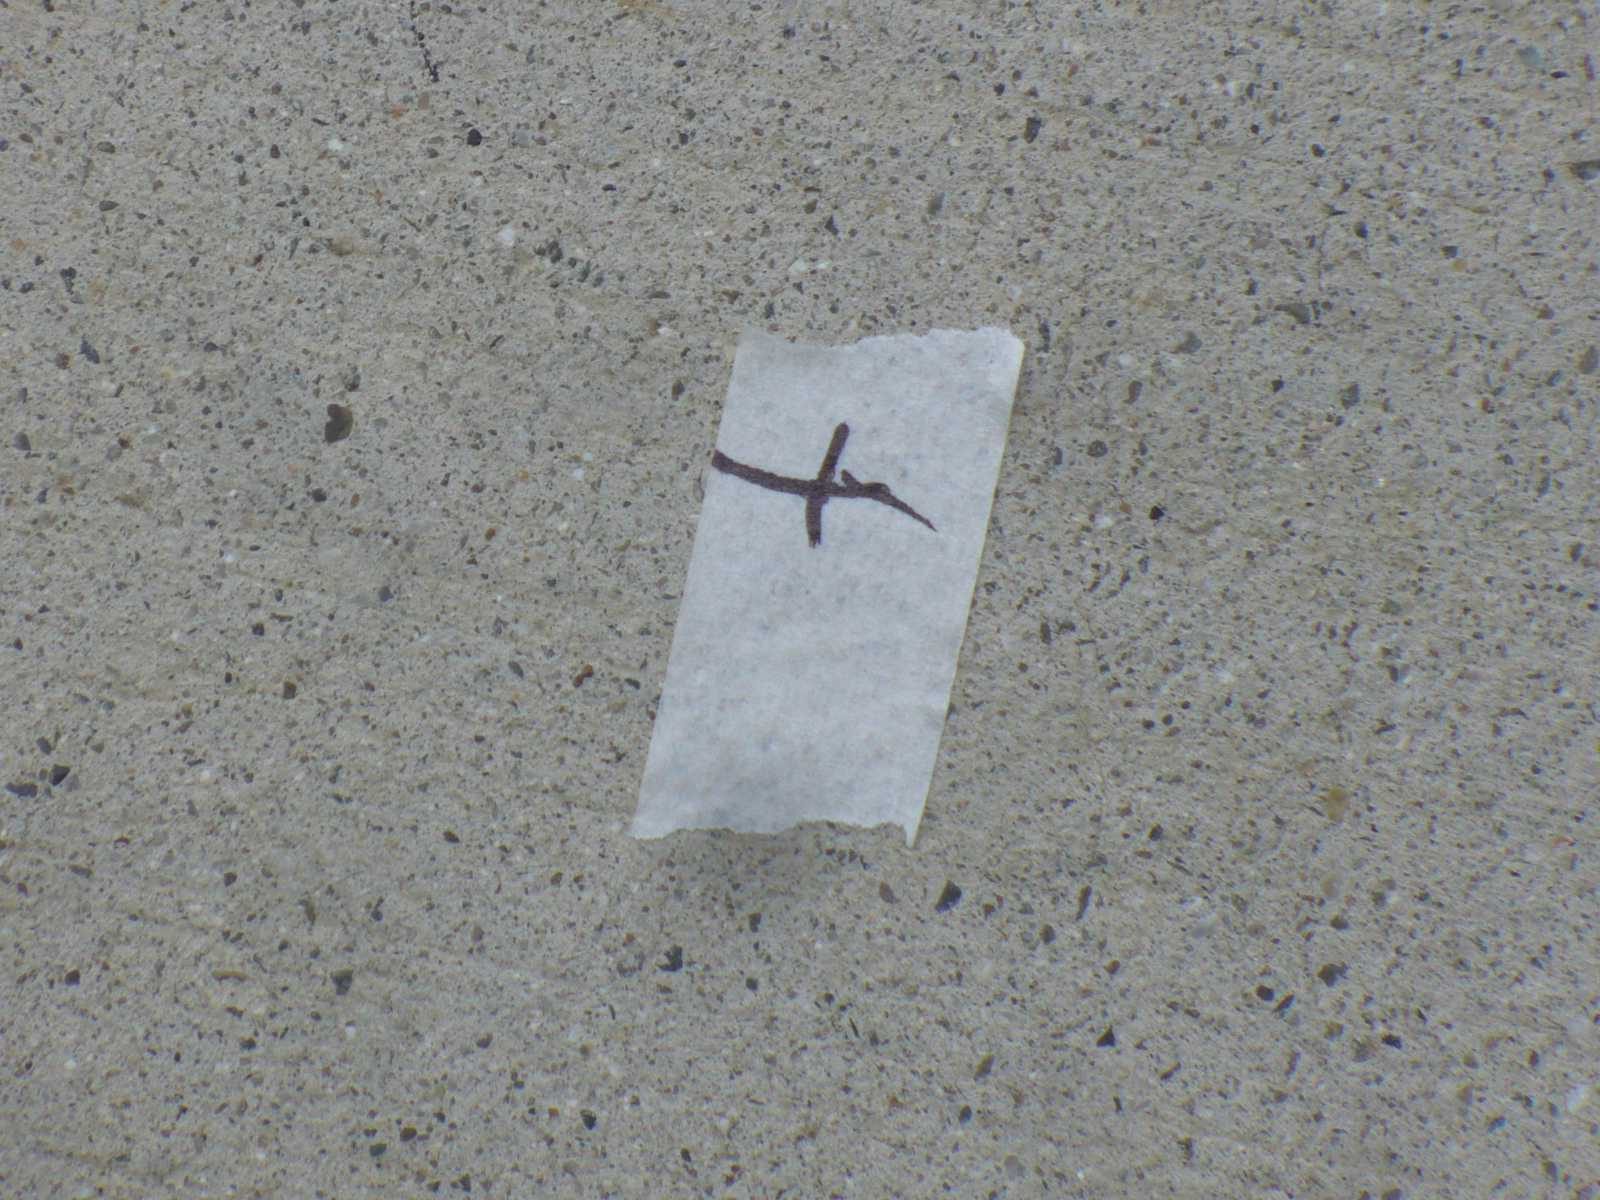
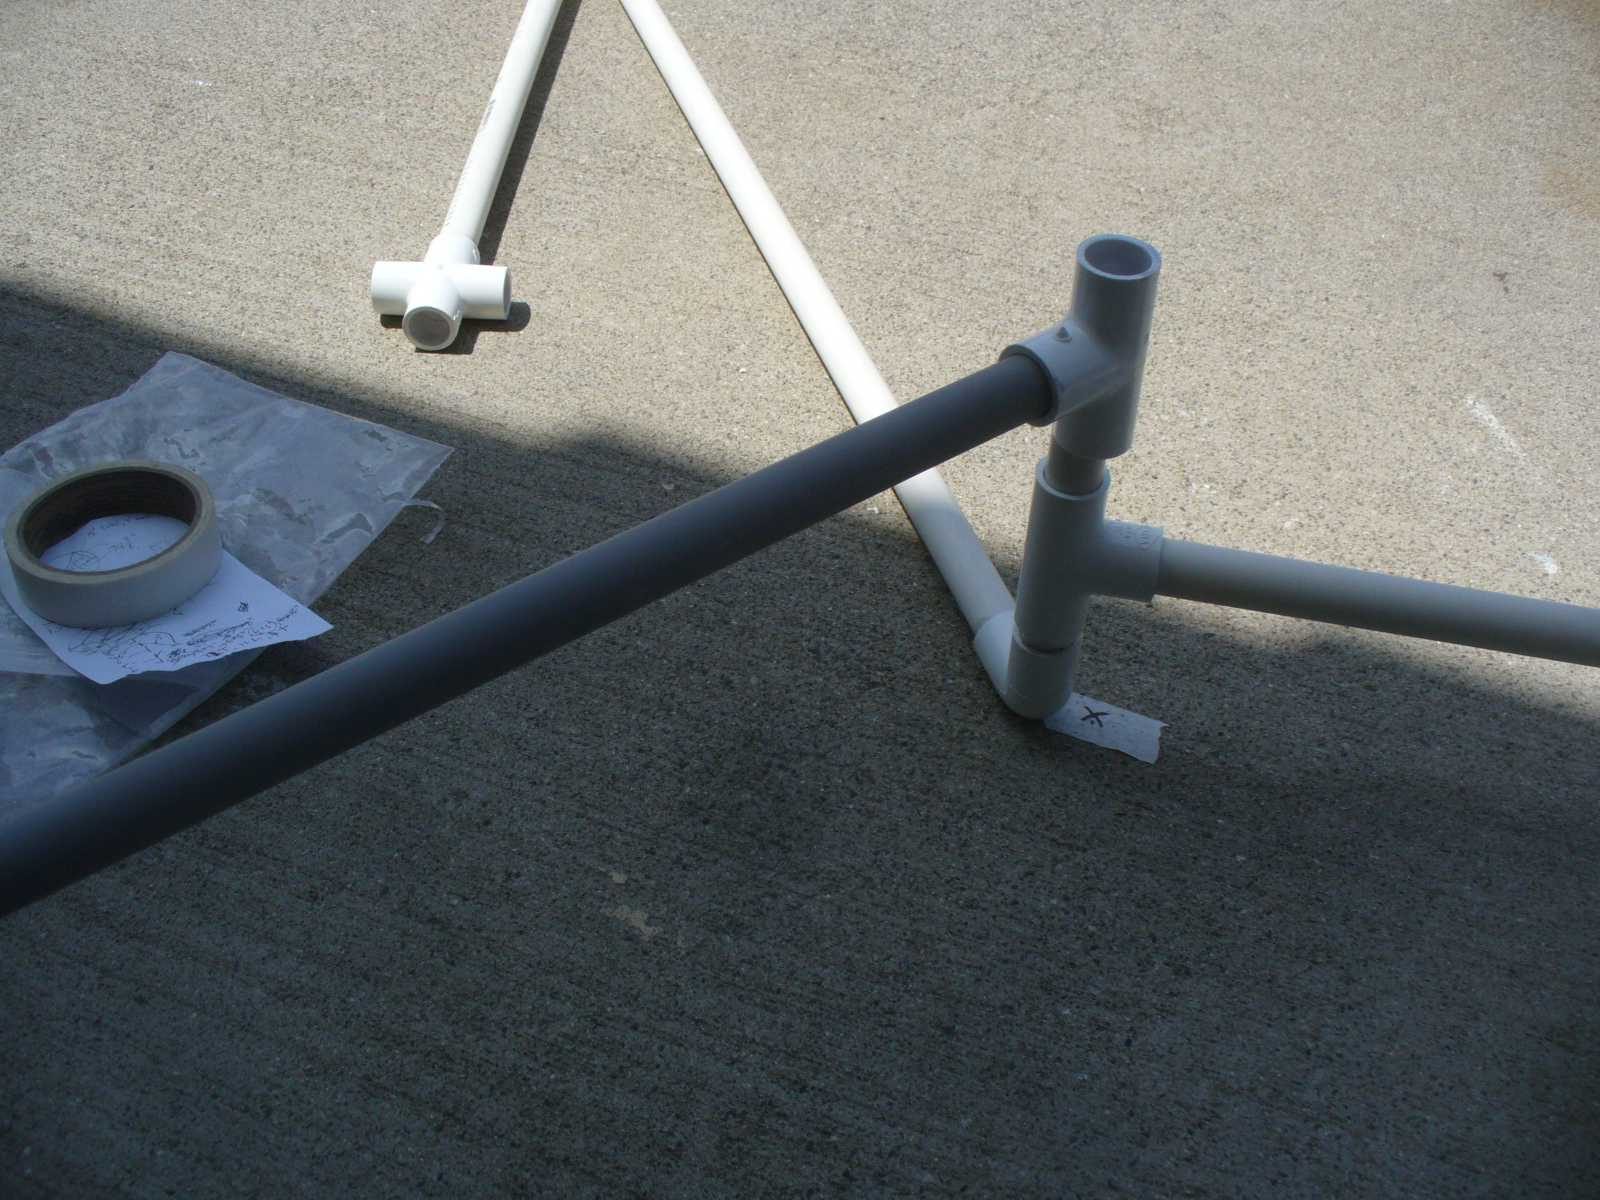
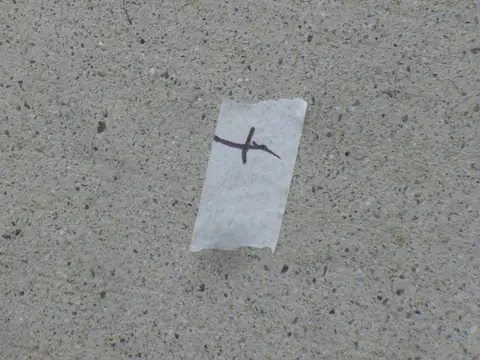
  • Assembly - alignment markers to get the correct angles on joints
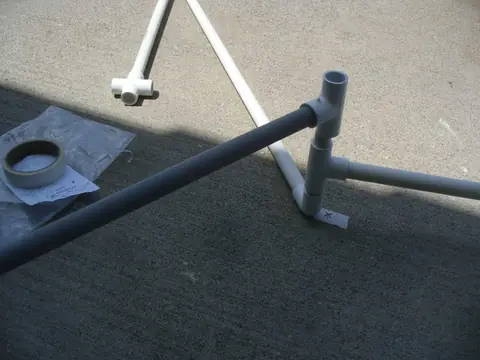
    Assembly - alignment markers to get the correct angles on joints

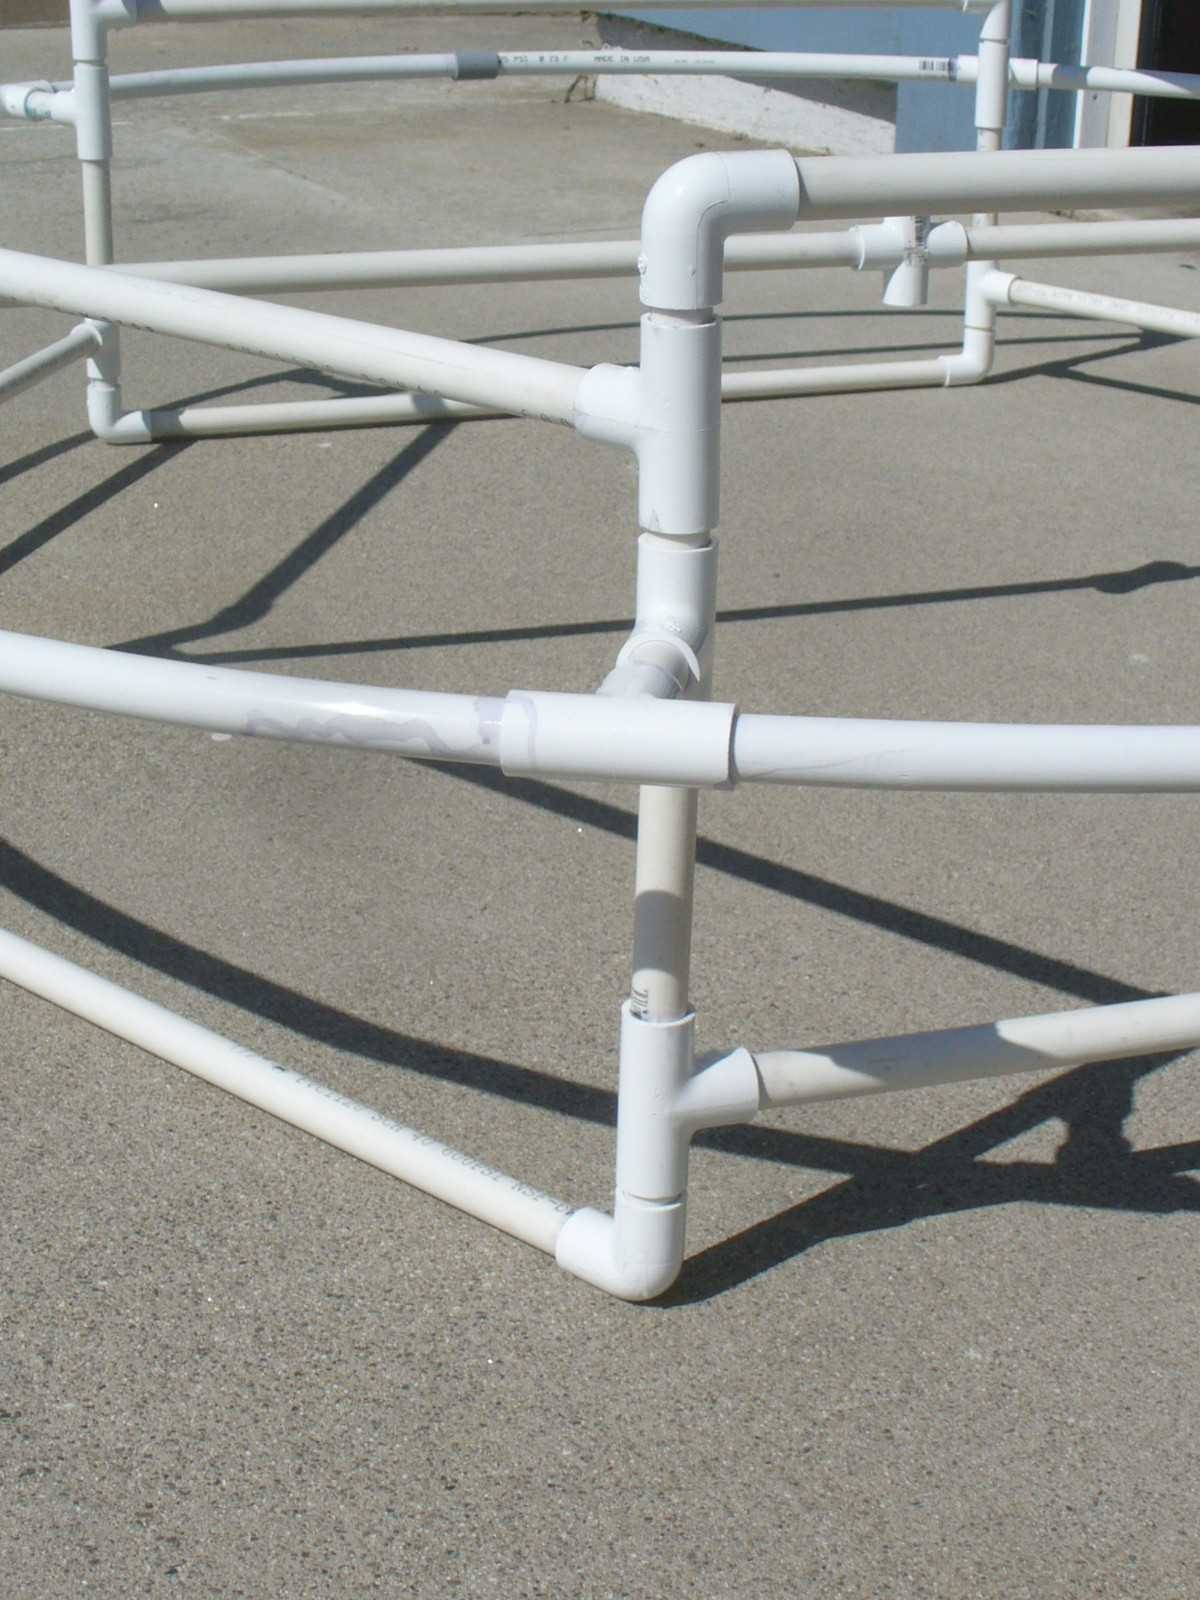
  • Assembly - joining hexagonal base pieces
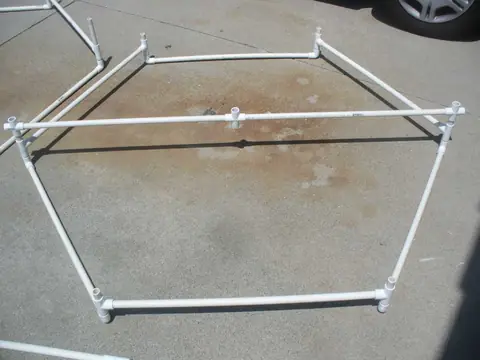
    Assembly - joining hexagonal base pieces

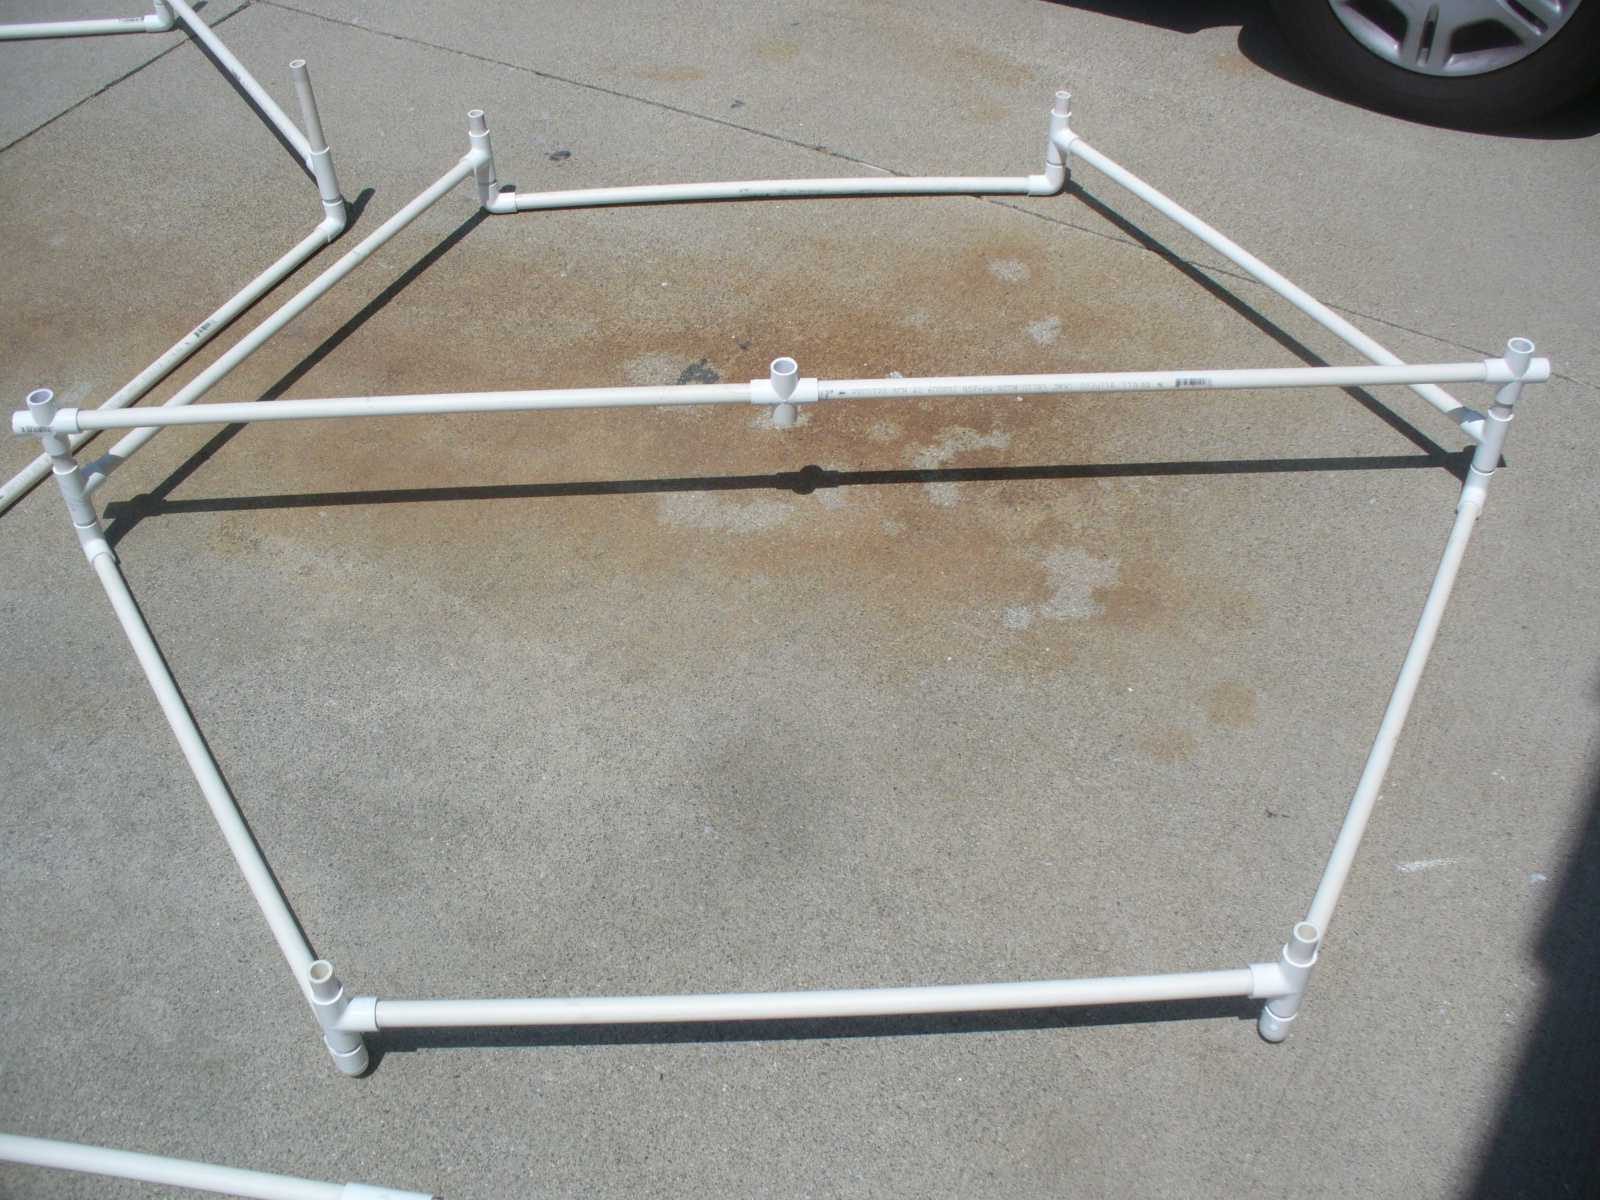
  • Assembly - hexagonal shape and cross-member connected
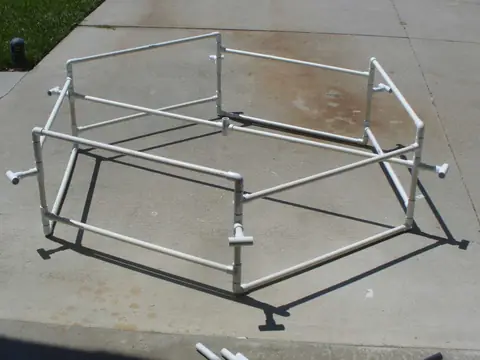
    Assembly - hexagonal shape and cross-member connected

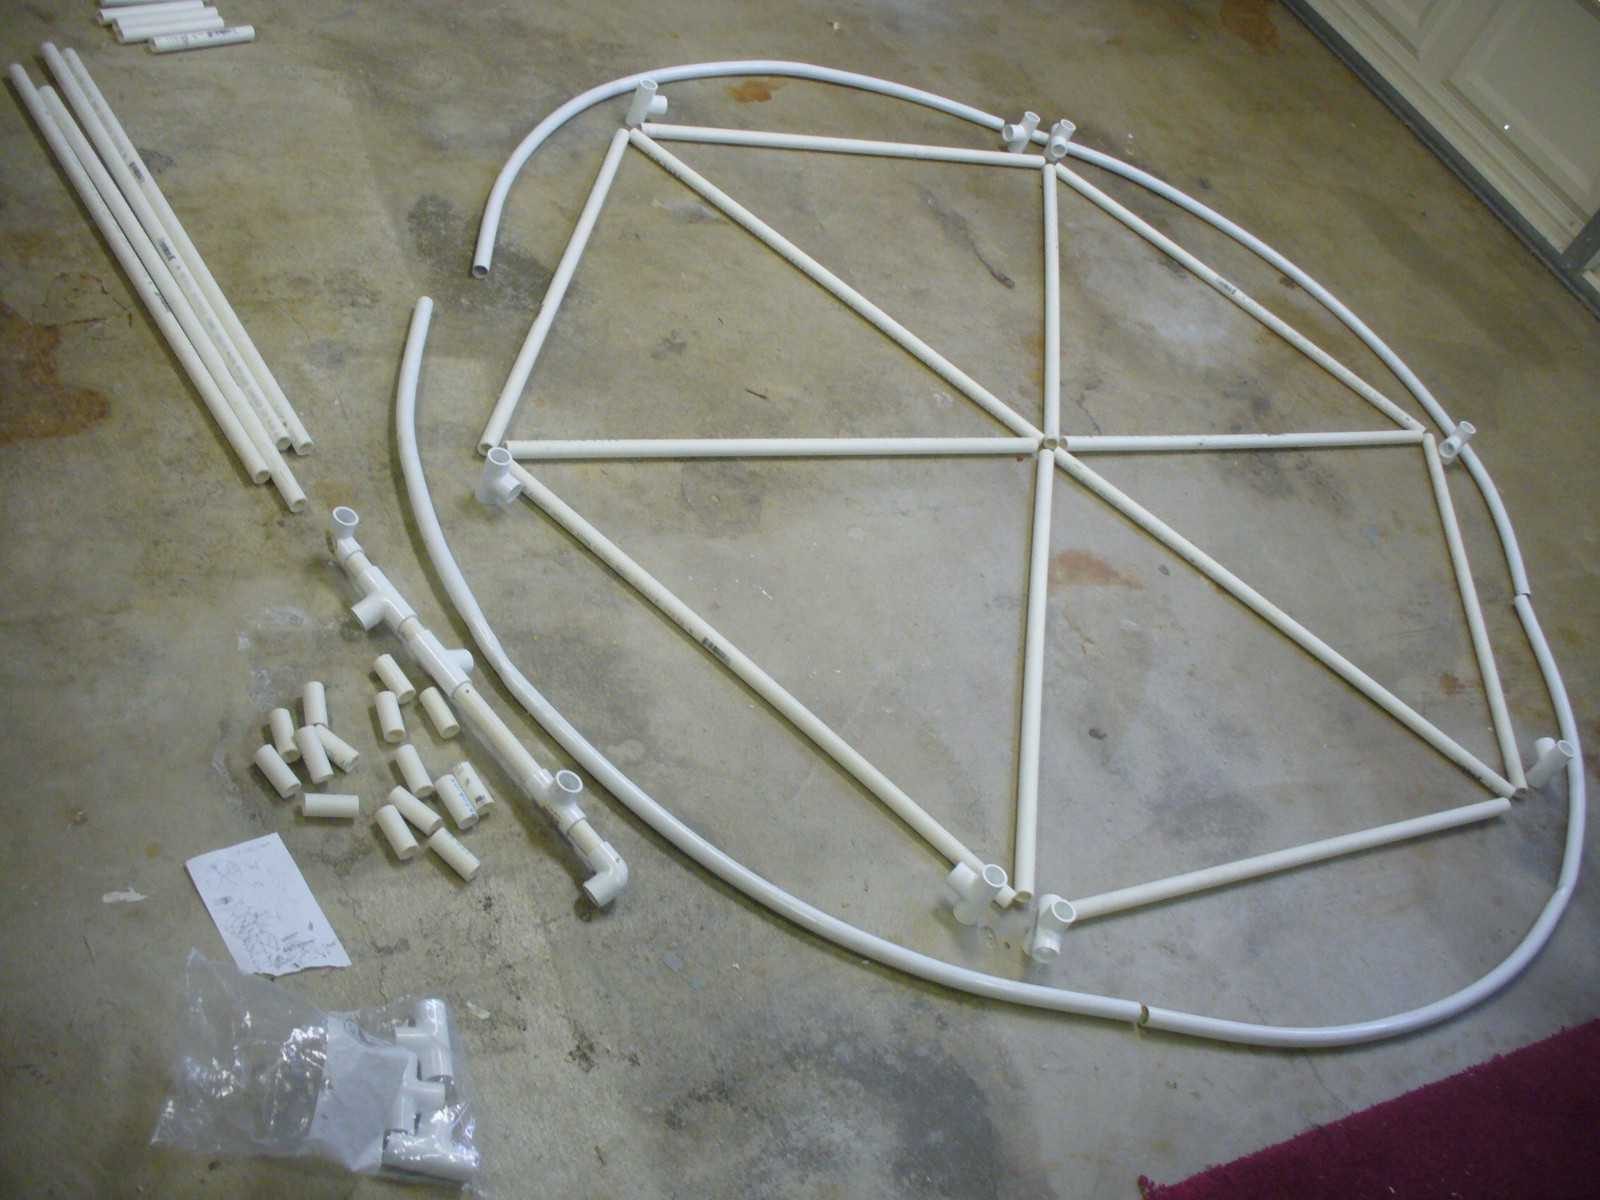
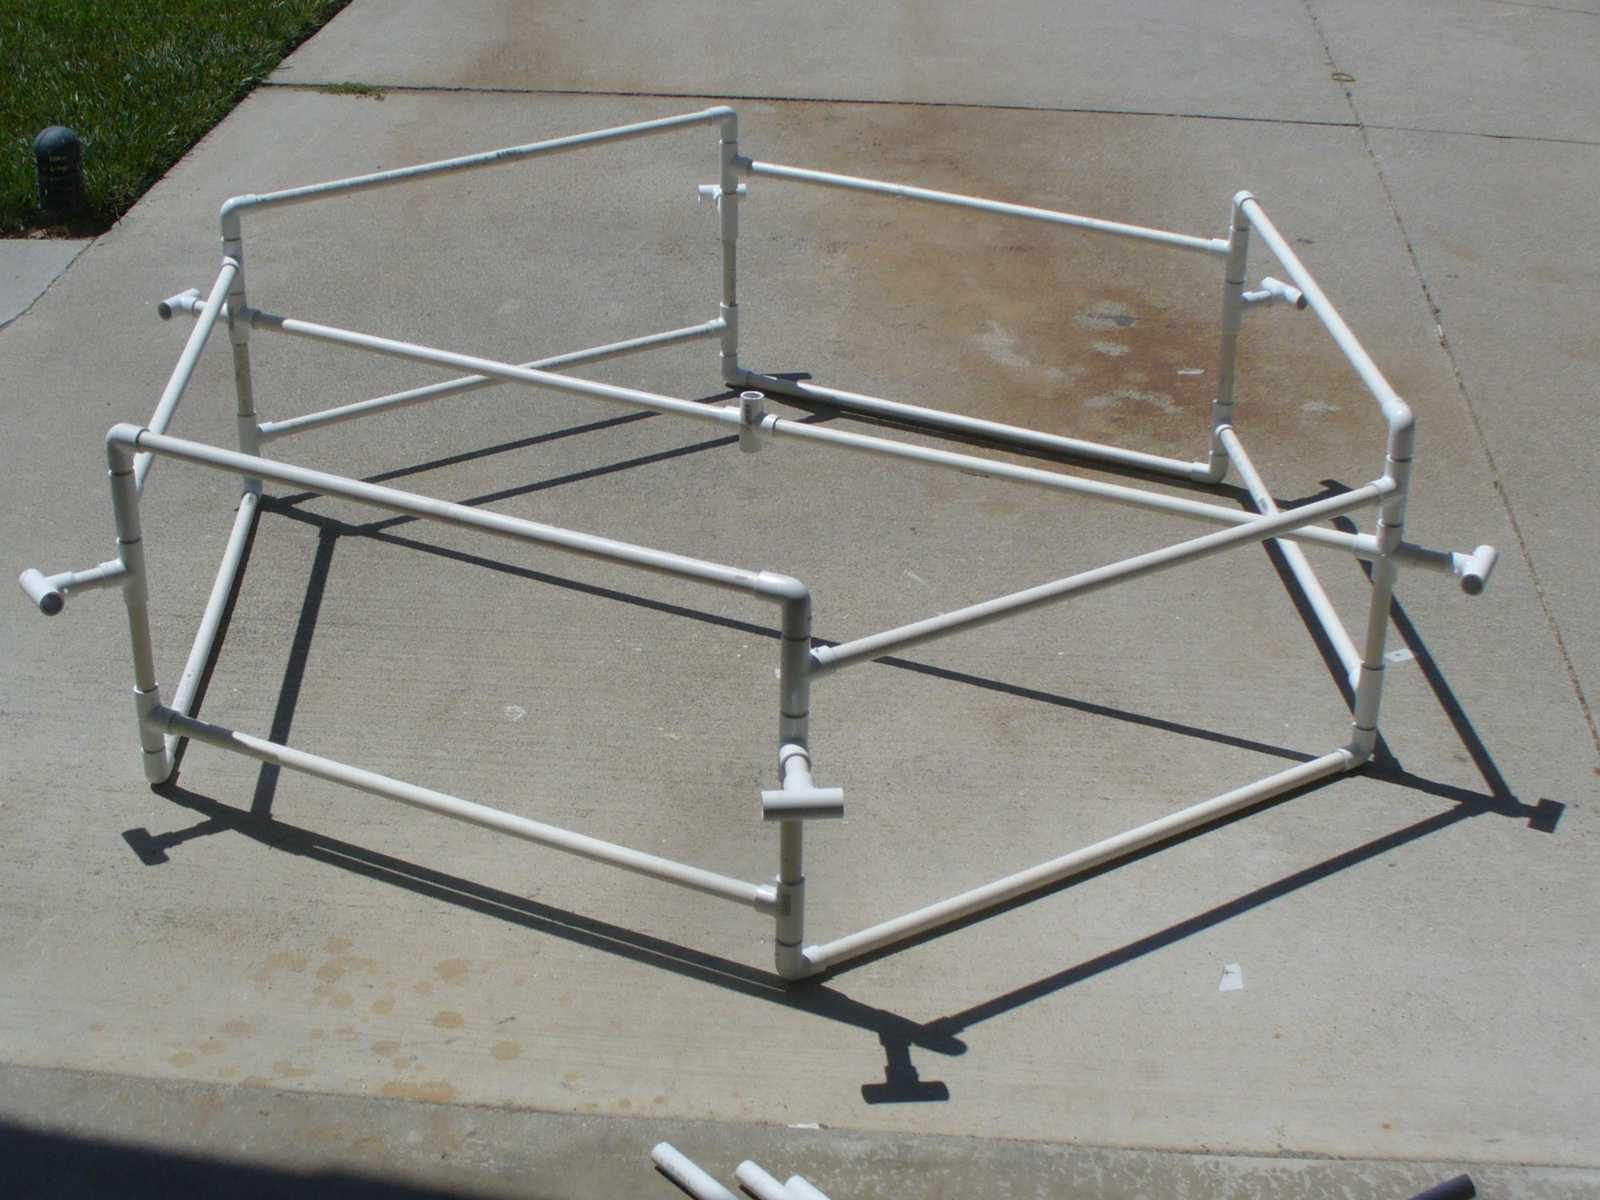
  • Assembly - hexagonal structure completed
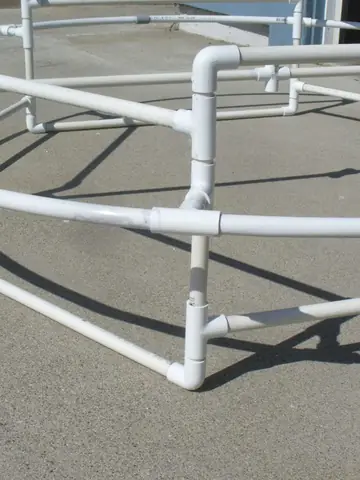
    Assembly - hexagonal structure completed

  • Assembly - add circular retaining piece to base
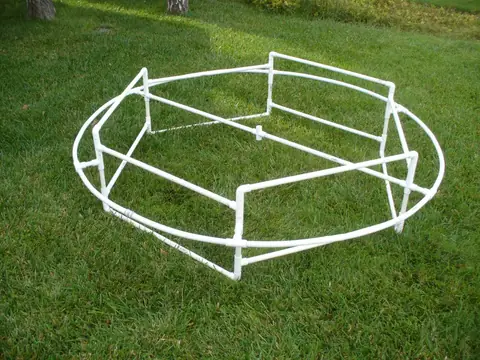
    Assembly - add circular retaining piece to base

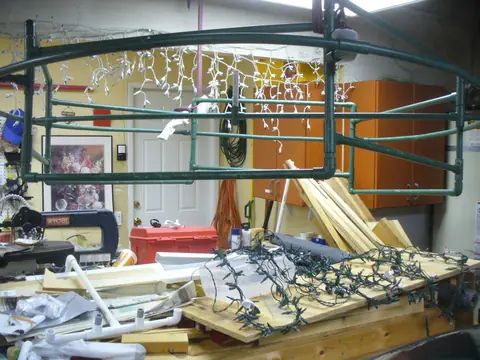
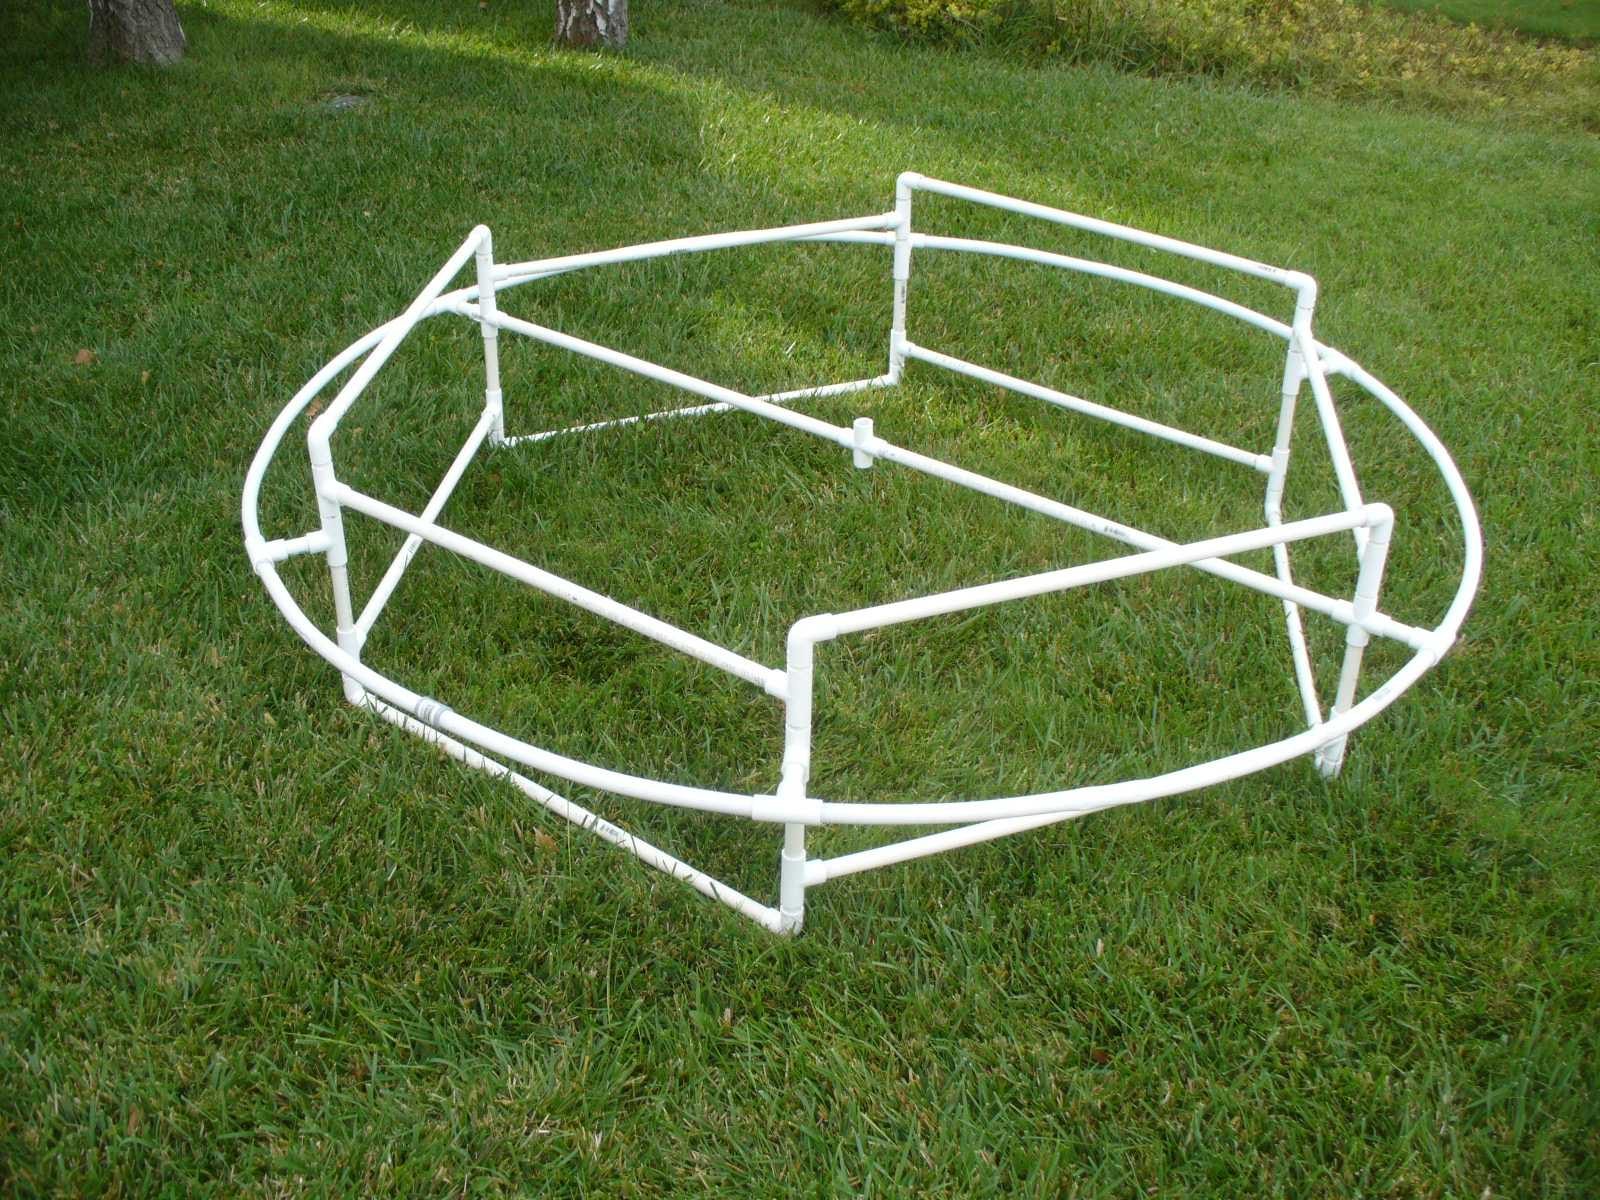
  • Base completed

    Base completed

  • Storage until setup day

    Storage until setup day

M-tree SSR photos
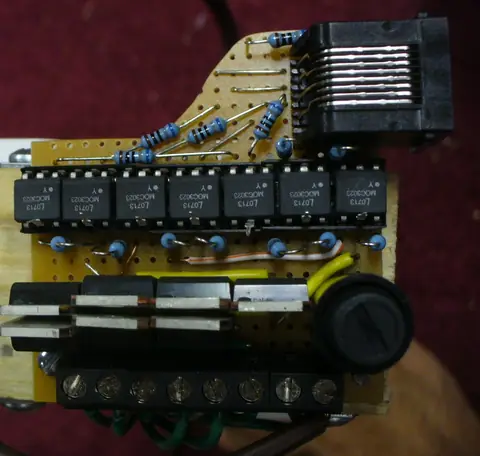
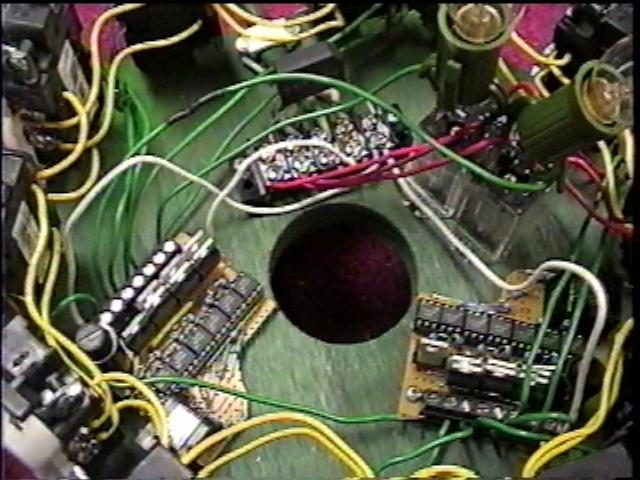
  • Two of these SSR7s were used on the M-tree
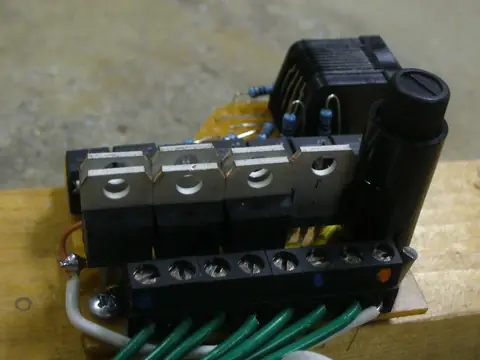
    Two of these SSR7s were used on the M-tree
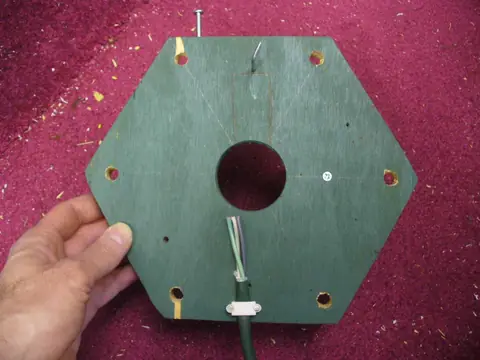
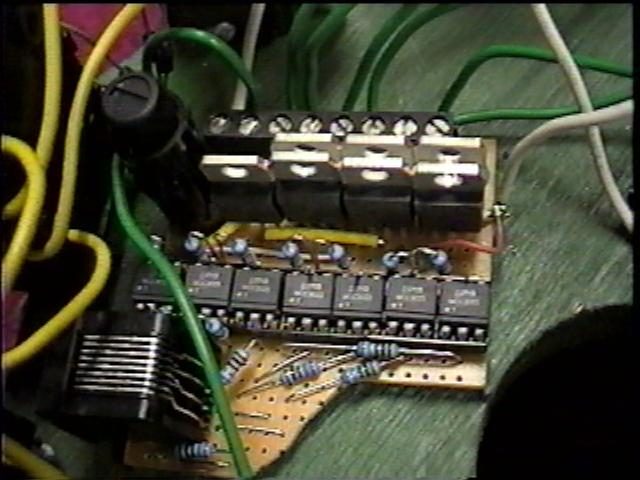
  • Two of these SSR7s were used on the M-tree

    Two of these SSR7s were used on the M-tree

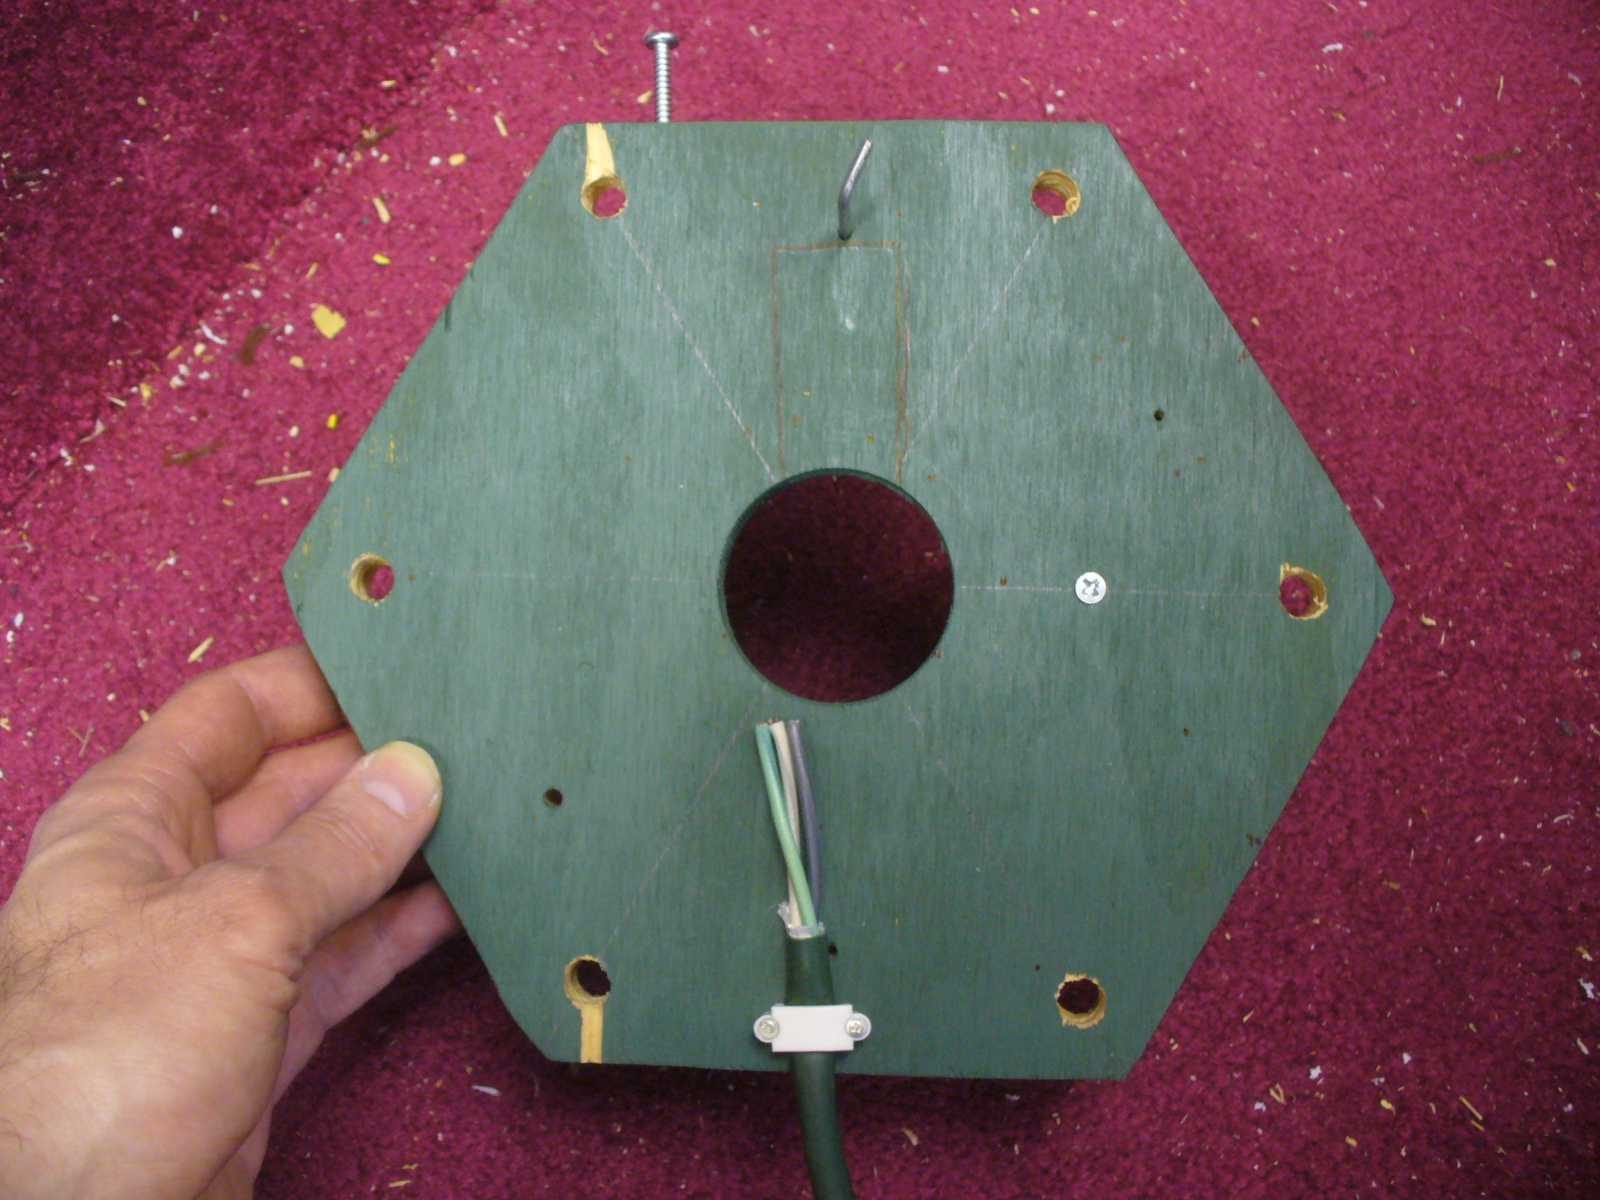
  • SSR enclosure - base

    SSR enclosure - base

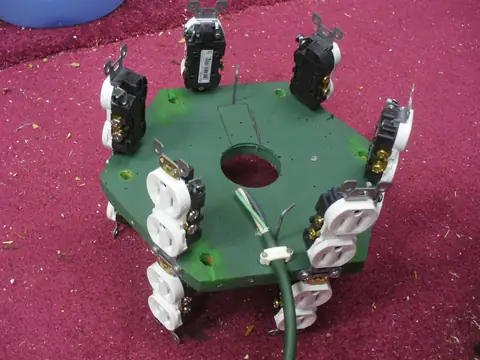
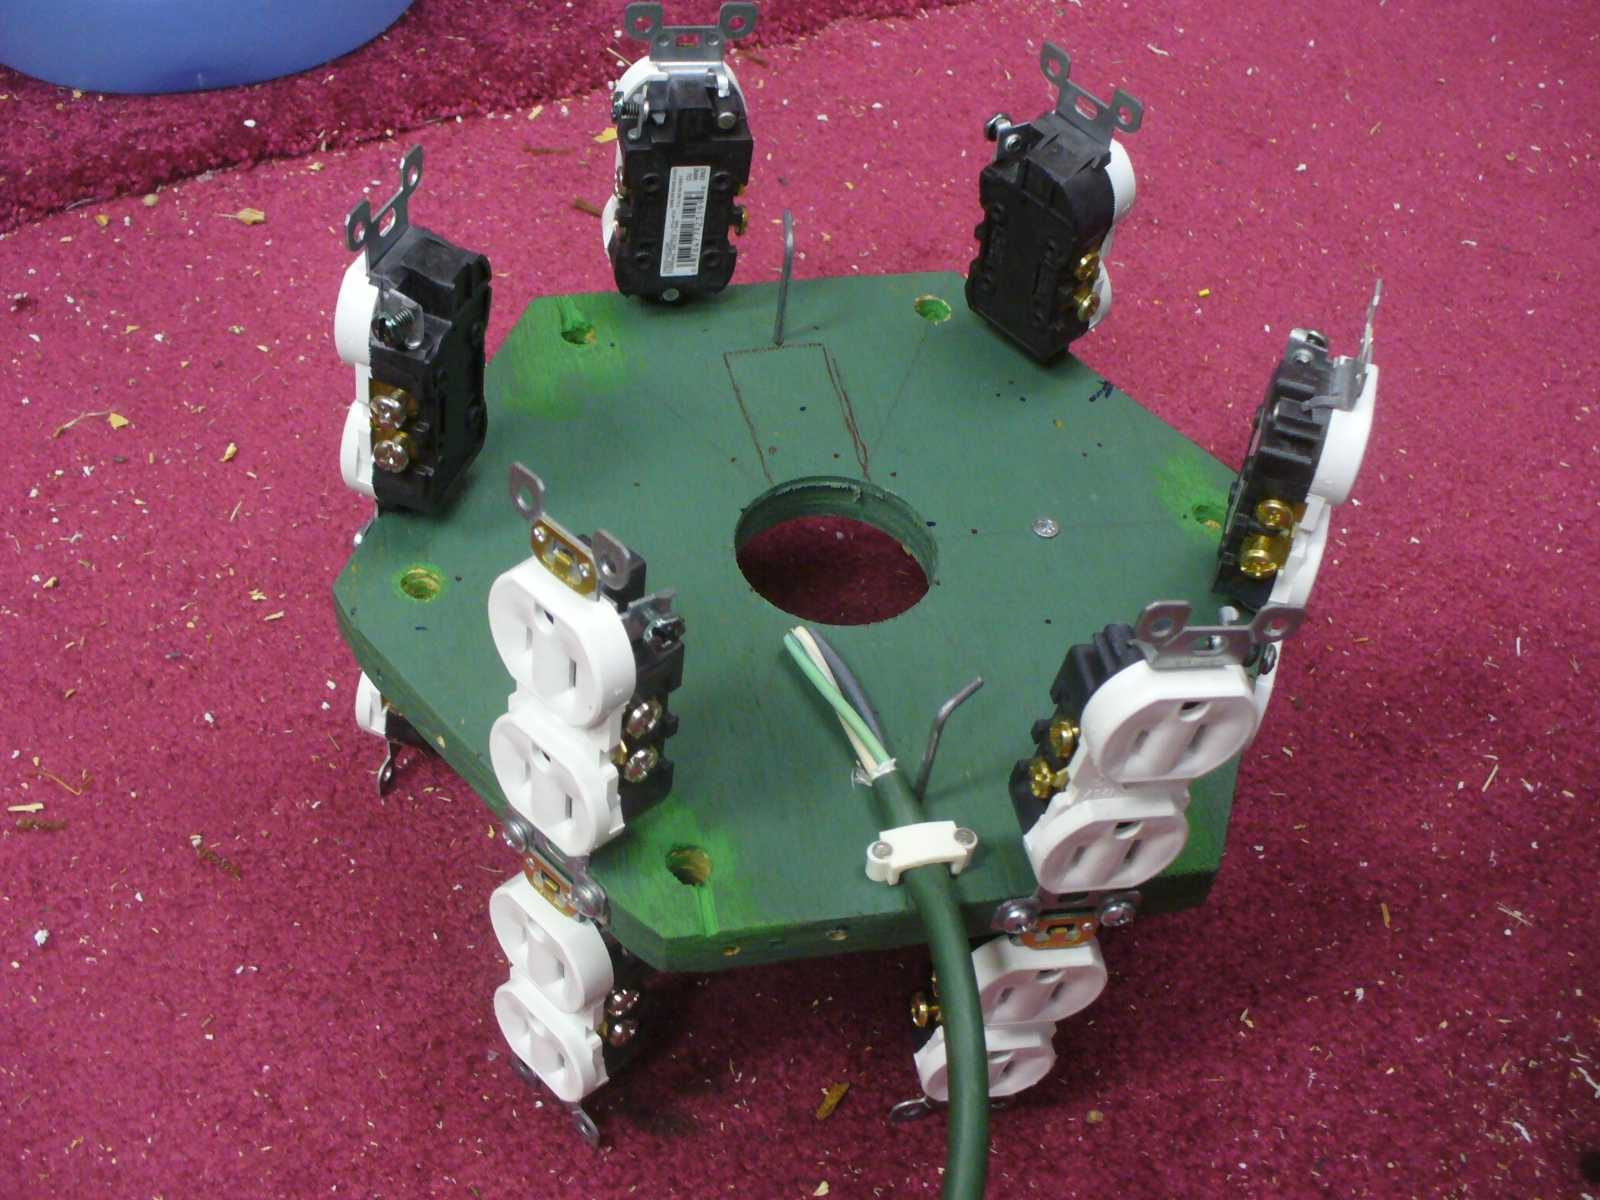
  • SSR enclose with power cord and a few outlets
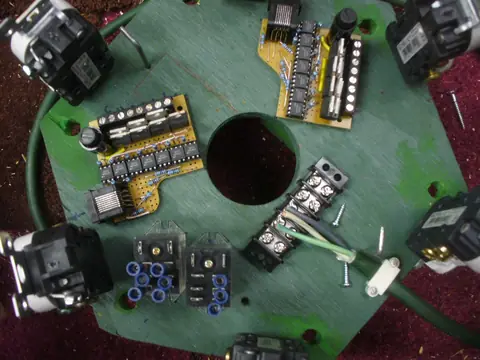
    SSR enclose with power cord and a few outlets

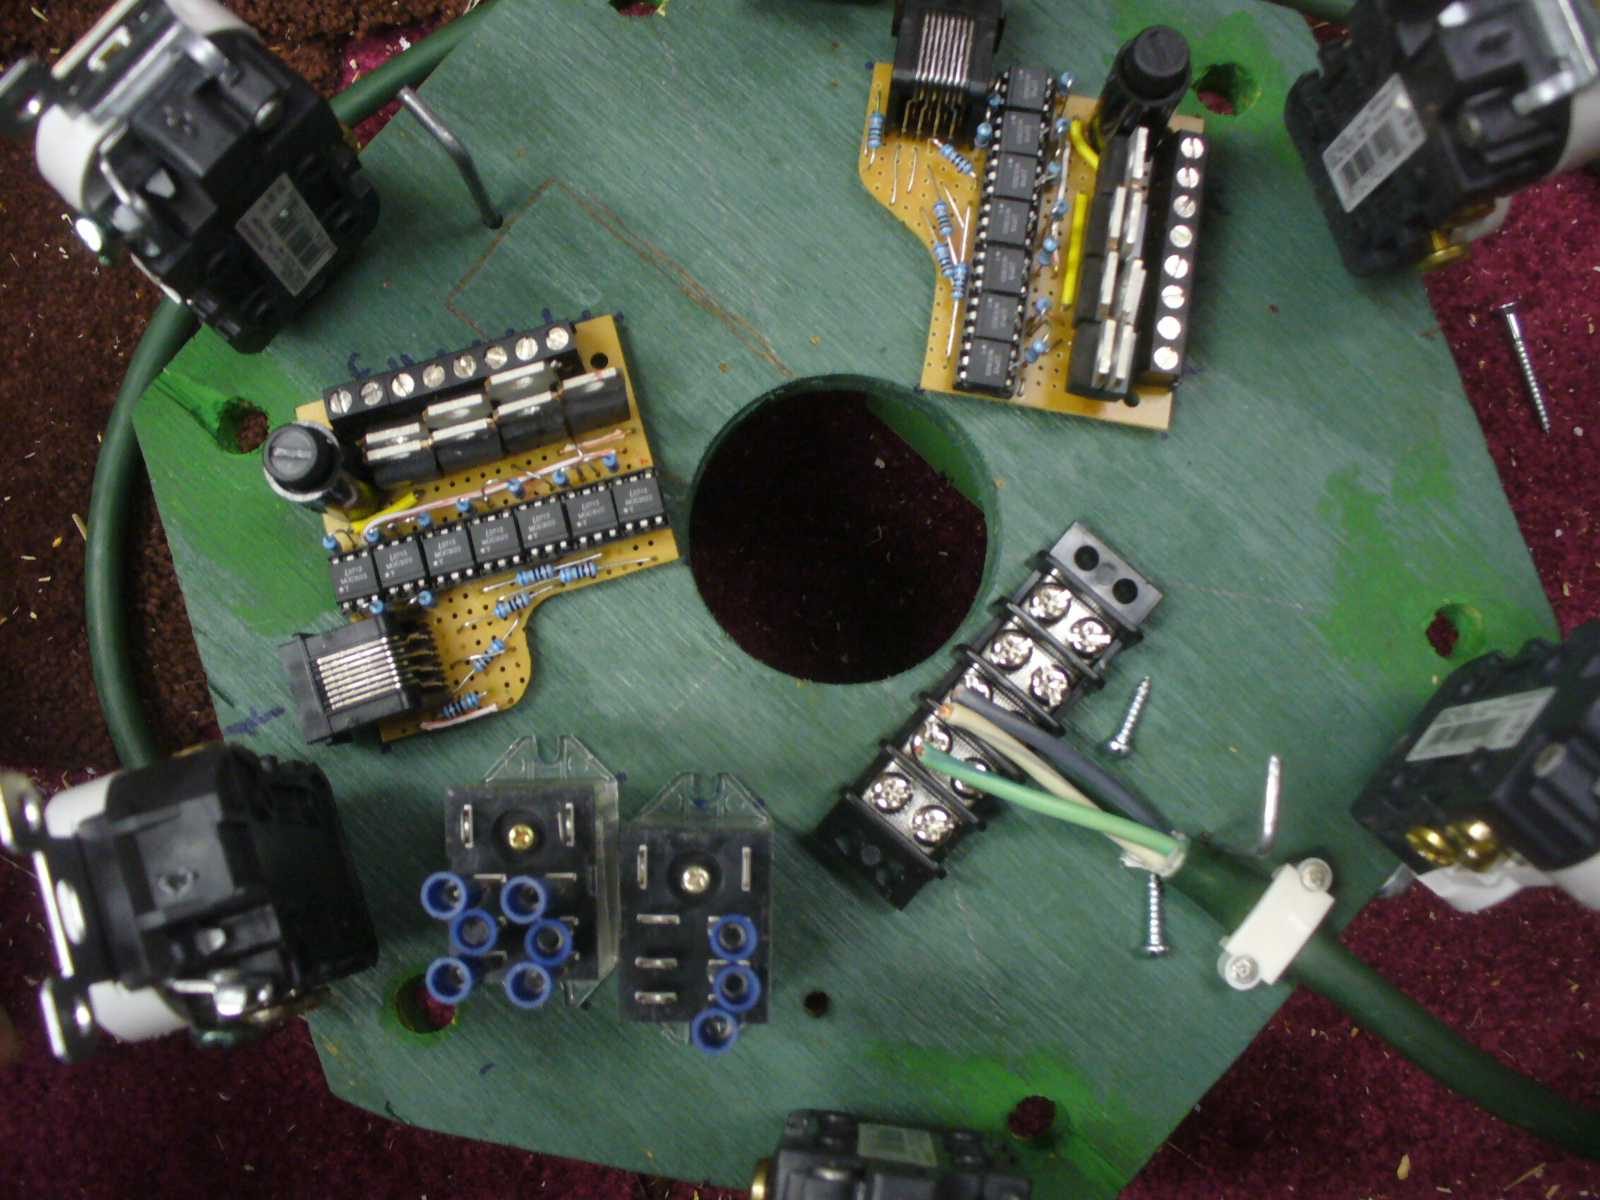
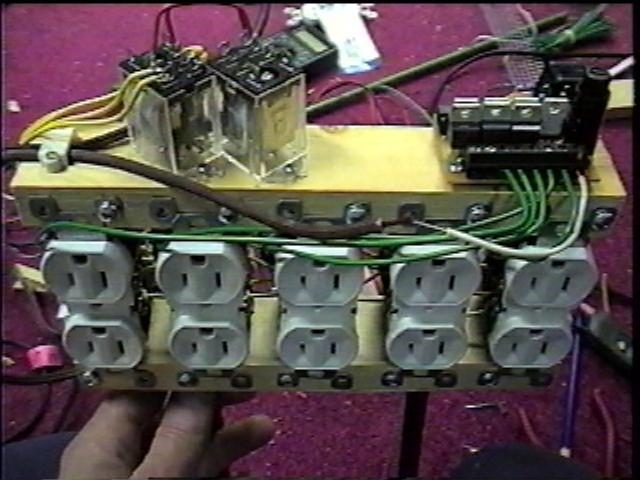
  • SSR enclosure with SSR7s, relay and power strip added
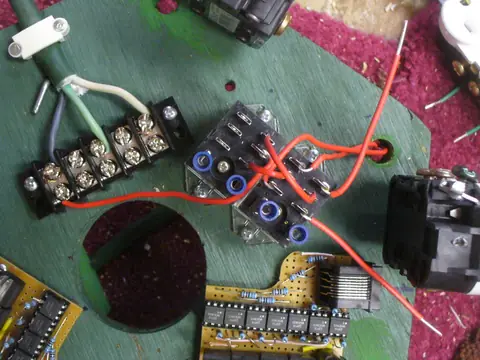
    SSR enclosure with SSR7s, relay and power strip added

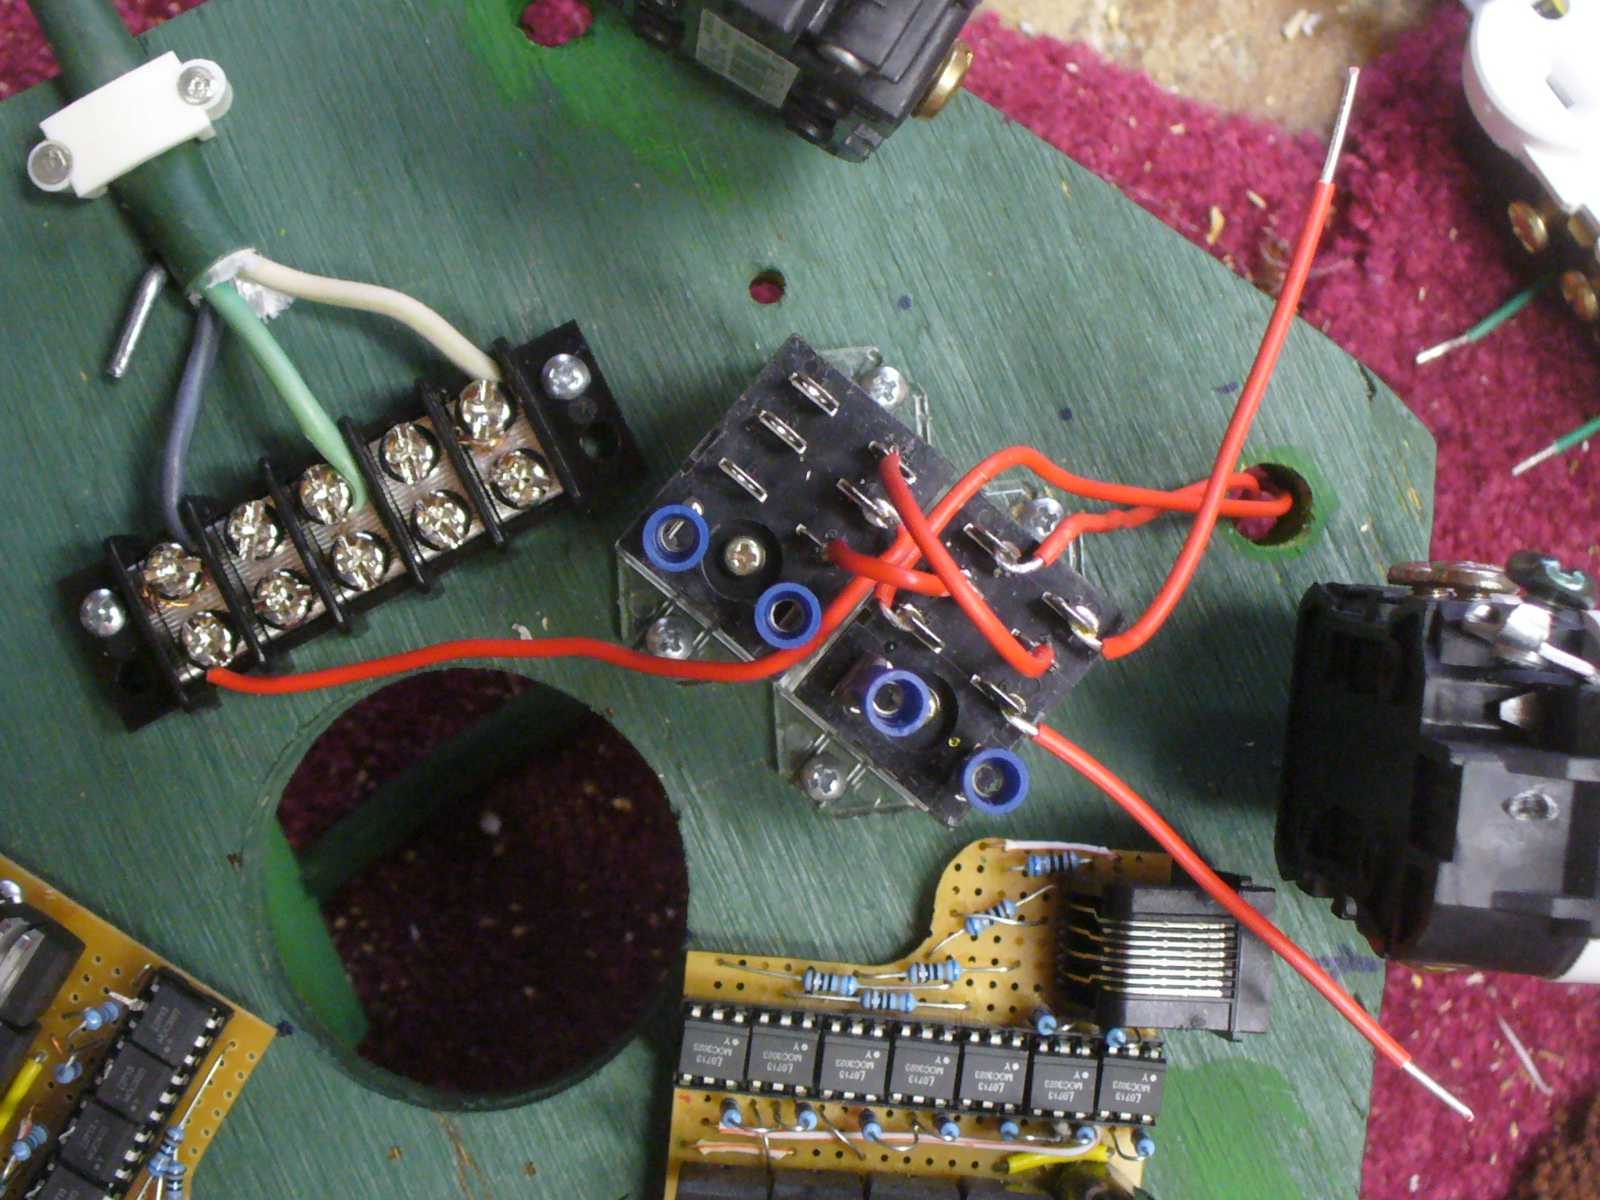
  • SSR enclosure - adding power returns (red wires) from relays for each color
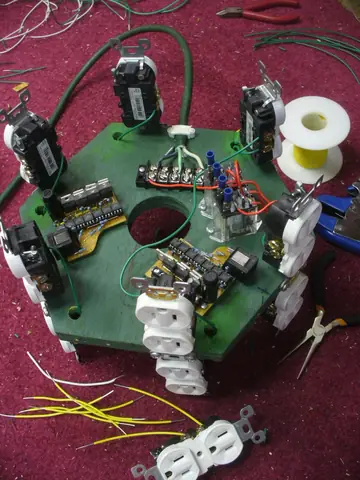
    SSR enclosure - adding power returns (red wires) from relays for each color

  • SSR enclosure - starting to add individual channel supplies (green wires)
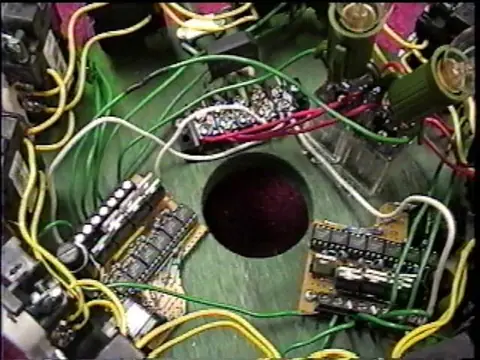
    SSR enclosure - starting to add individual channel supplies (green wires)

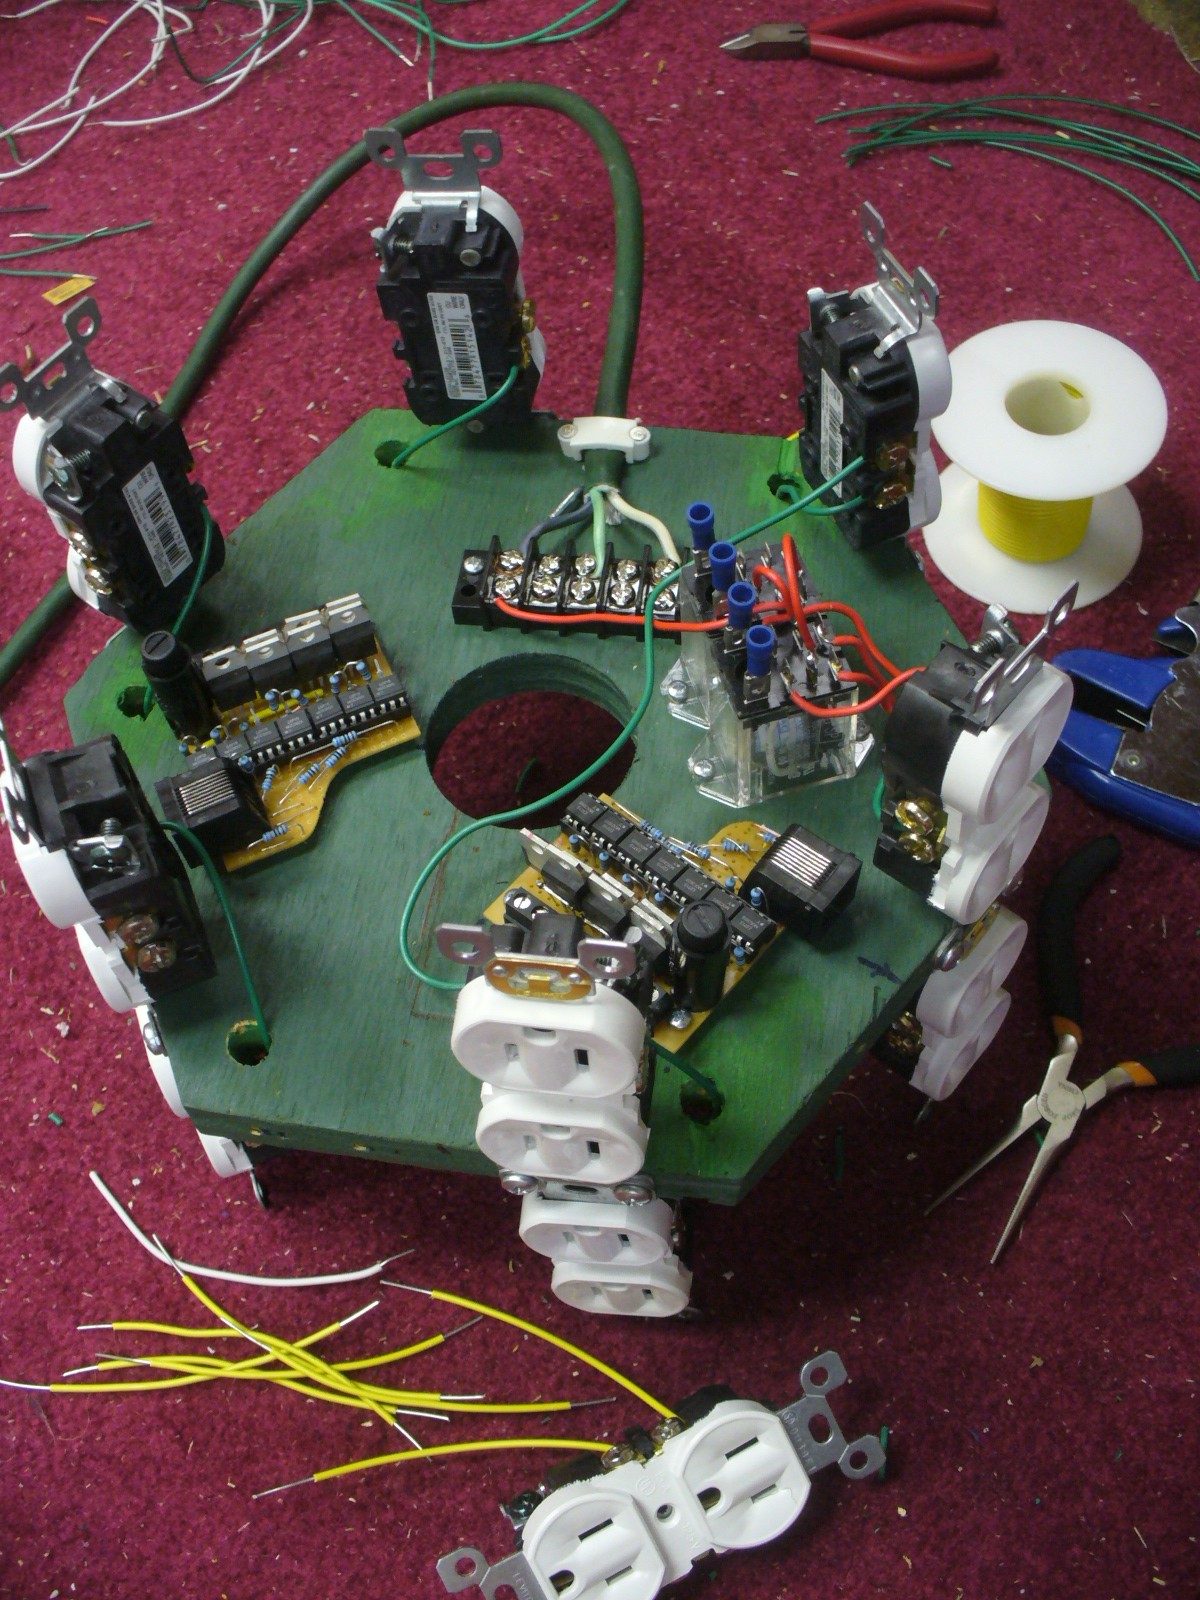
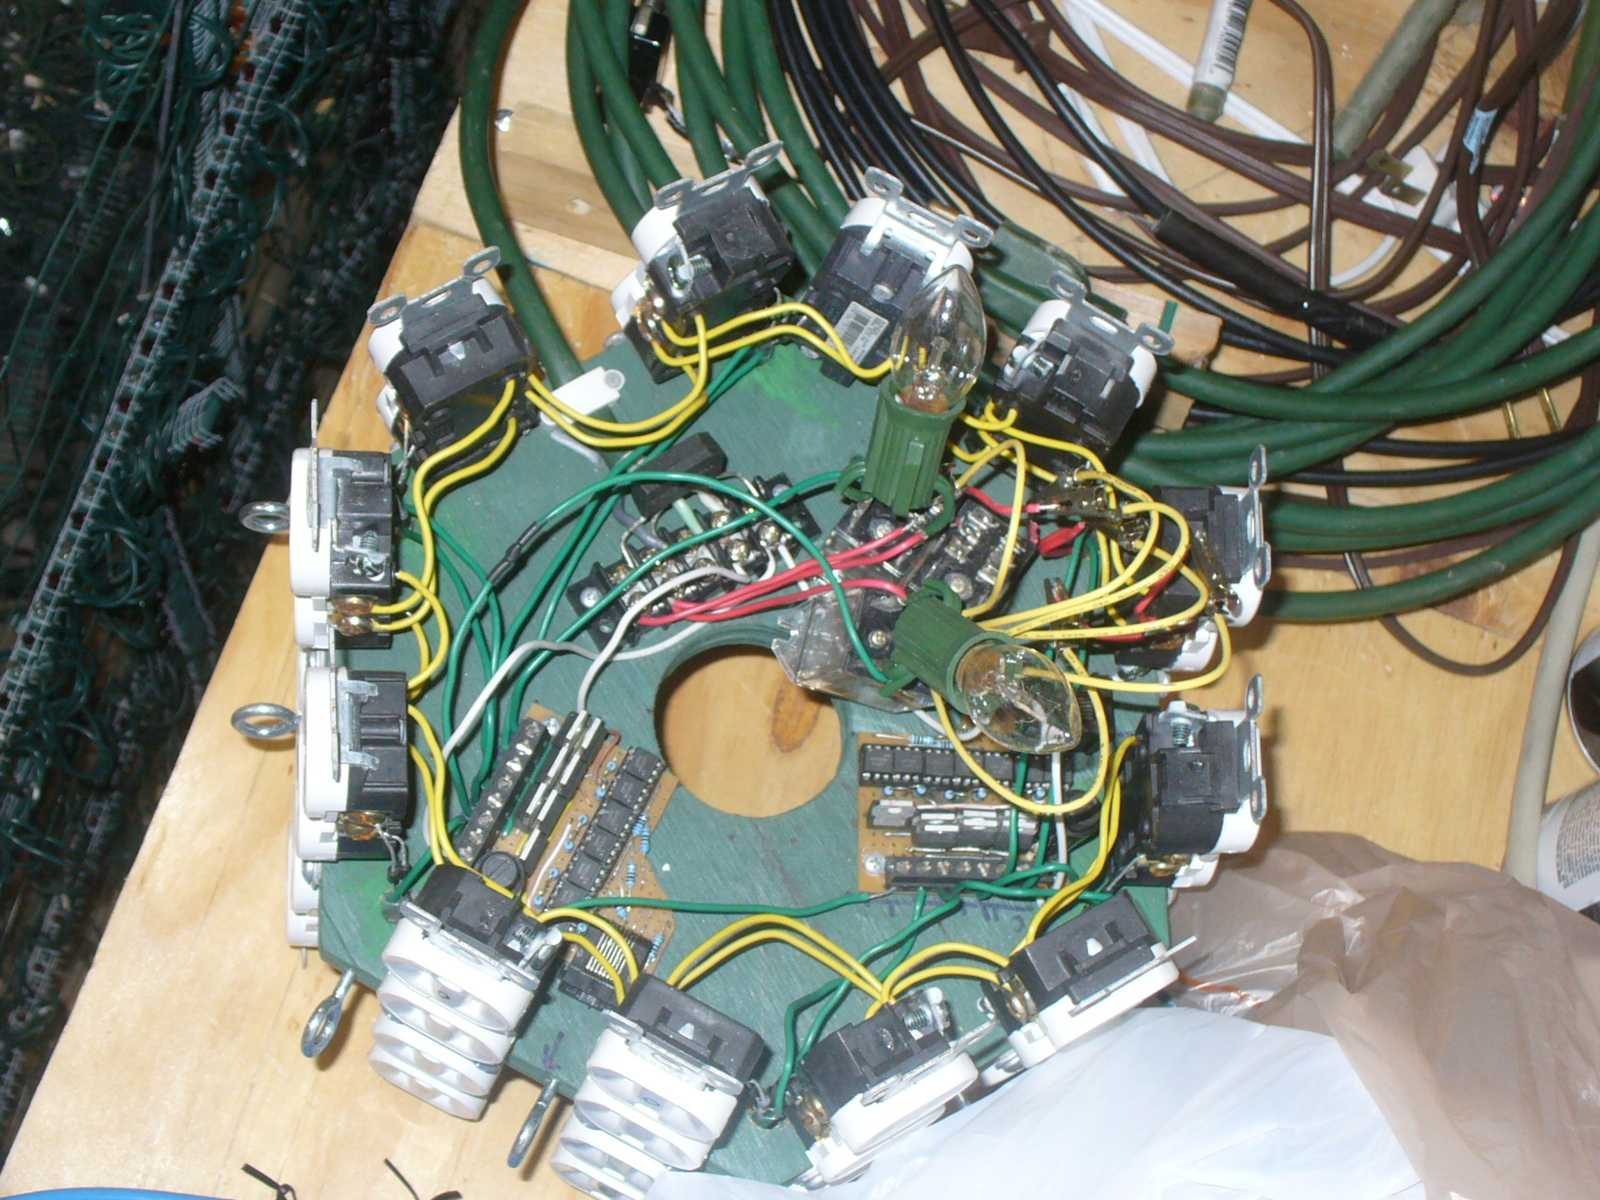
  • SSR enclosure - wiring complete

    SSR enclosure - wiring complete

  • SSR enclosure - one of 2 SSR7s wired

    SSR enclosure - one of 2 SSR7s wired

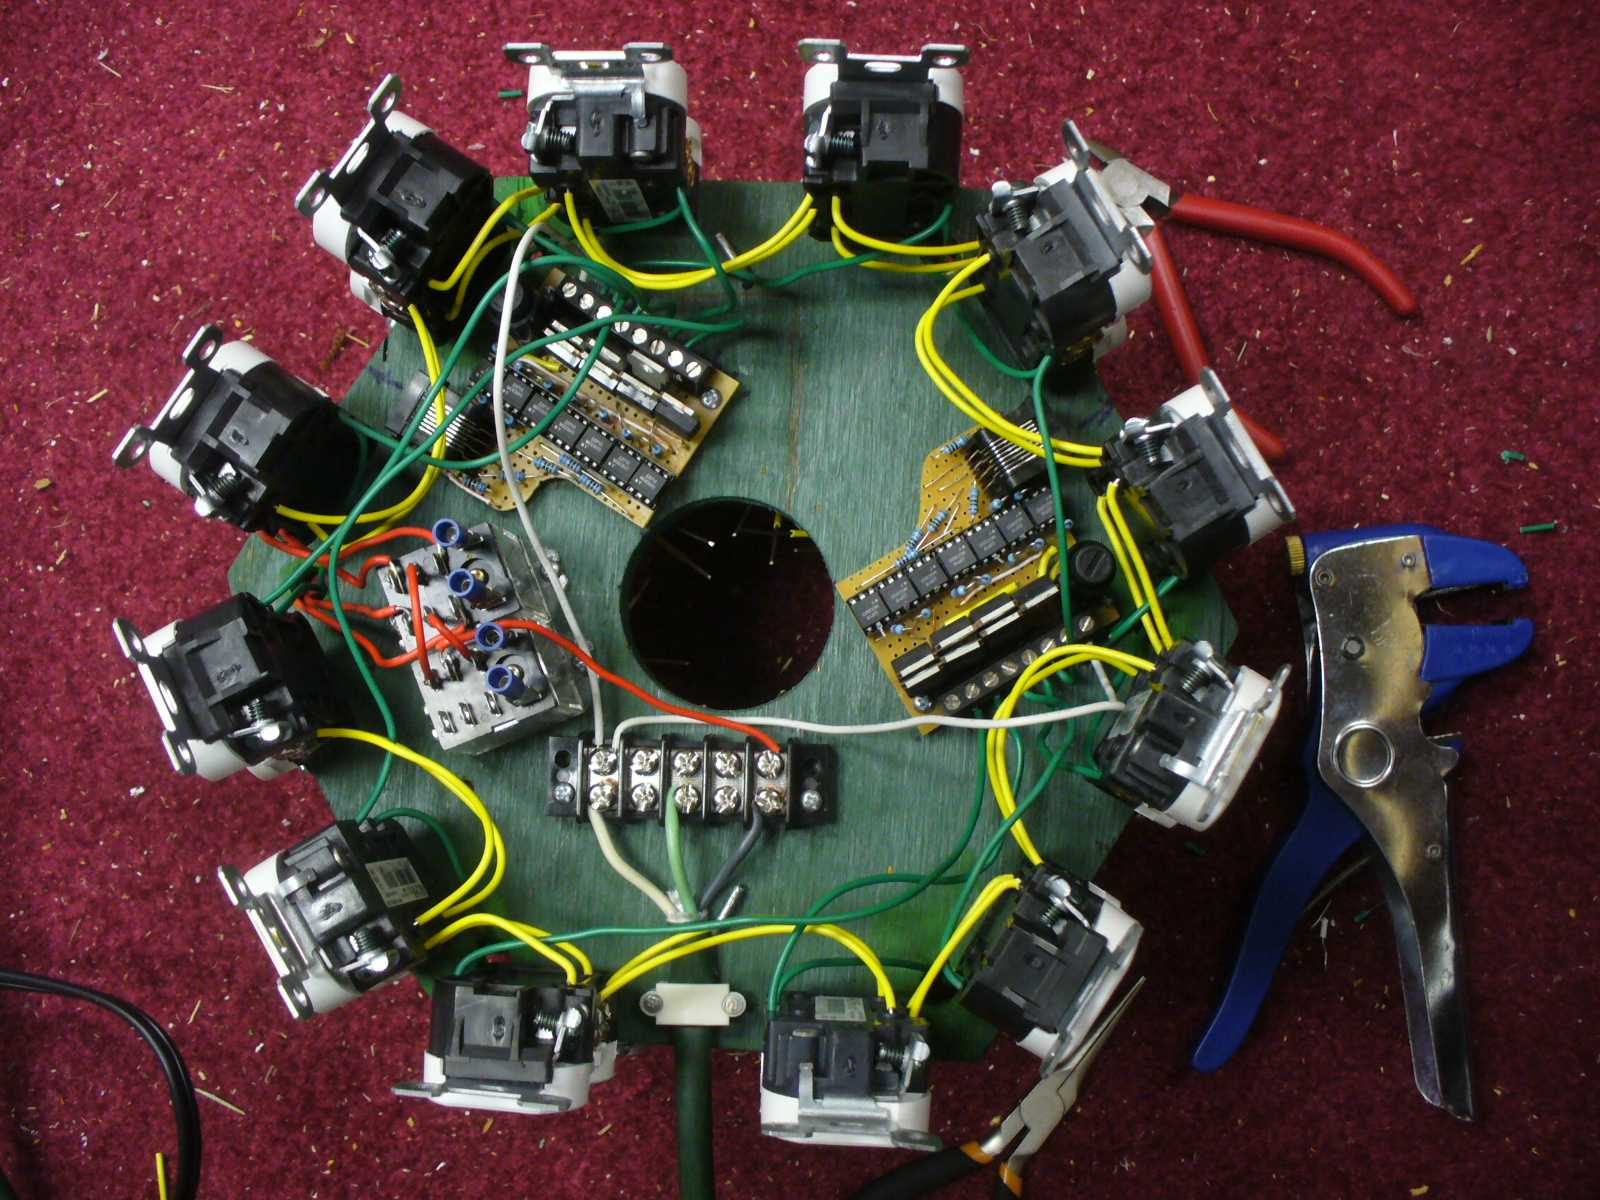
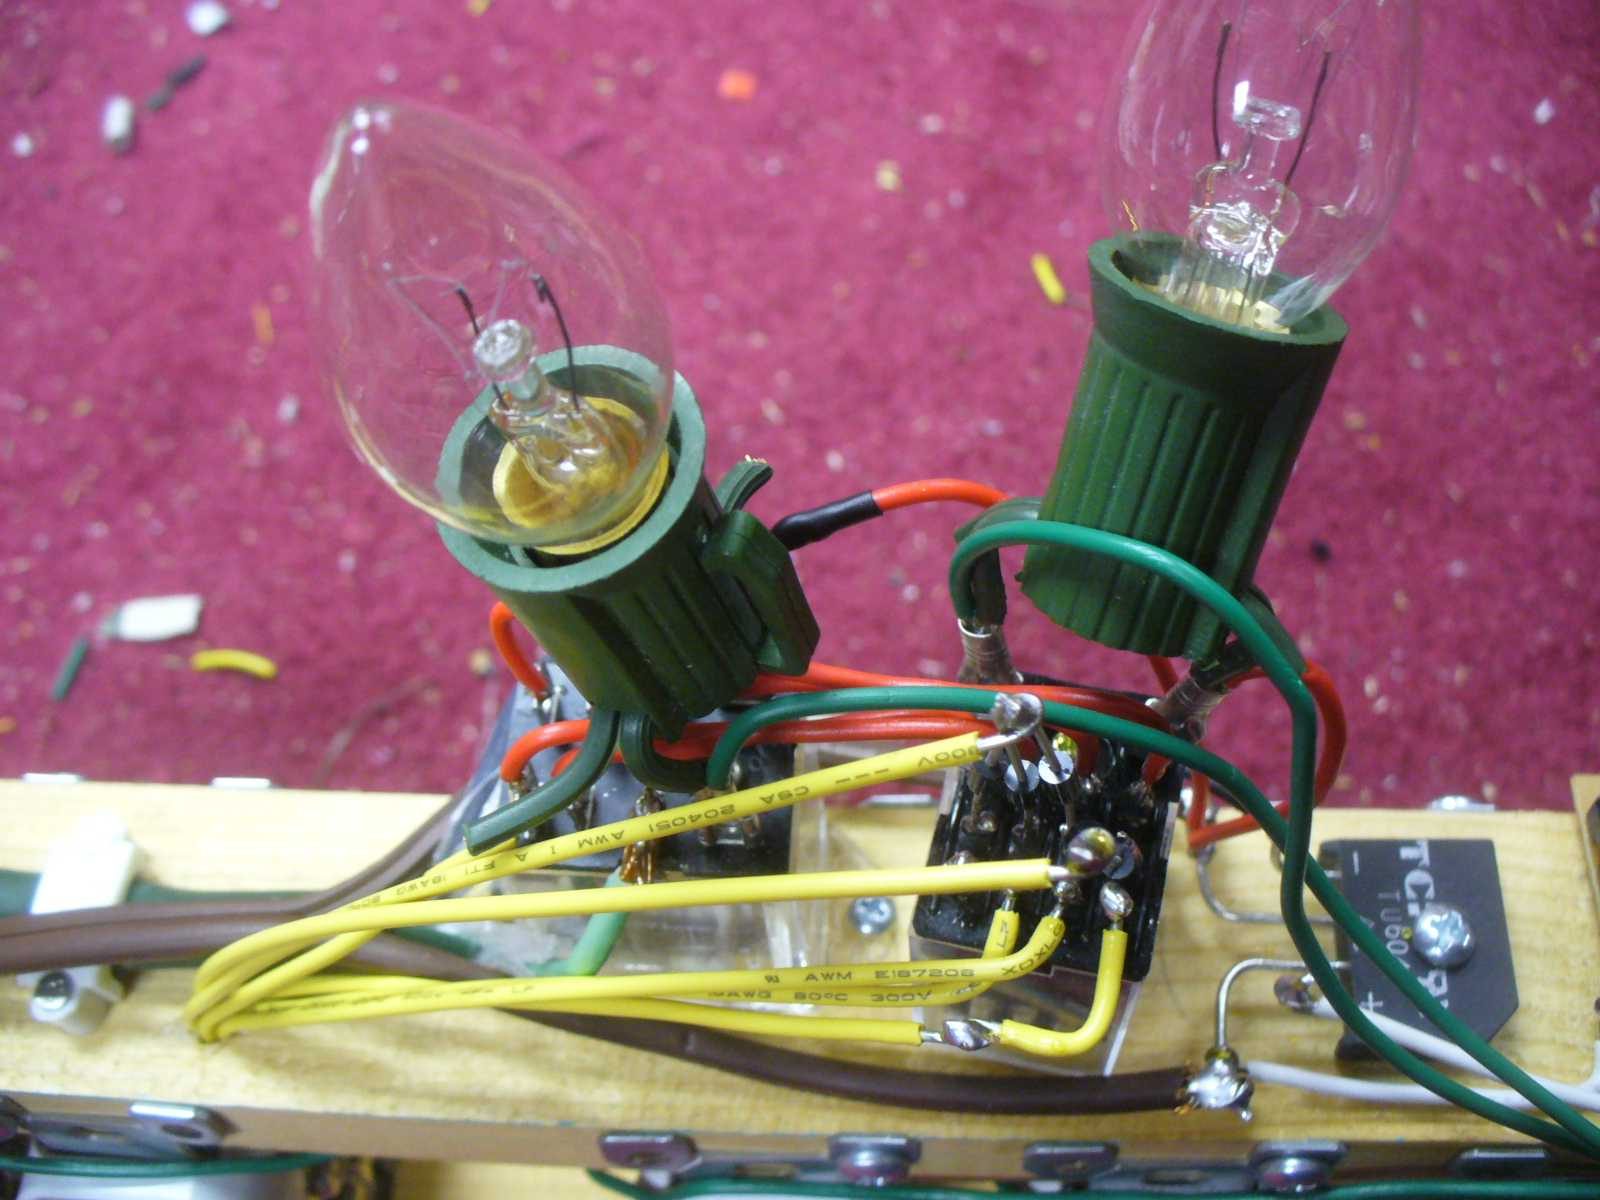
  • SSR enclosure - wiring completed except for bridge (top view)
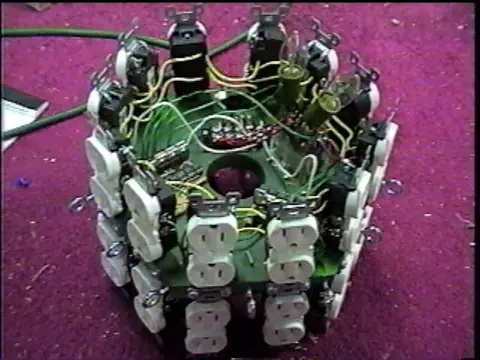
    SSR enclosure - wiring completed except for bridge (top view)

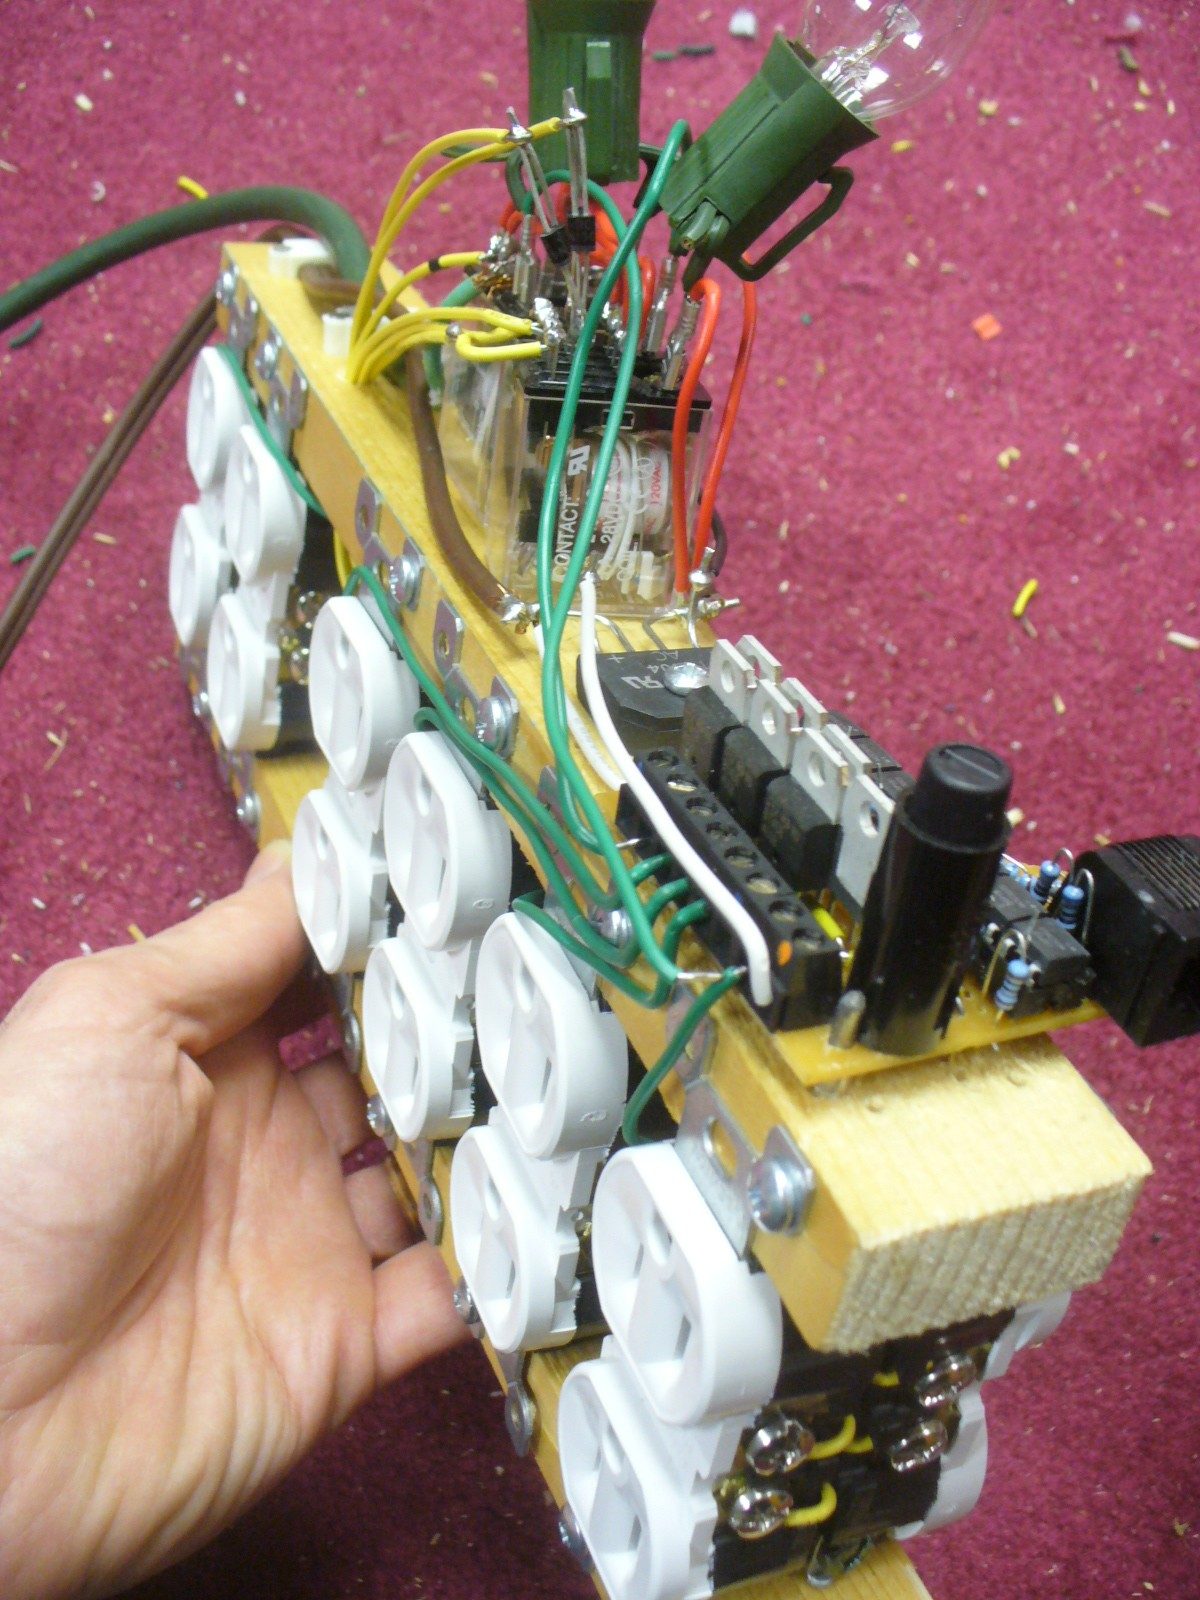
  • SSR enclosure - wiring completed except for bridge (another view)
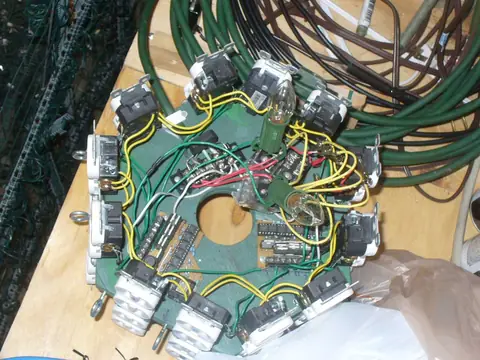
    SSR enclosure - wiring completed except for bridge (another view)

  • SSR enclosure - wiring complete (bridge fastened to power strip)
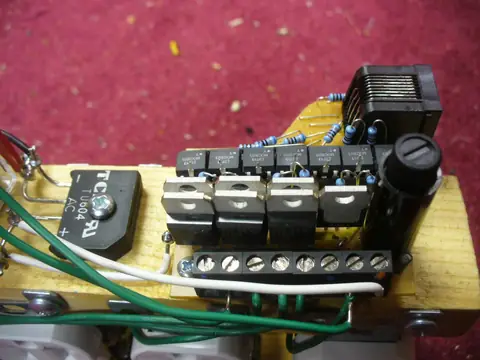
    SSR enclosure - wiring complete (bridge fastened to power strip)

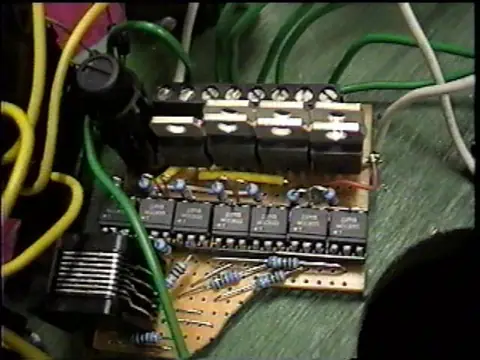
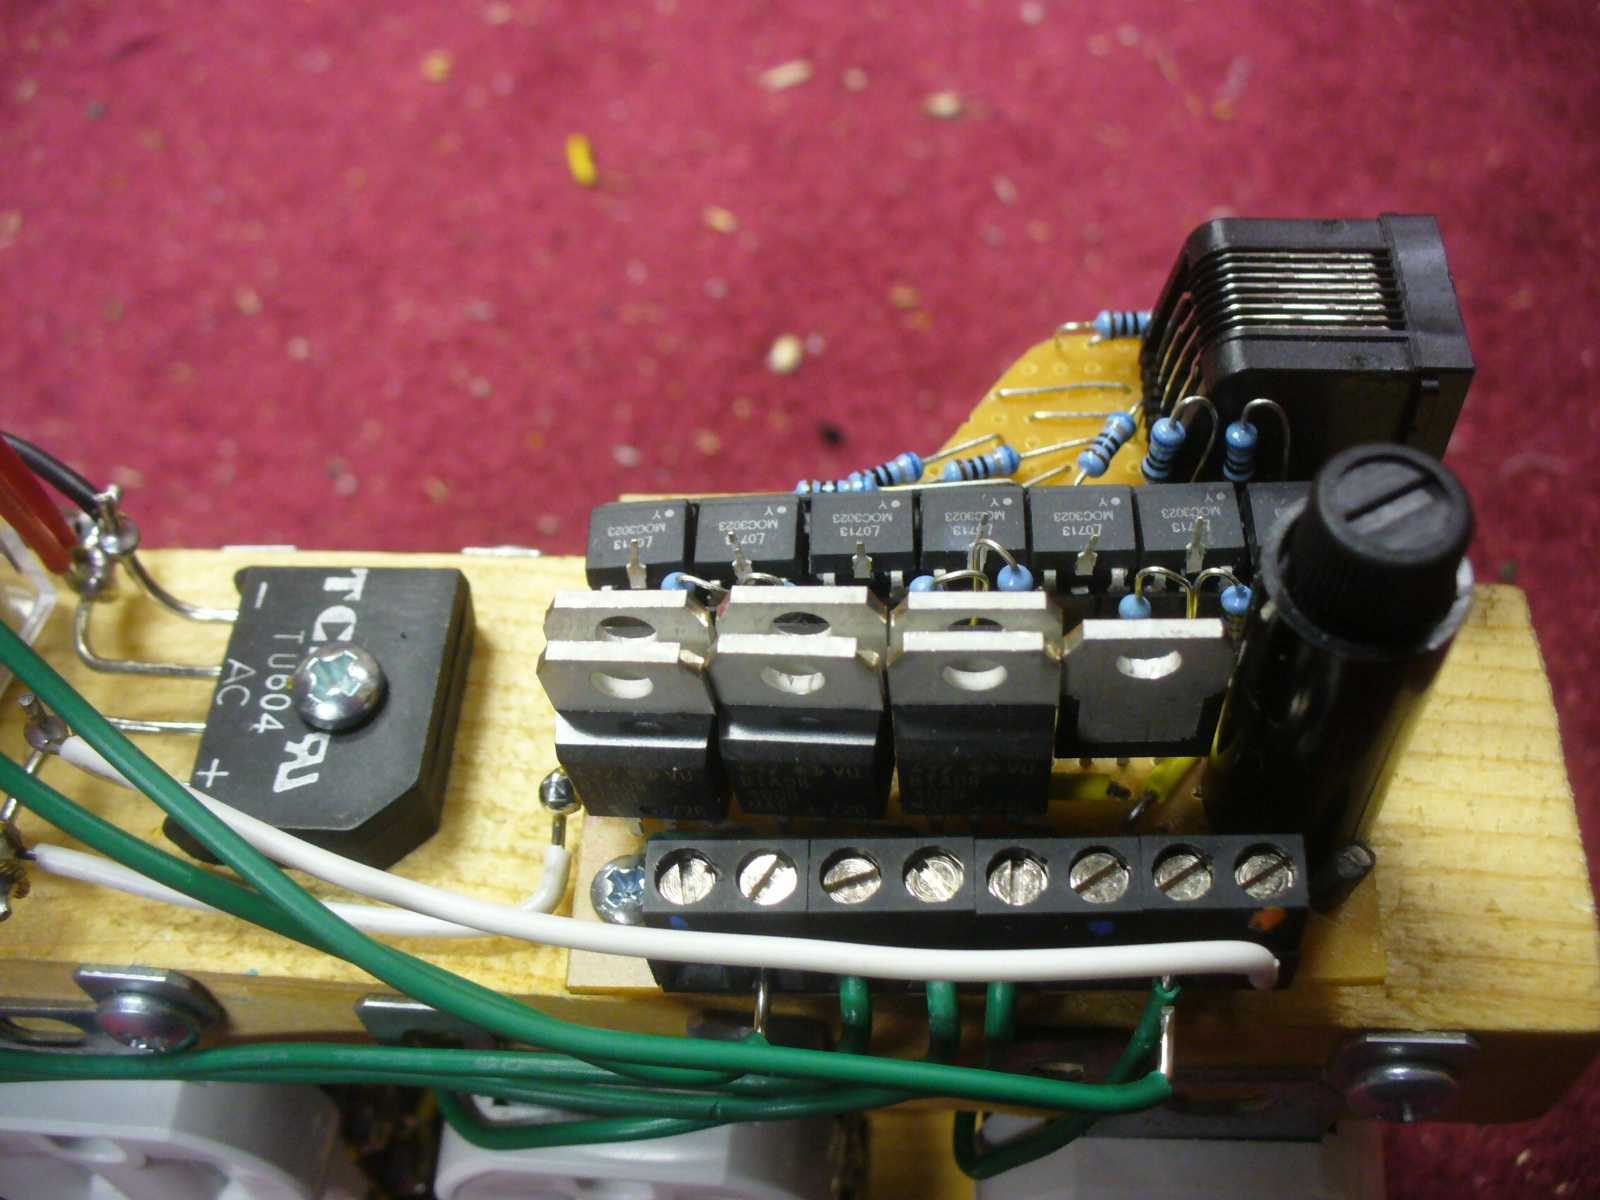
  • Shot of a bridge and SSR7 from another enclosure
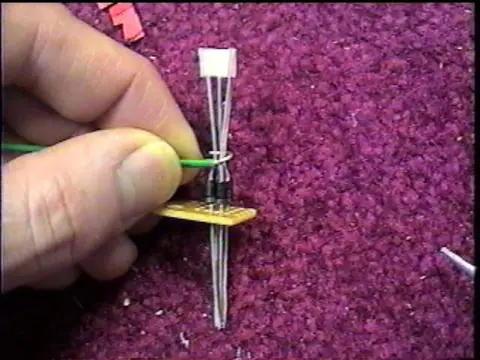
    Shot of a bridge and SSR7 from another enclosure

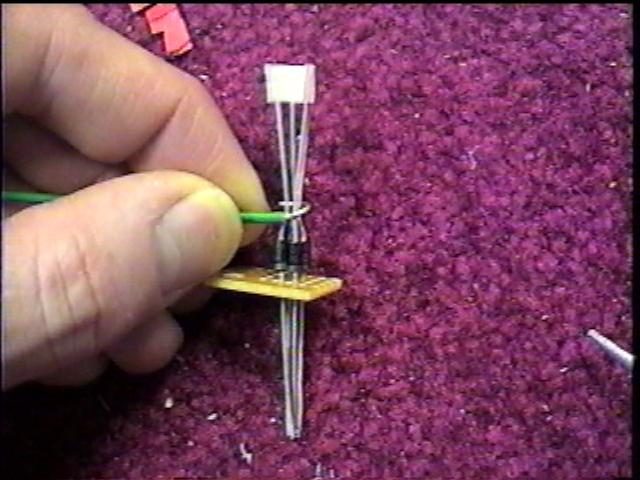
  • Connecting diodes (preparation)

    Connecting diodes (preparation)

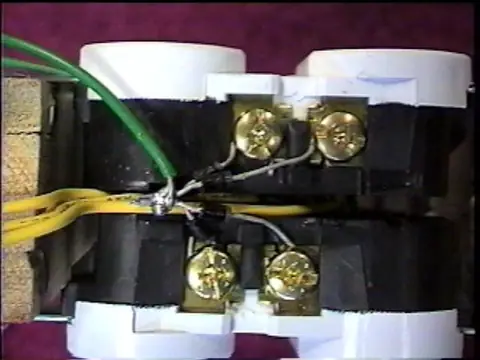
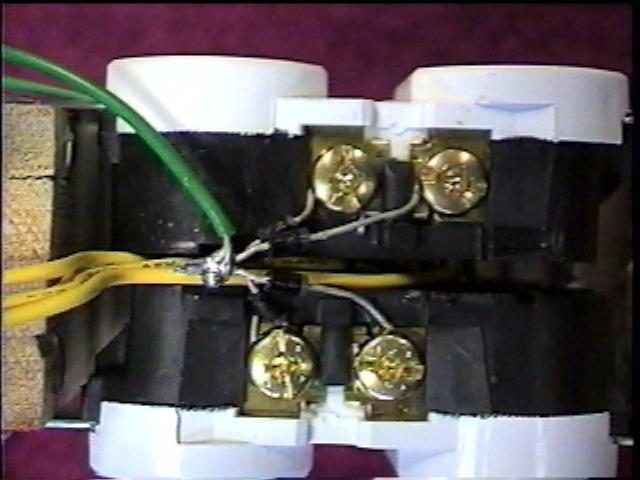
  • Connecting diodes - example showing connection to outlets in another enclosure
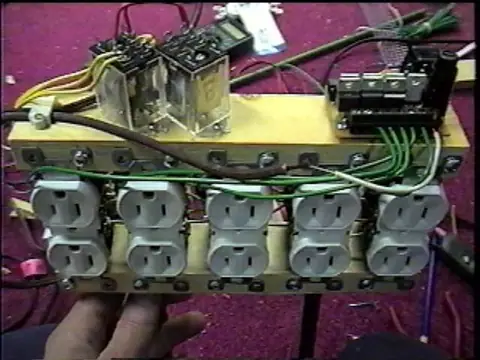
    Connecting diodes - example showing connection to outlets in another enclosure

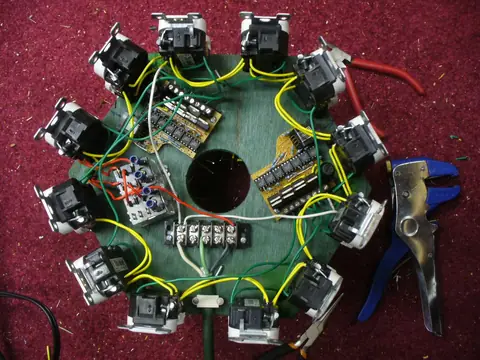
  • Another SSR fixture, also using SSR7 + relays, but no bridge
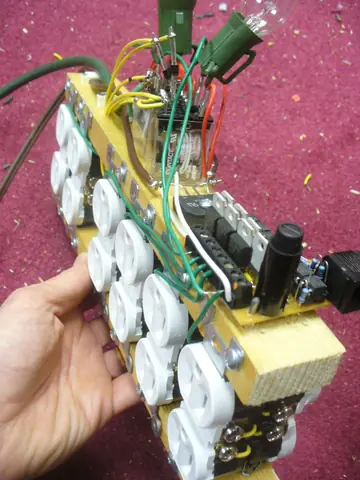
    Another SSR fixture, also using SSR7 + relays, but no bridge

  • Yet another SSR fixture, using an SSR7 + bridge + relays
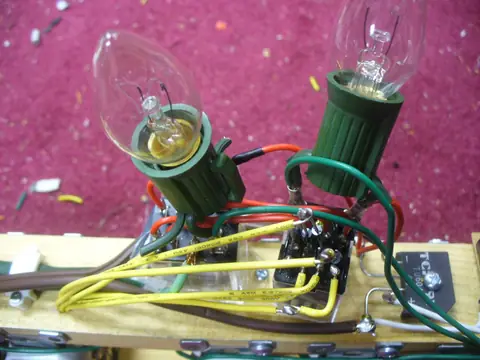
    Yet another SSR fixture, using an SSR7 + bridge + relays

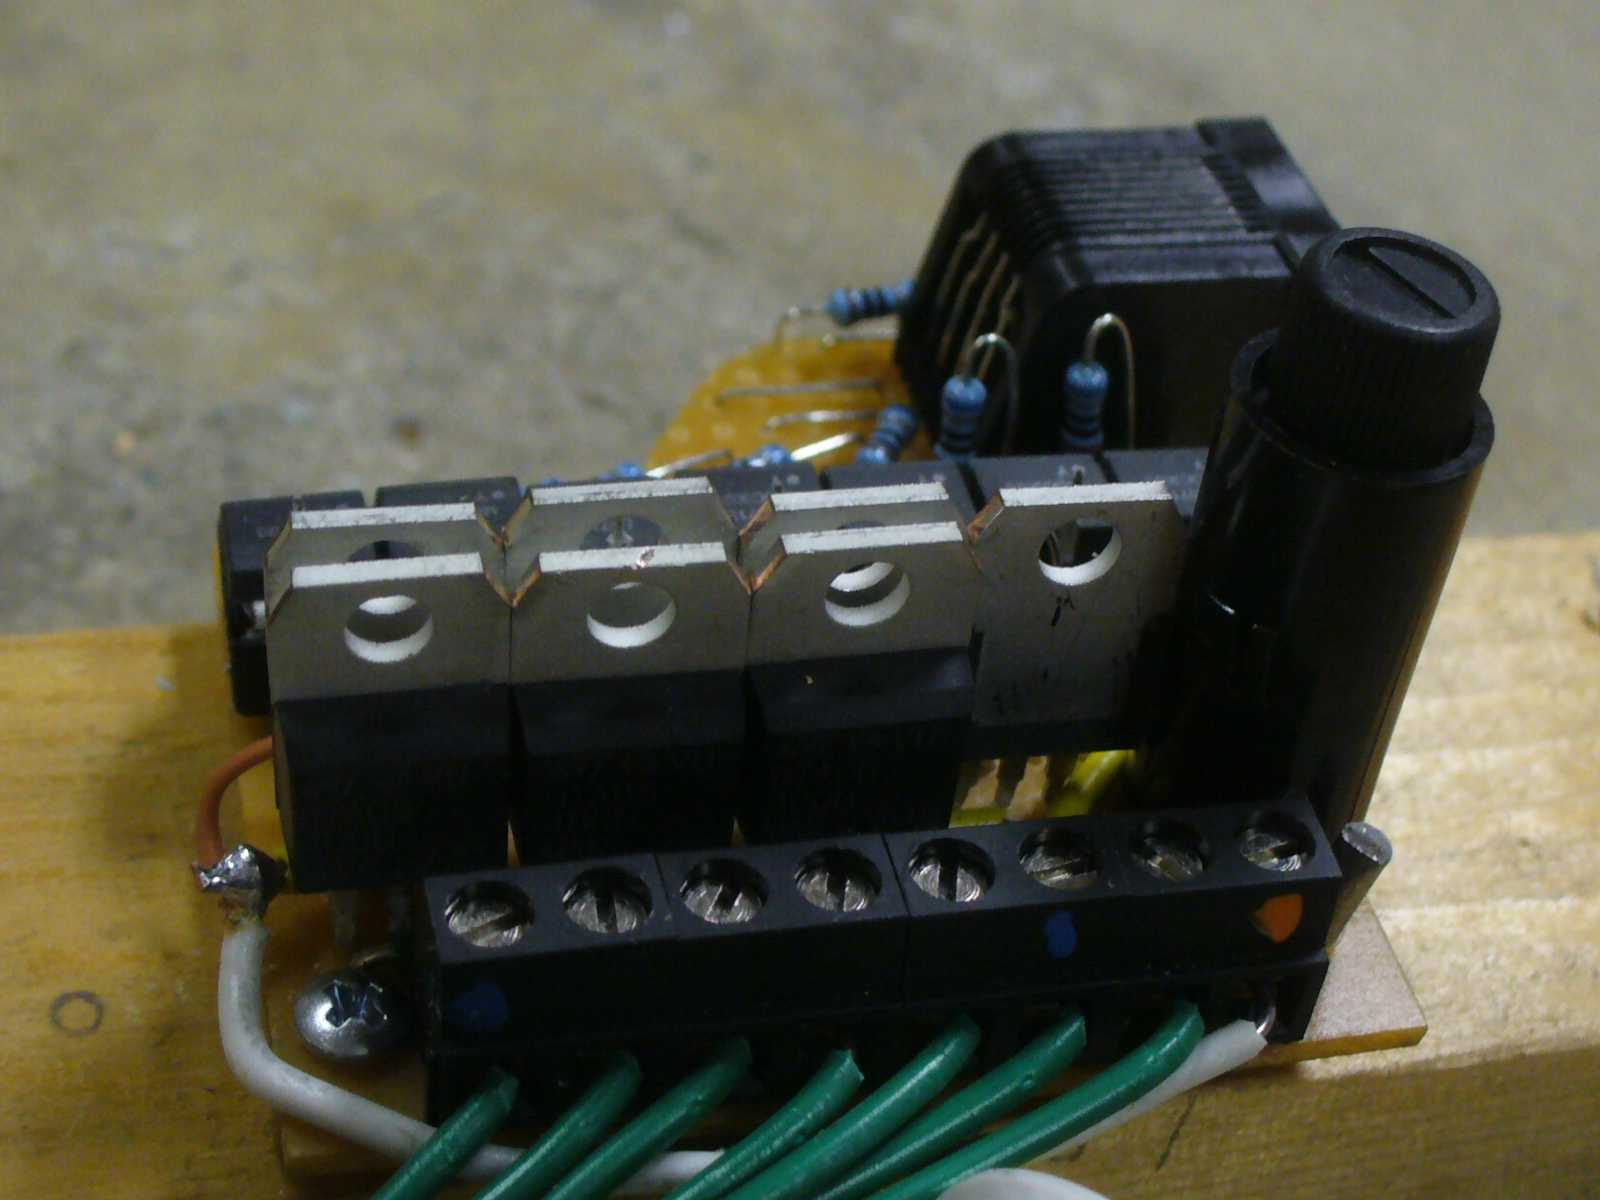
  • Relays with C7s in parallel to compensate for non-PWM firmware
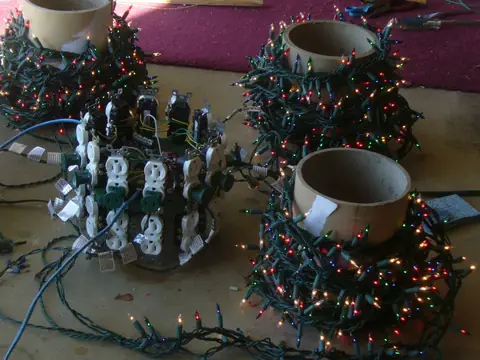
    Relays with C7s in parallel to compensate for non-PWM firmware

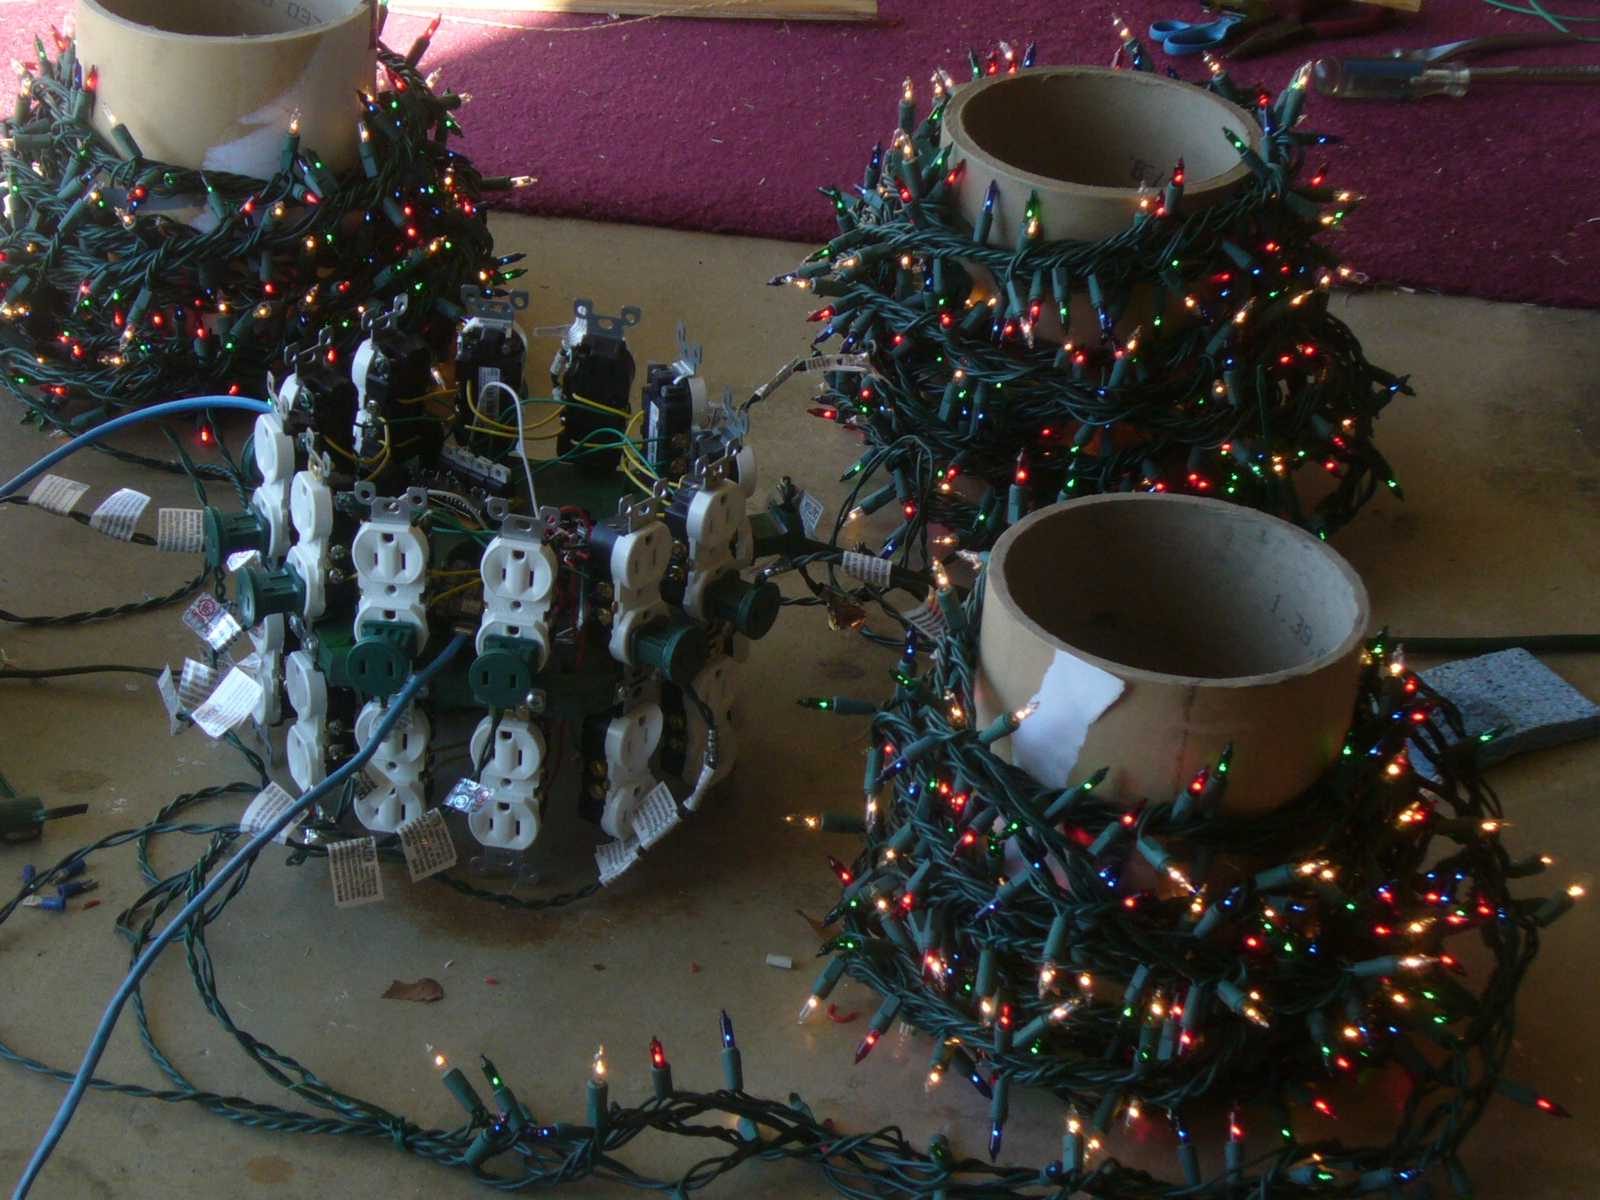
  • Testing the completed M-tree SSR

    Testing the completed M-tree SSR

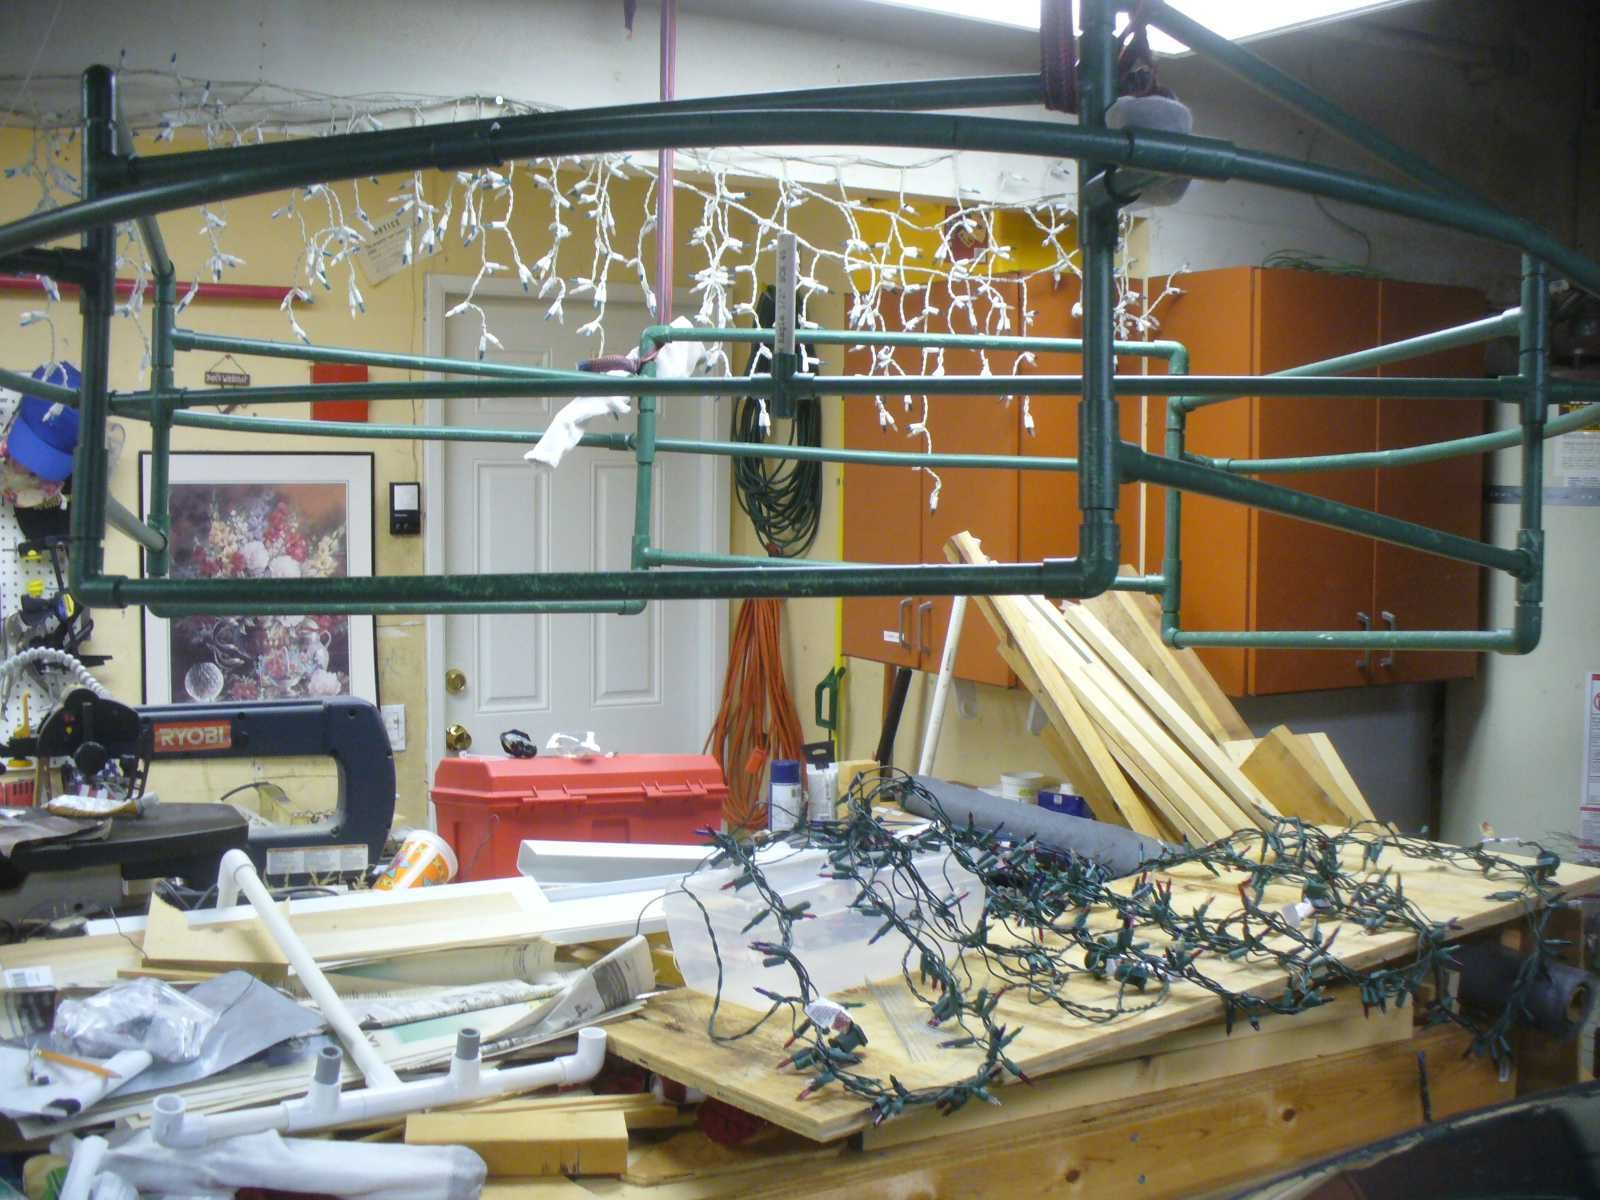
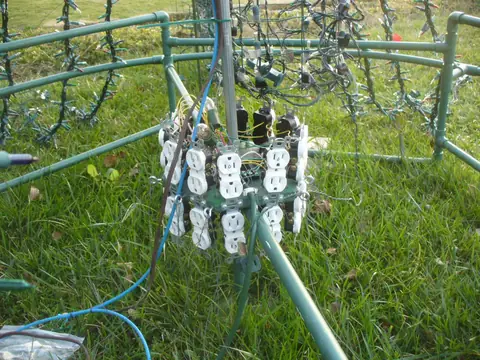
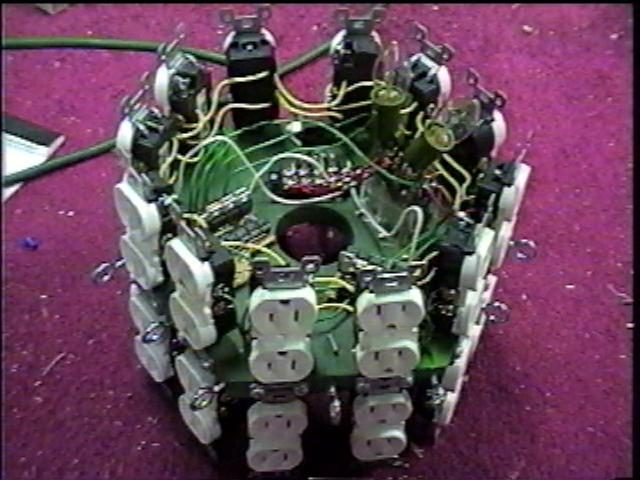
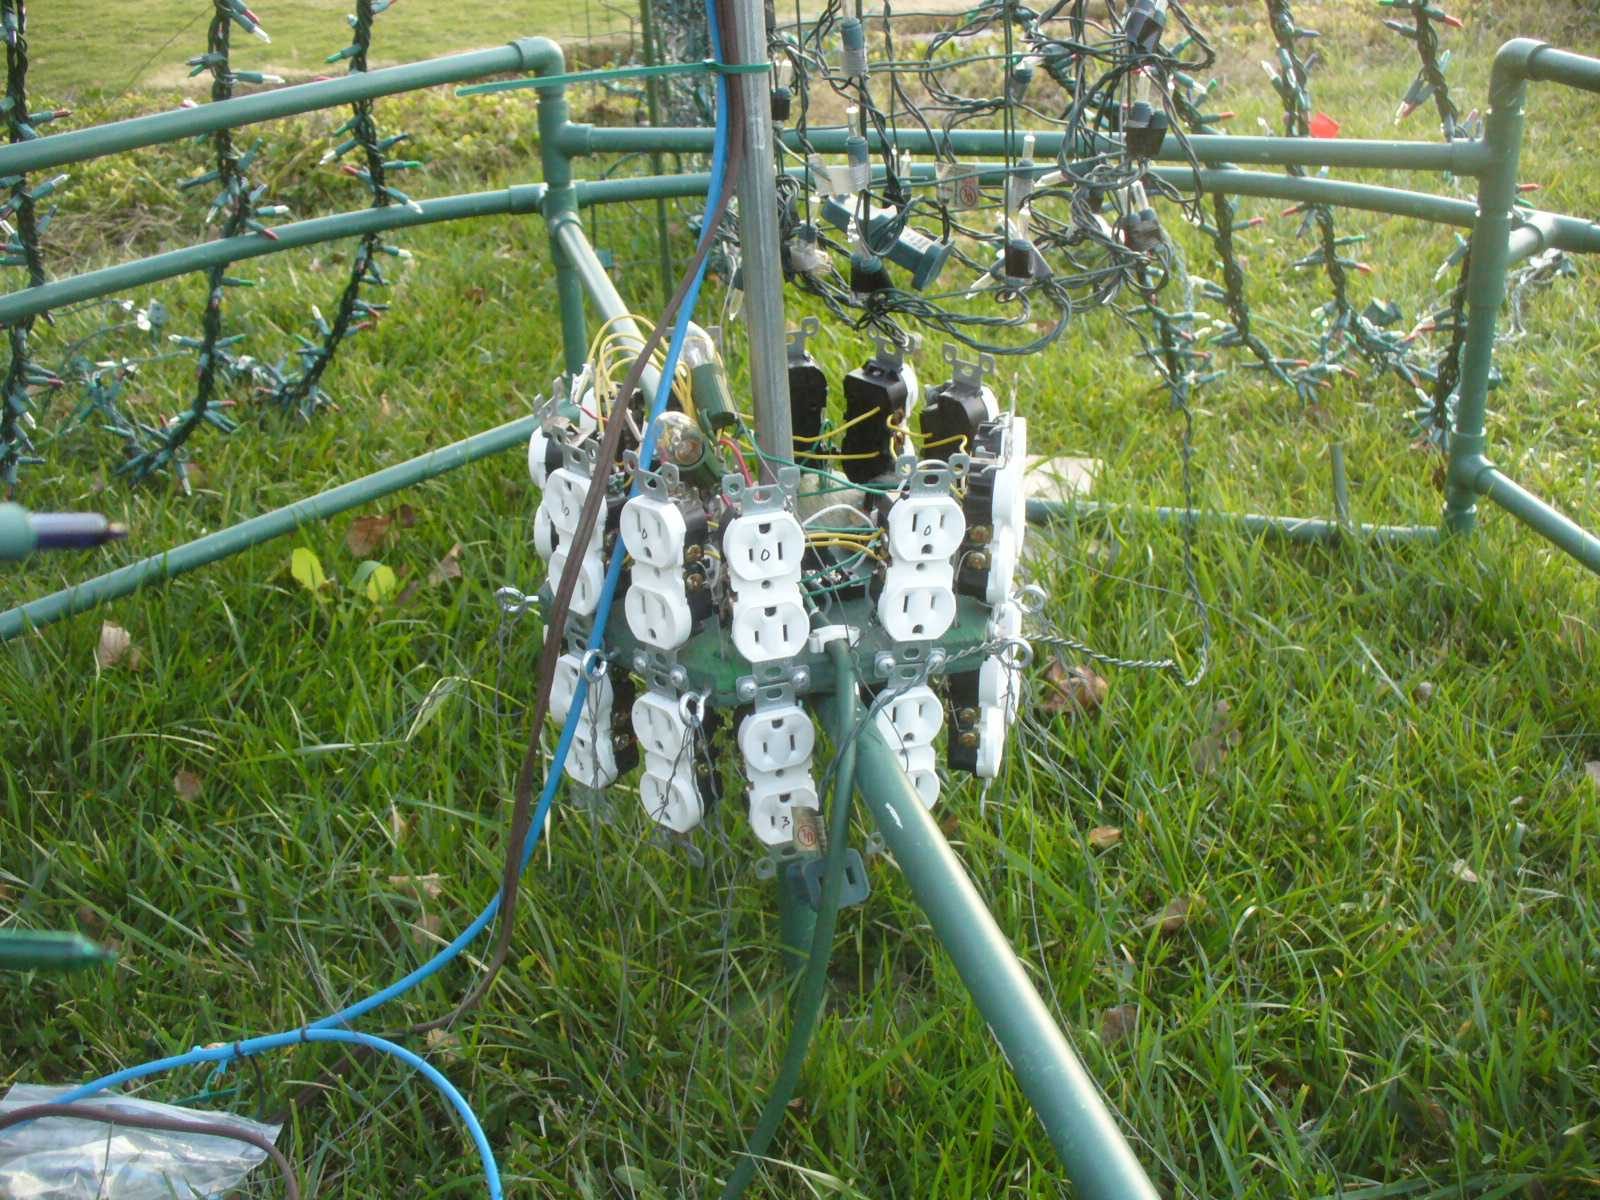
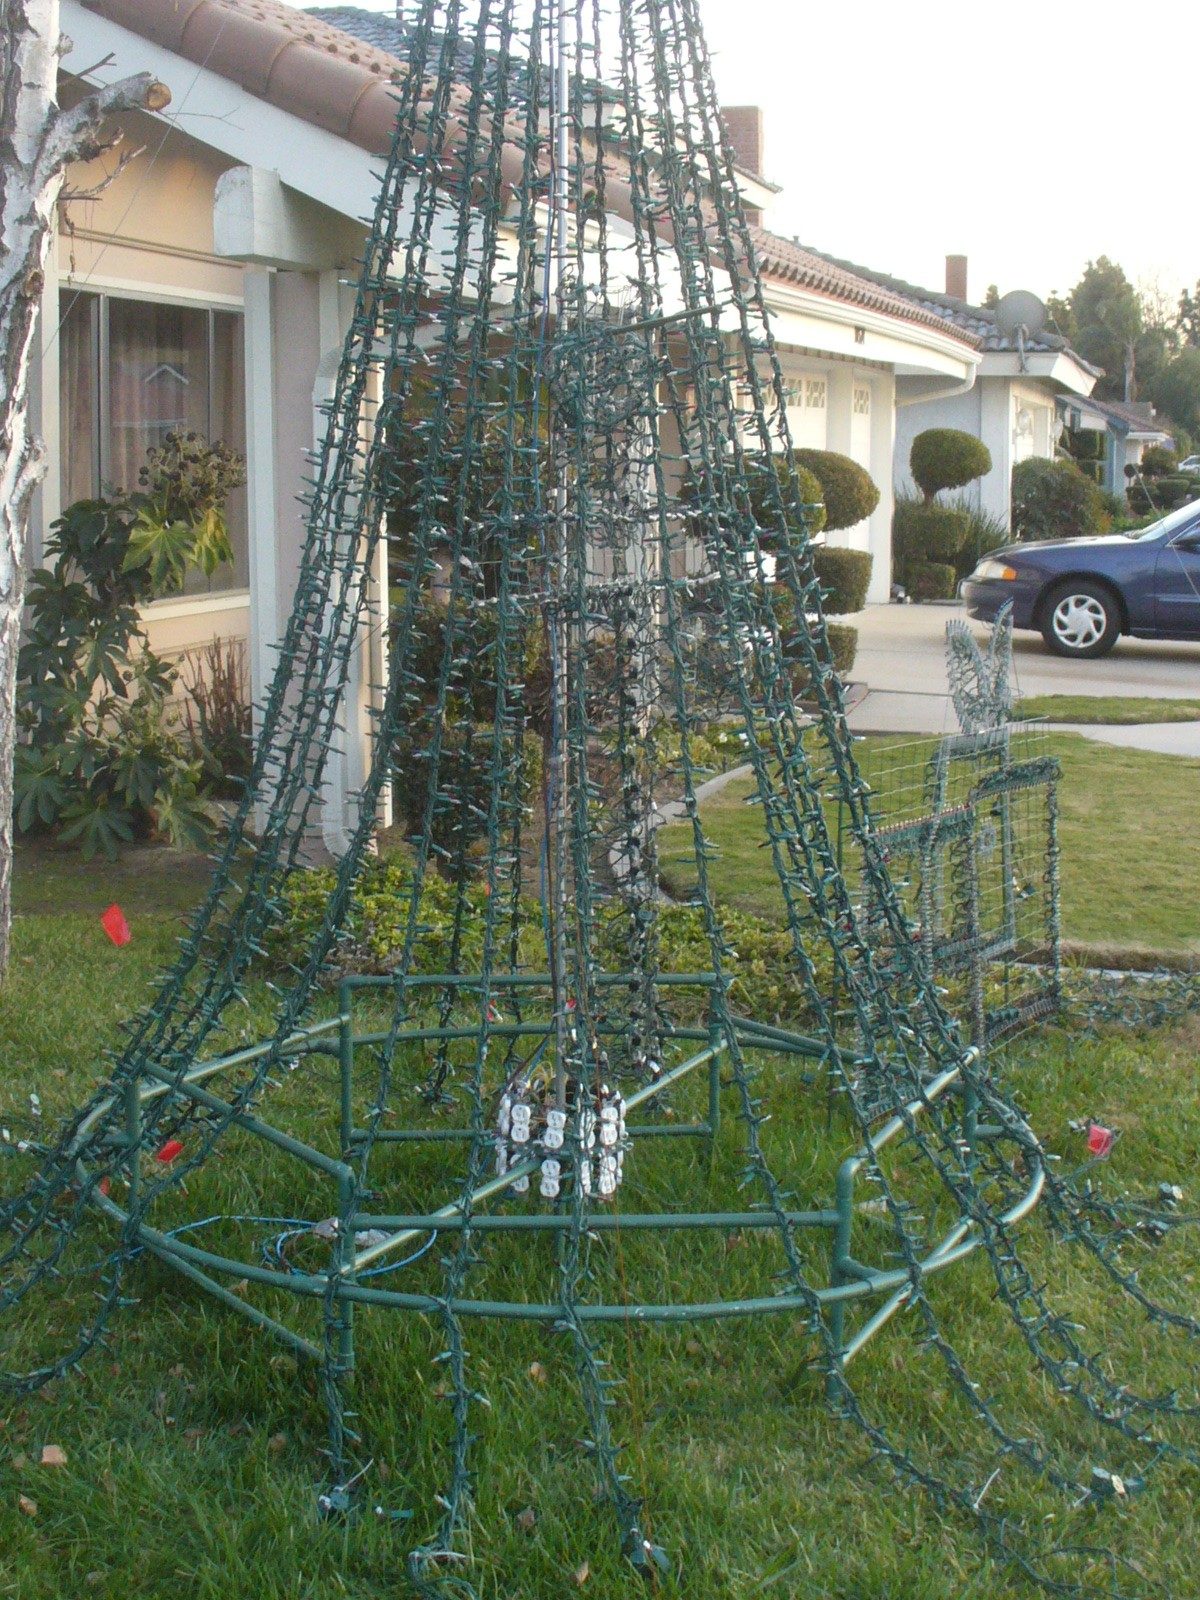
  • SSR installation - fixture attached to M-tree base
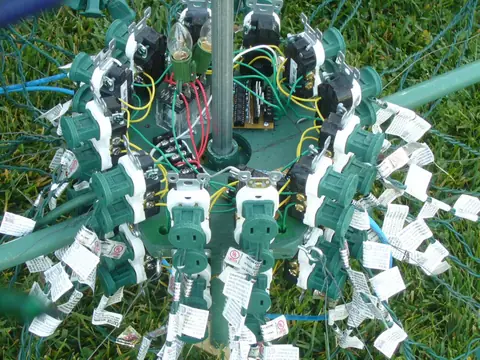
    SSR installation - fixture attached to M-tree base

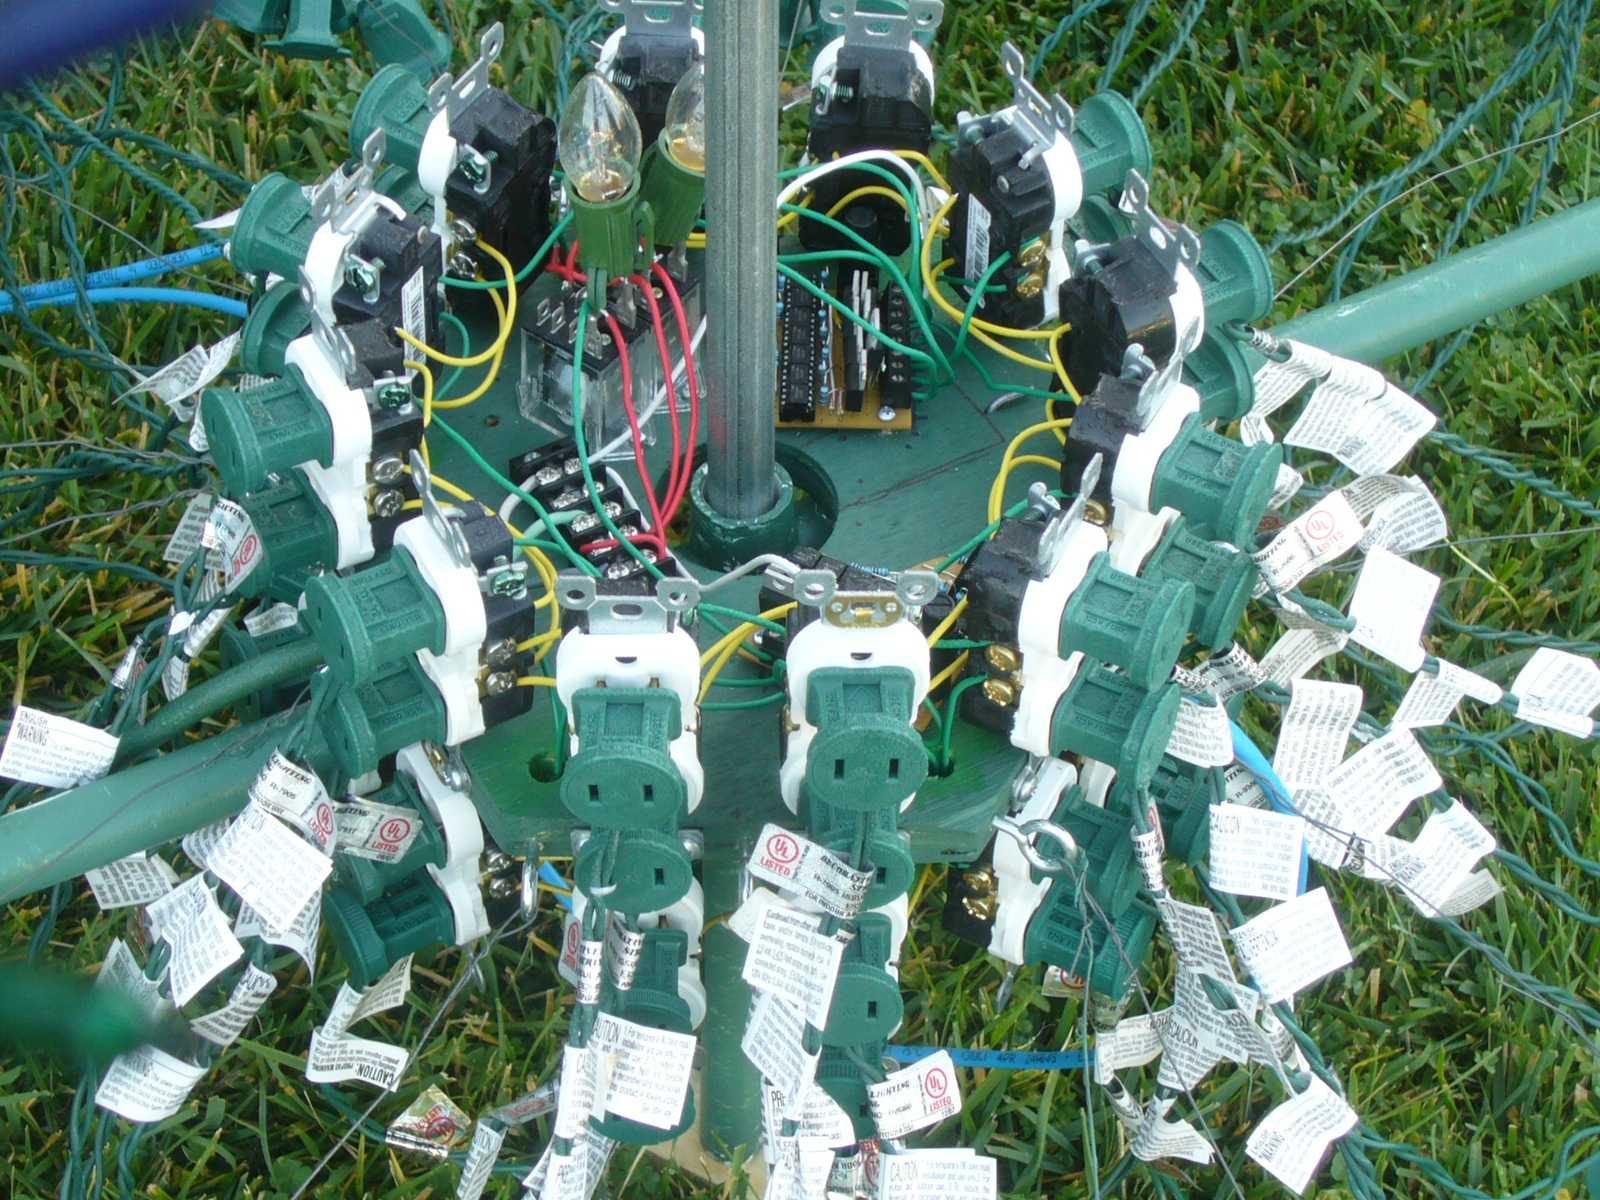
  • SSR installation - mini-light strings connected
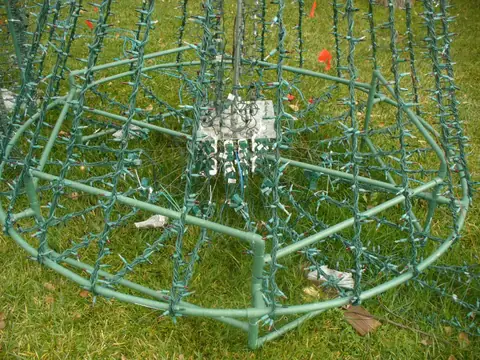
    SSR installation - mini-light strings connected

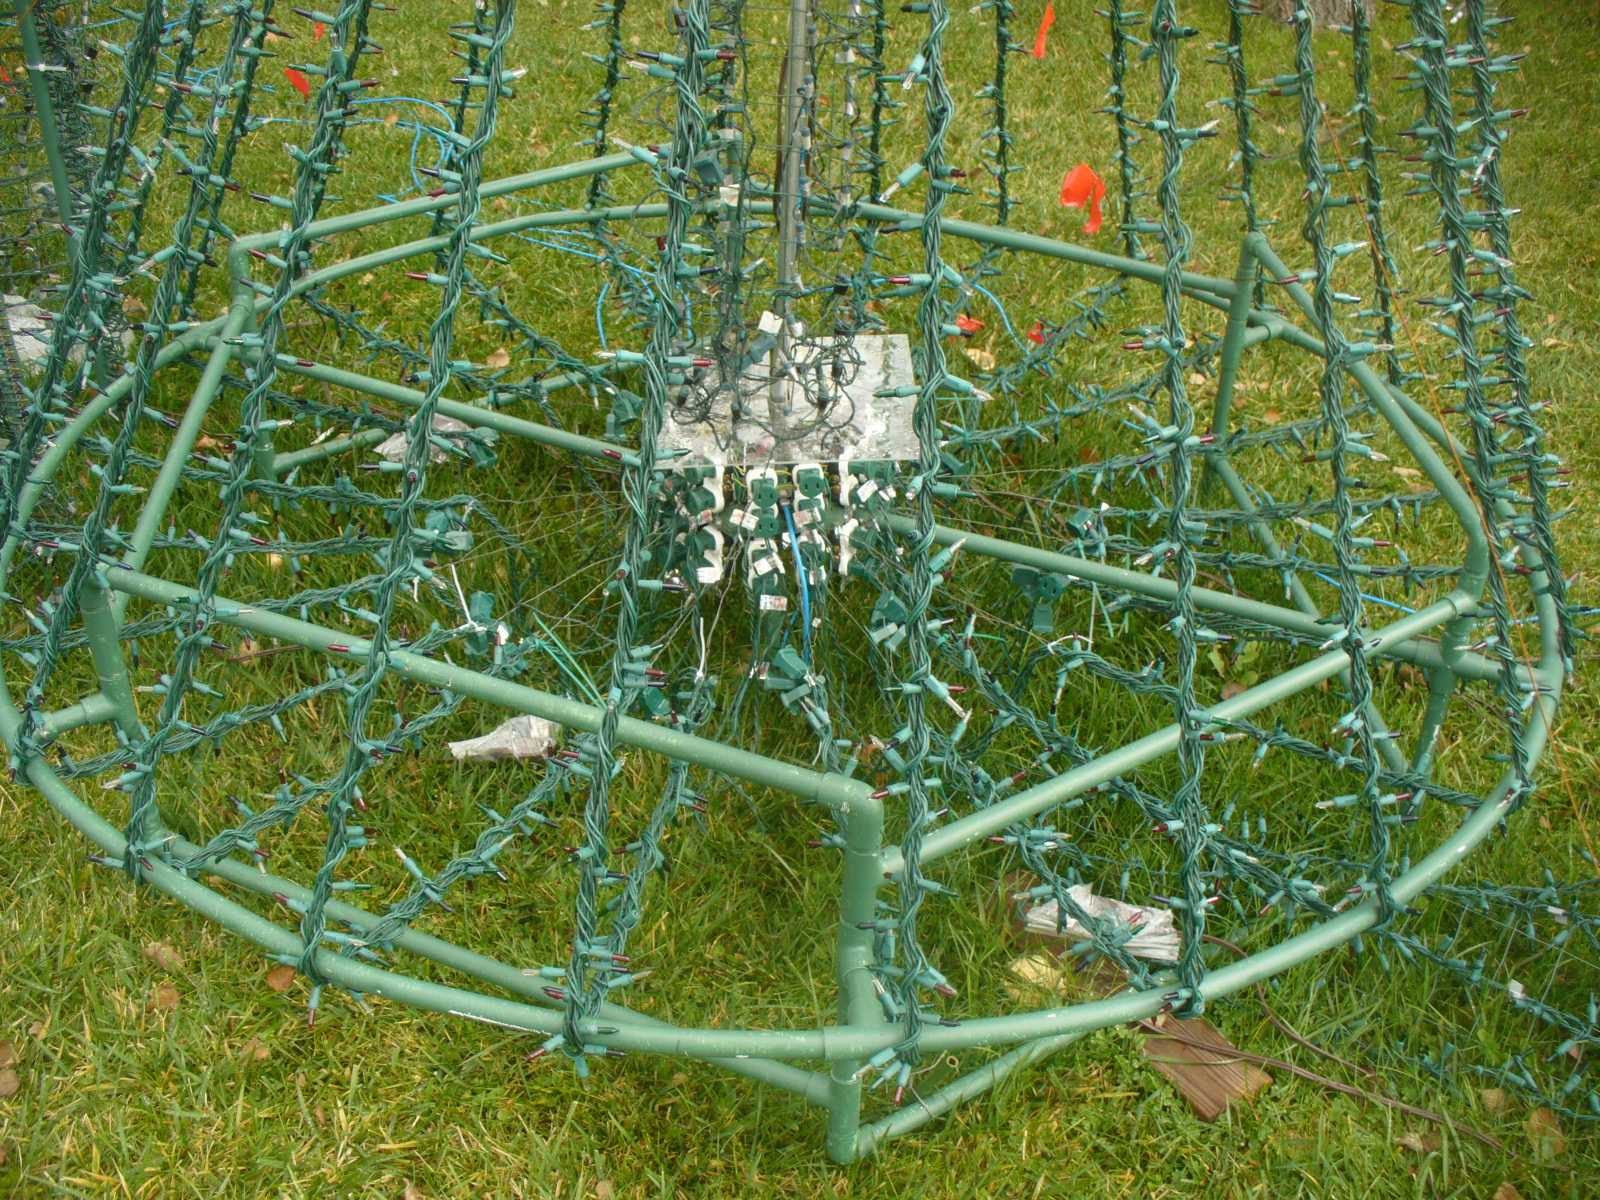
  • SSR installation - view from farther back
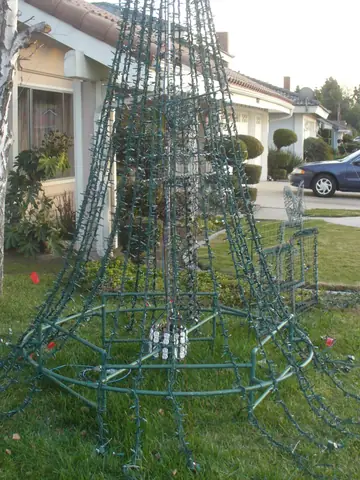
    SSR installation - view from farther back

  • SSR installation - view of tree + SSR fixture
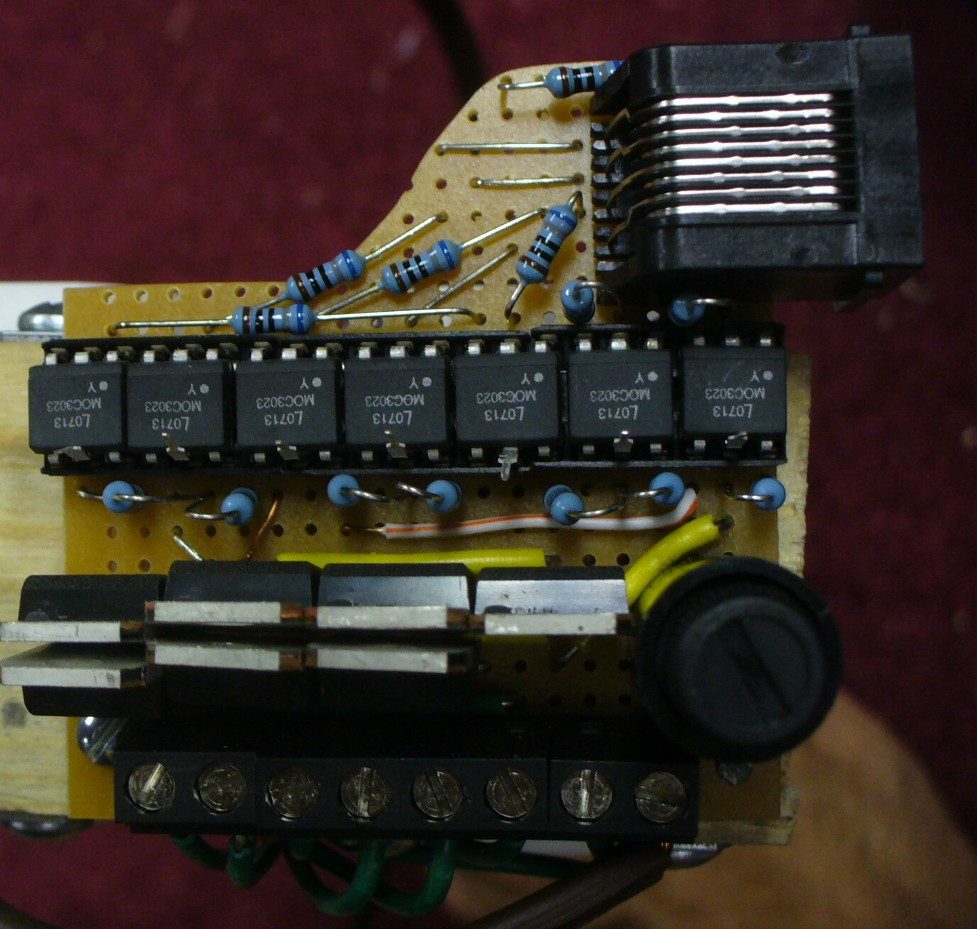
    SSR installation - view of tree + SSR fixture
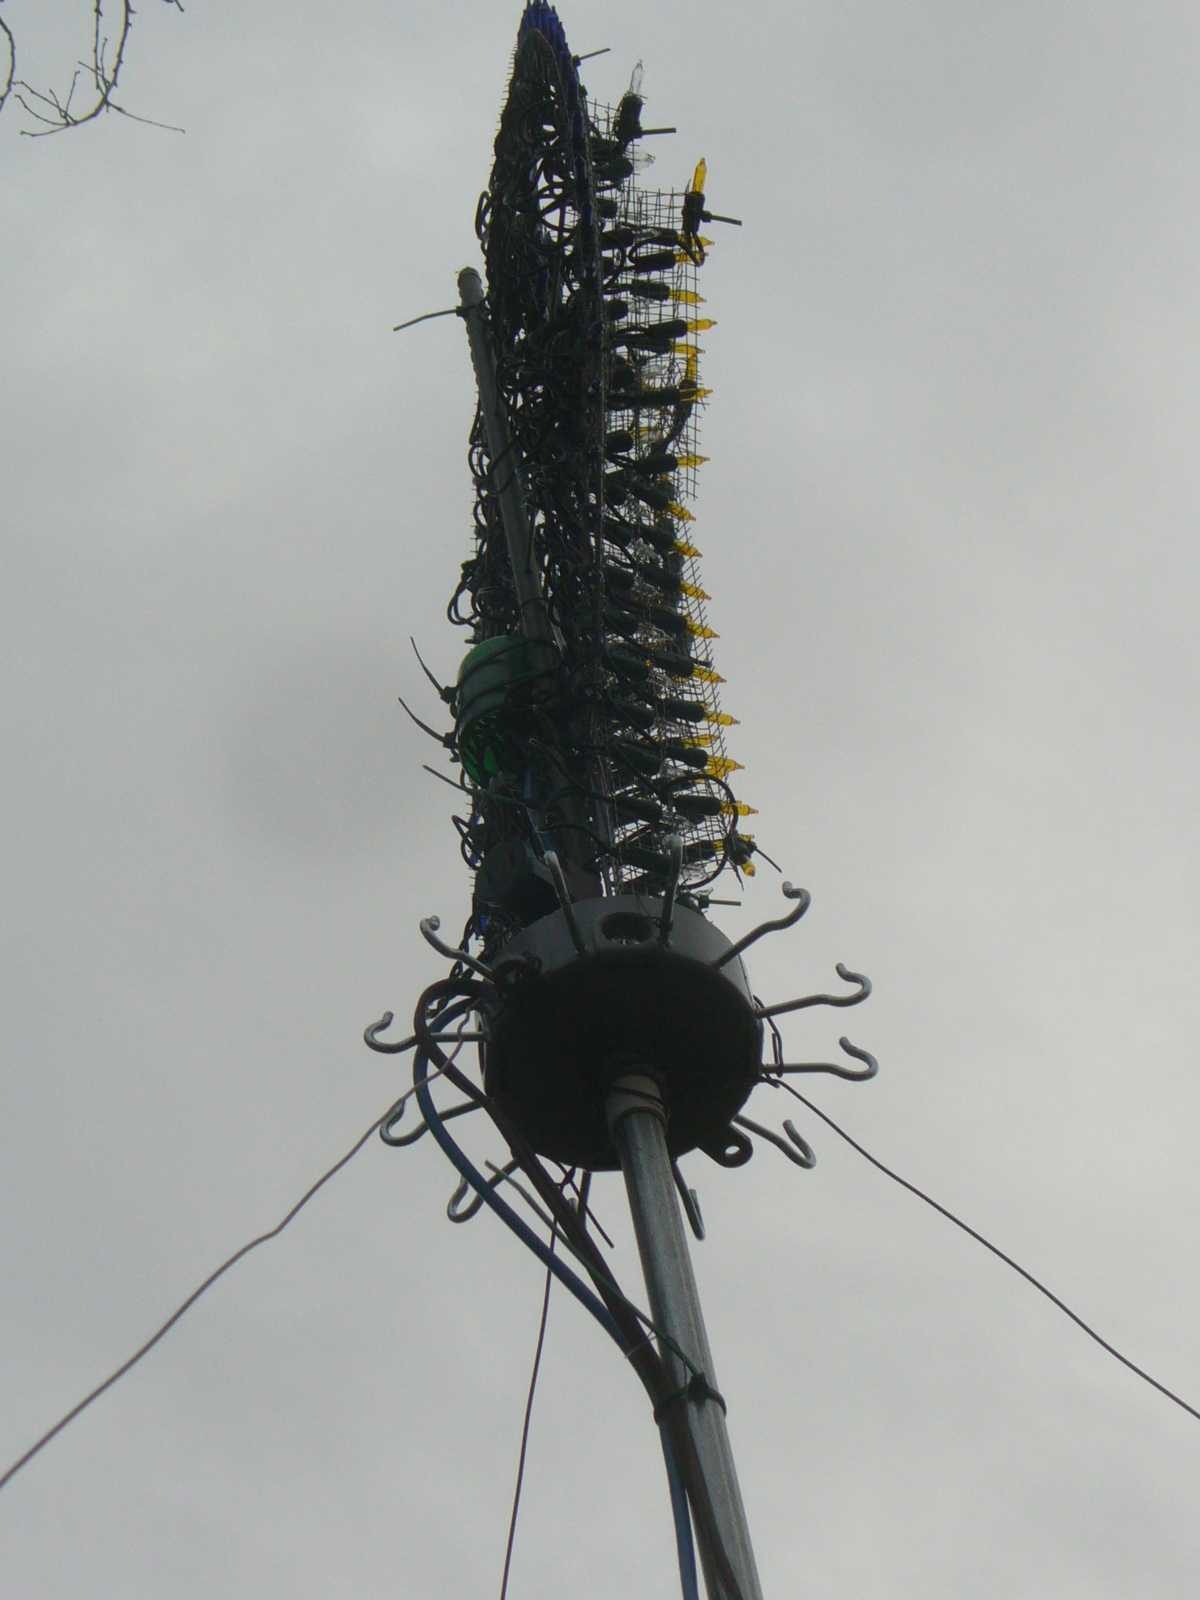
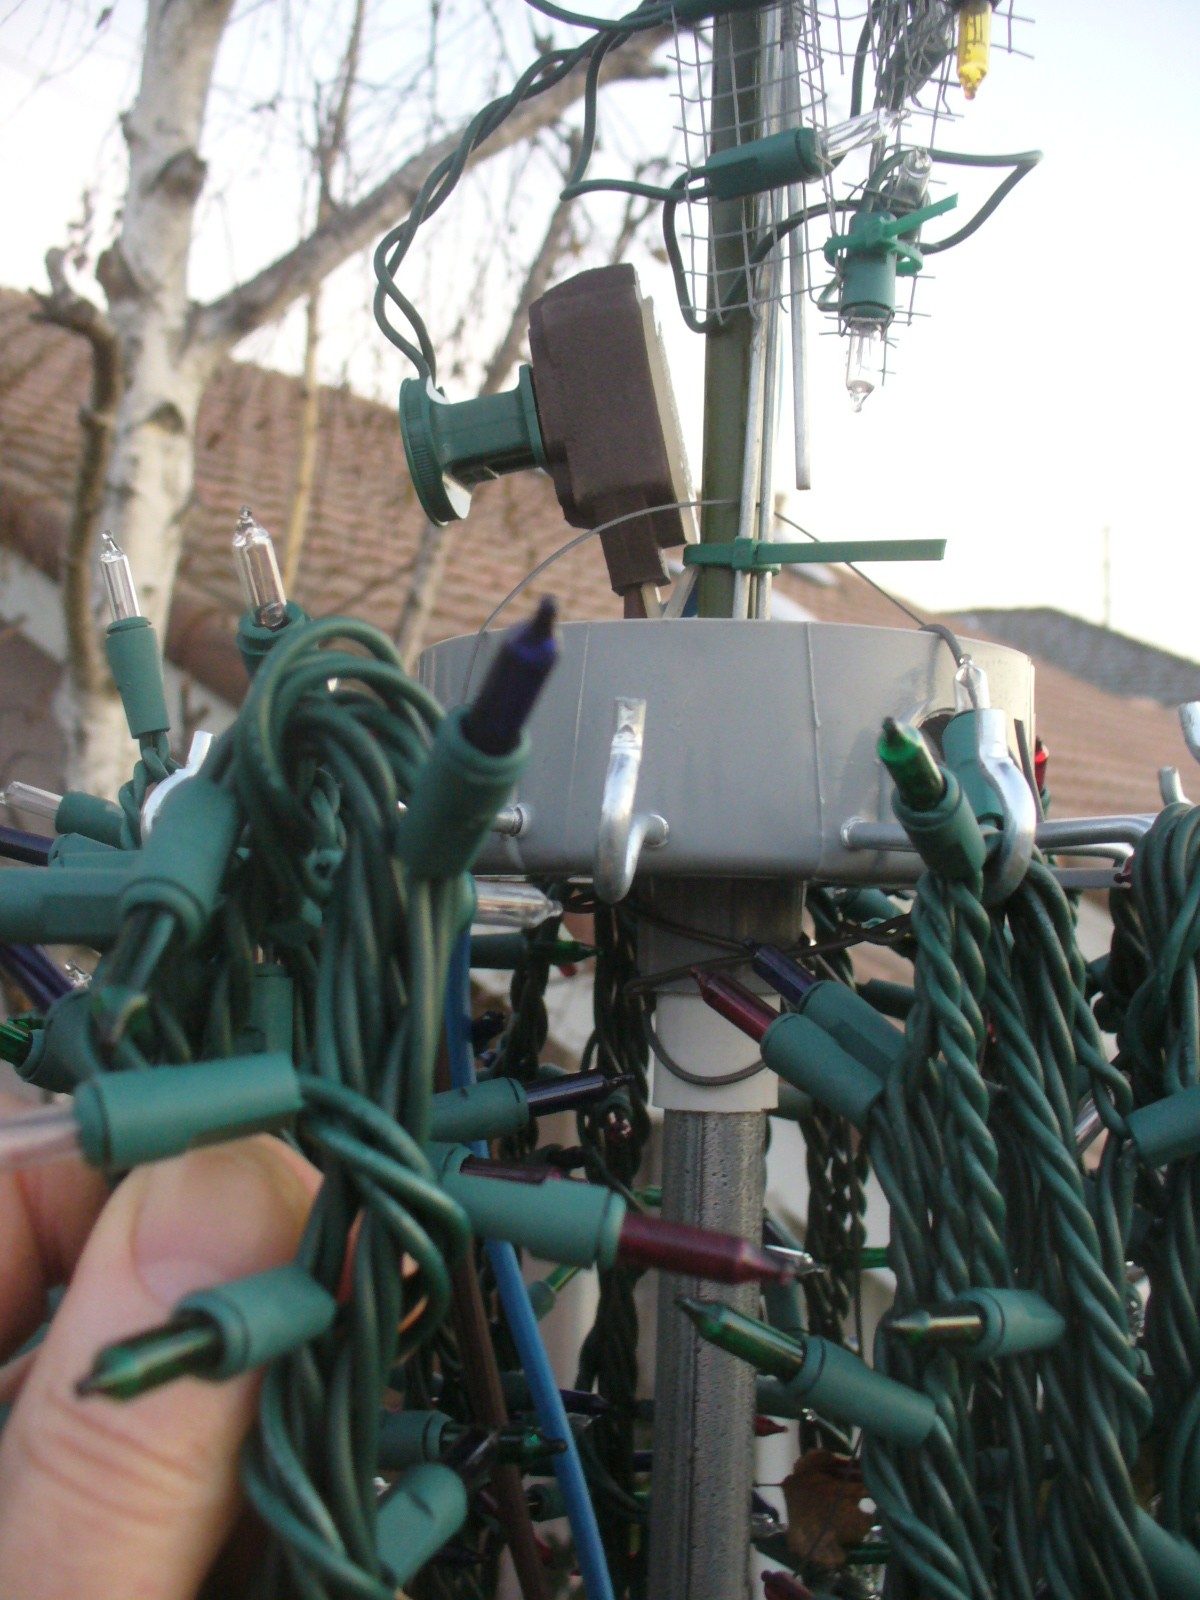
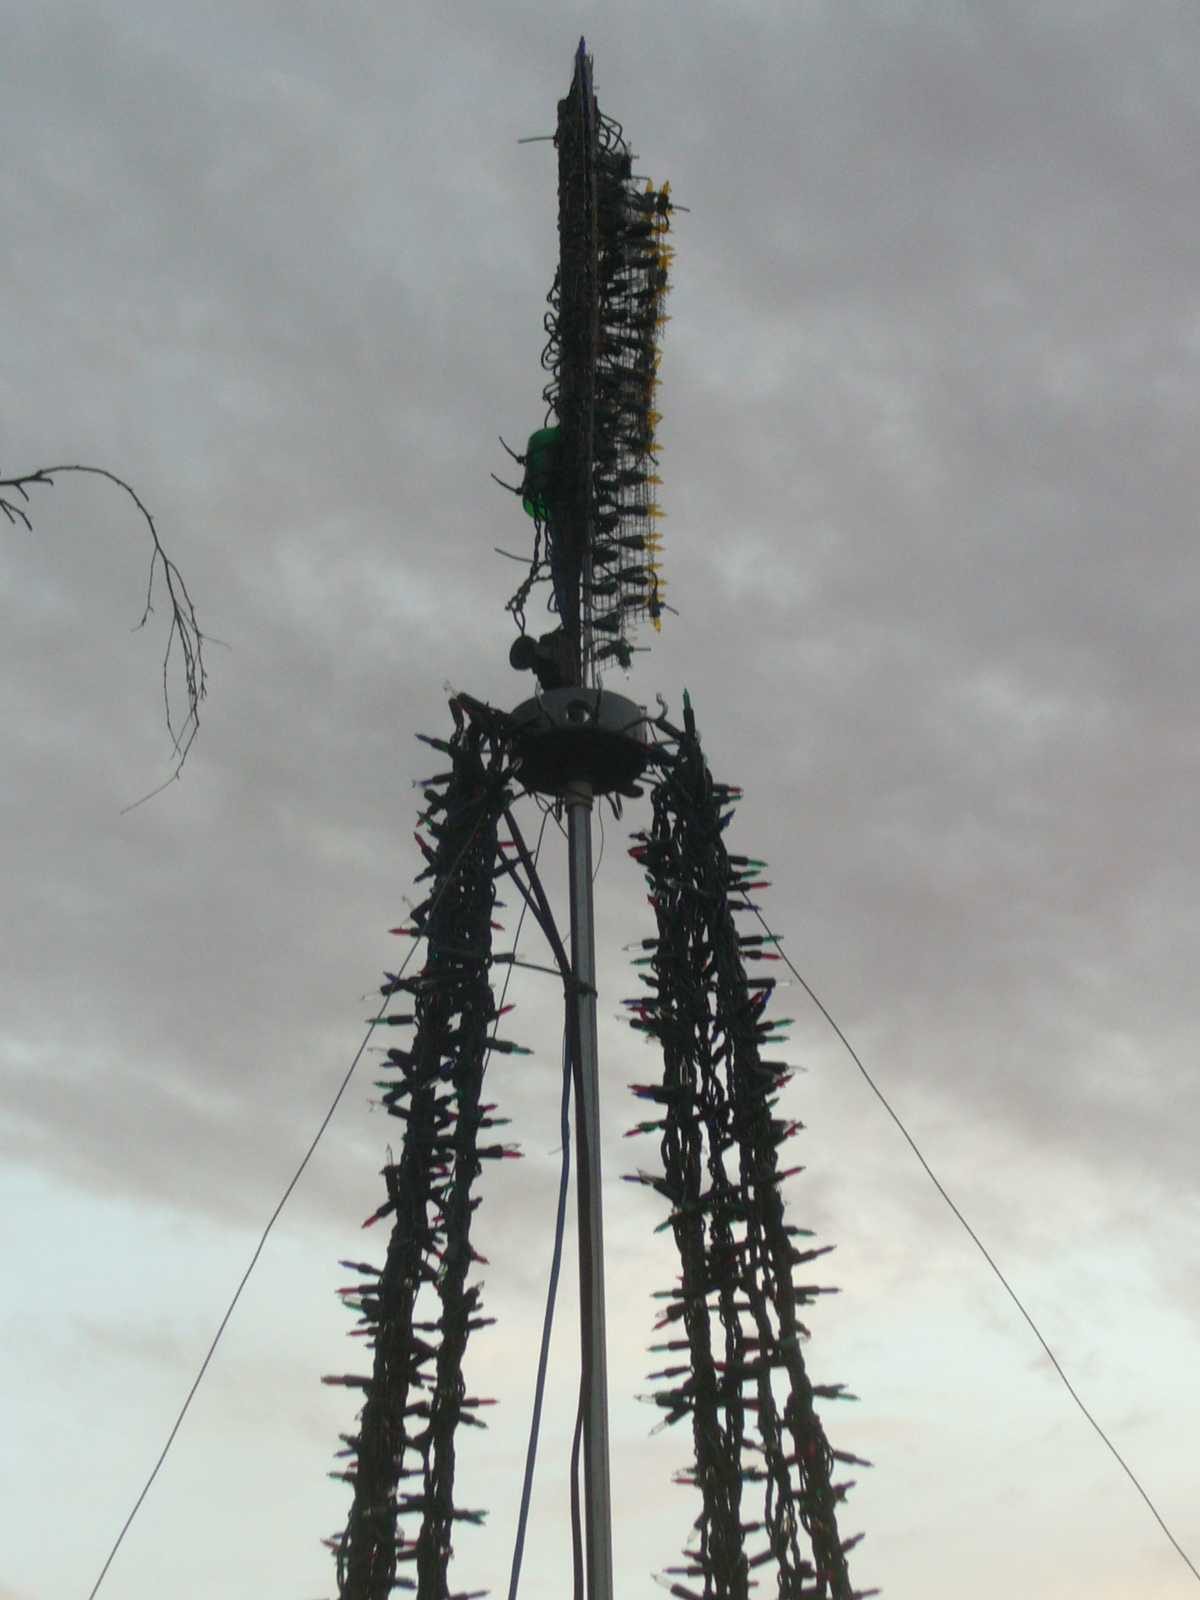
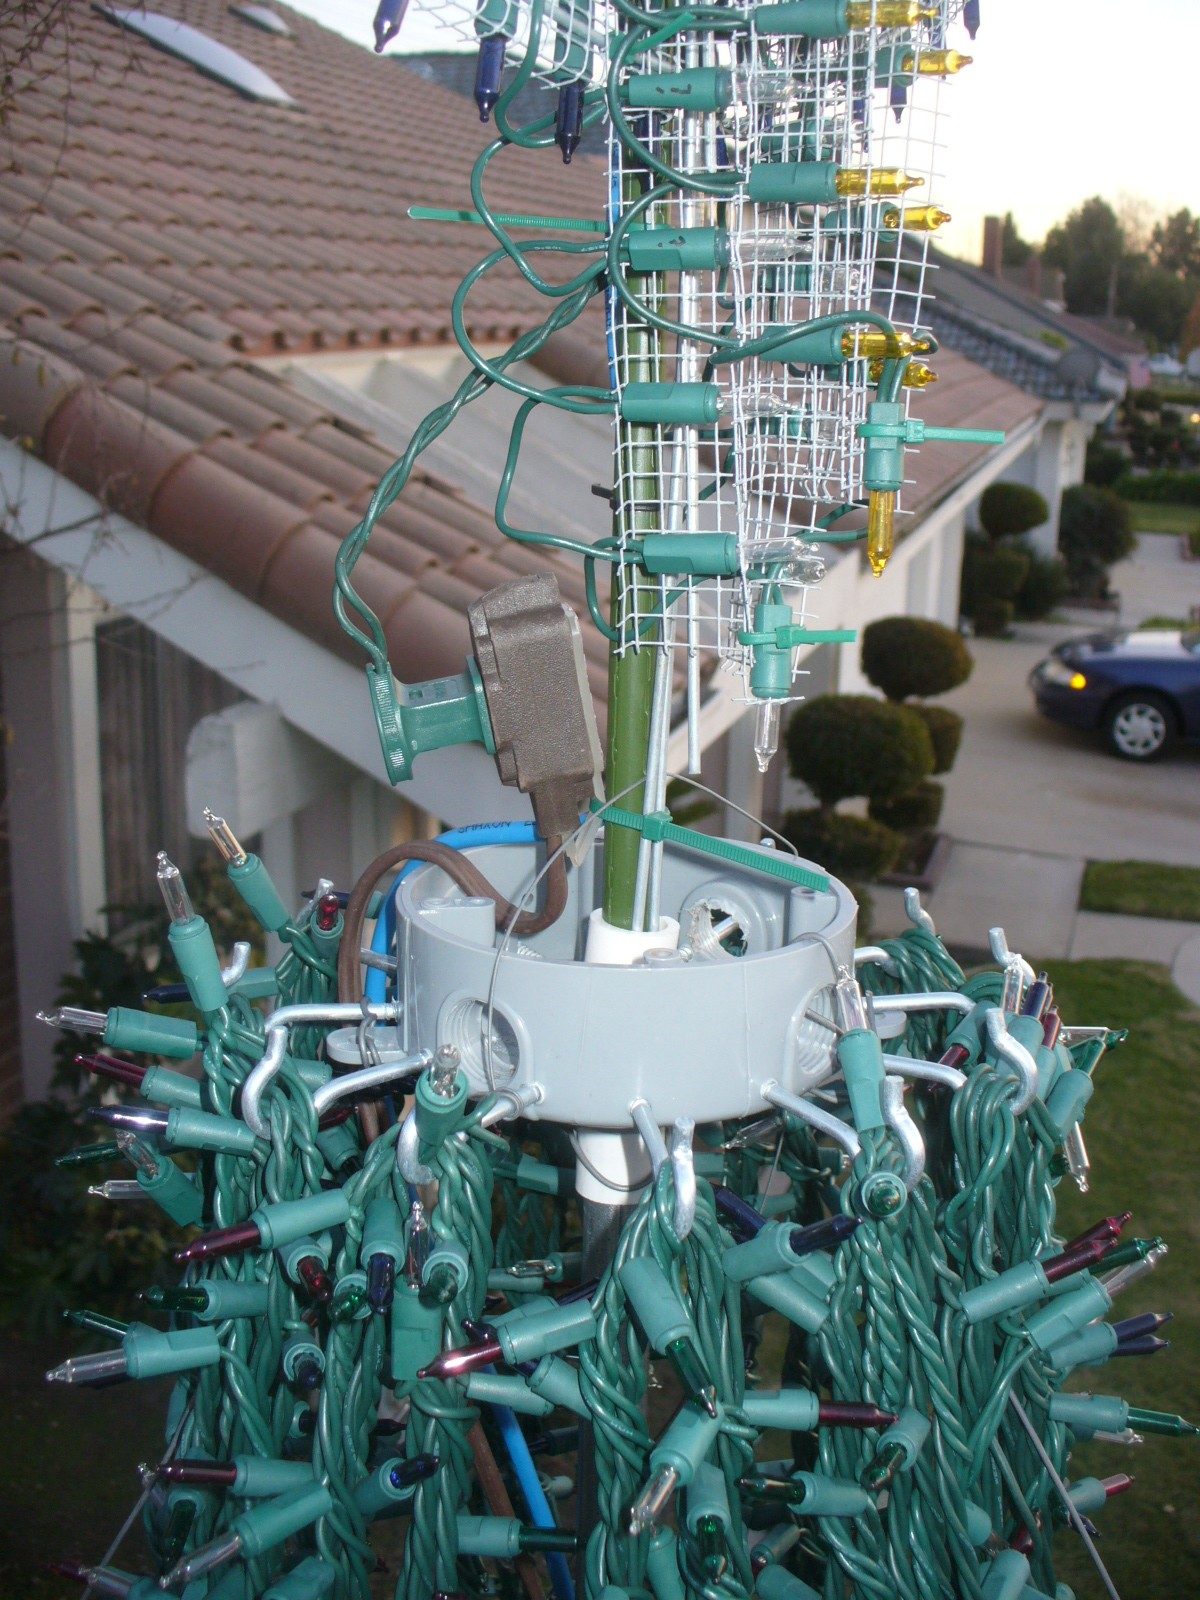
M-tree topper
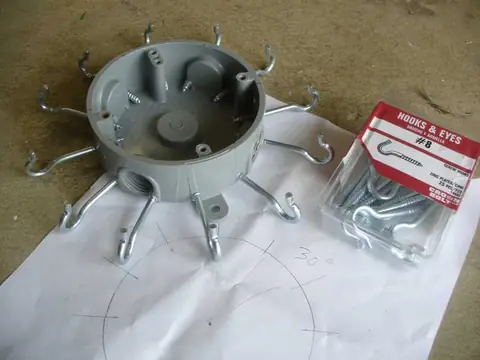
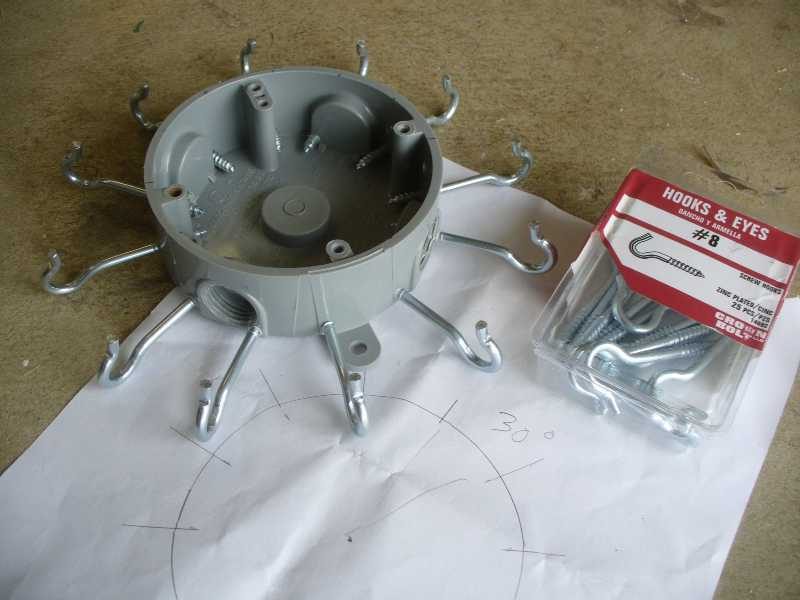
  • Building the topper - plastic electrical box + hooks
    Building the topper - plastic electrical box + hooks

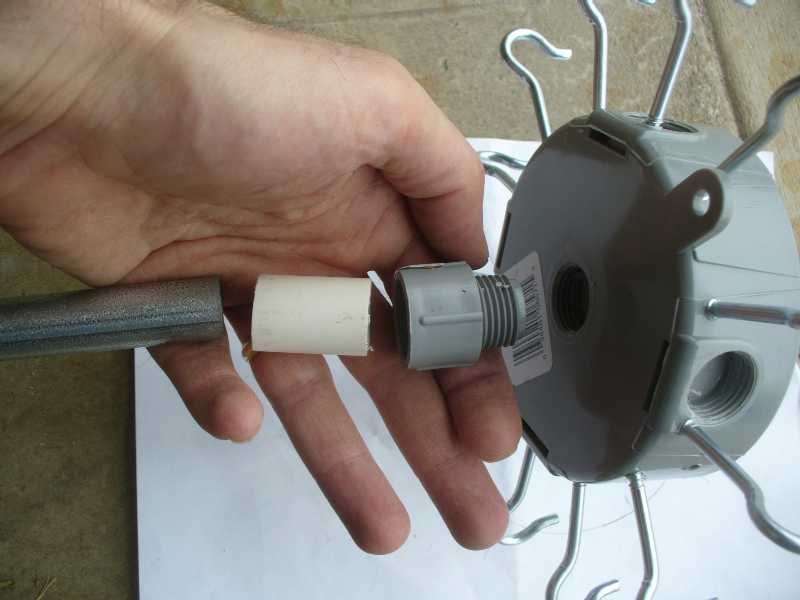
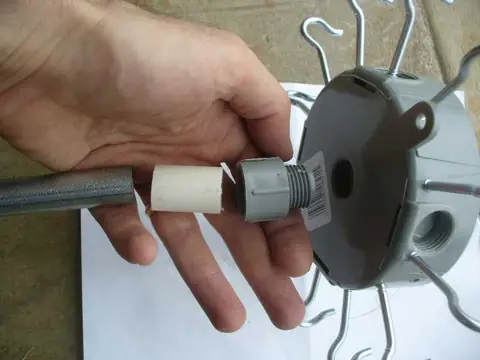
  • Building the topper - attaching conduit pole
    Building the topper - attaching conduit pole

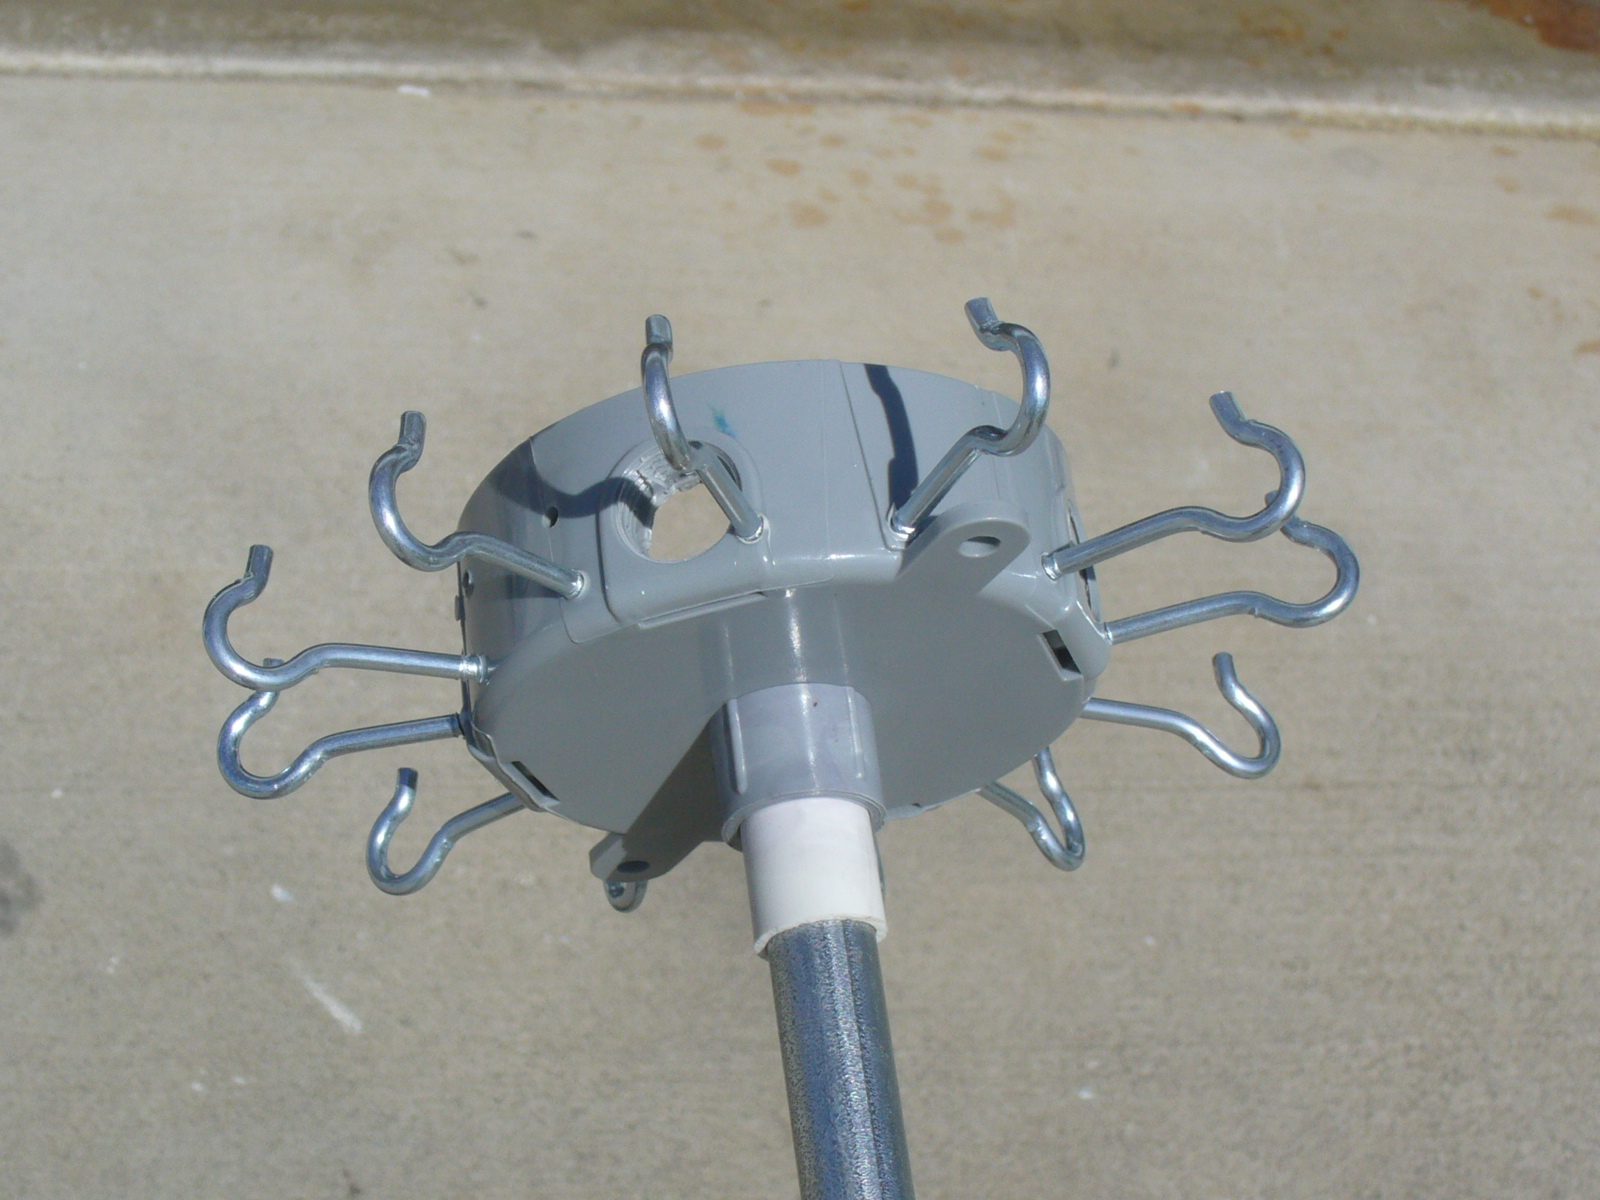
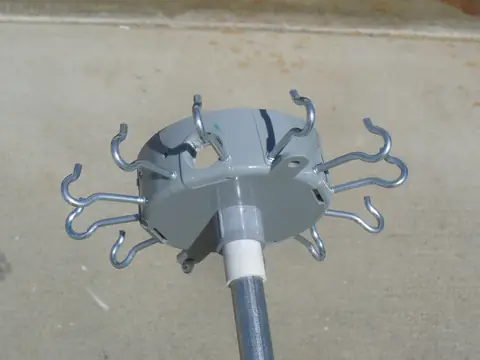
  • Building the topper - complete

    Building the topper - complete

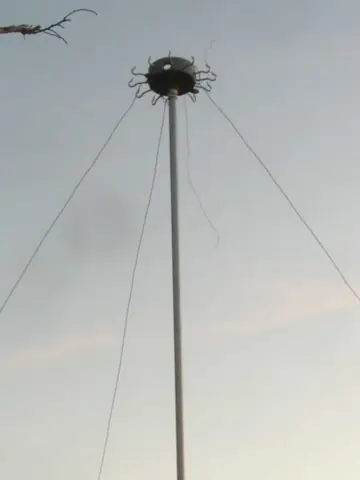
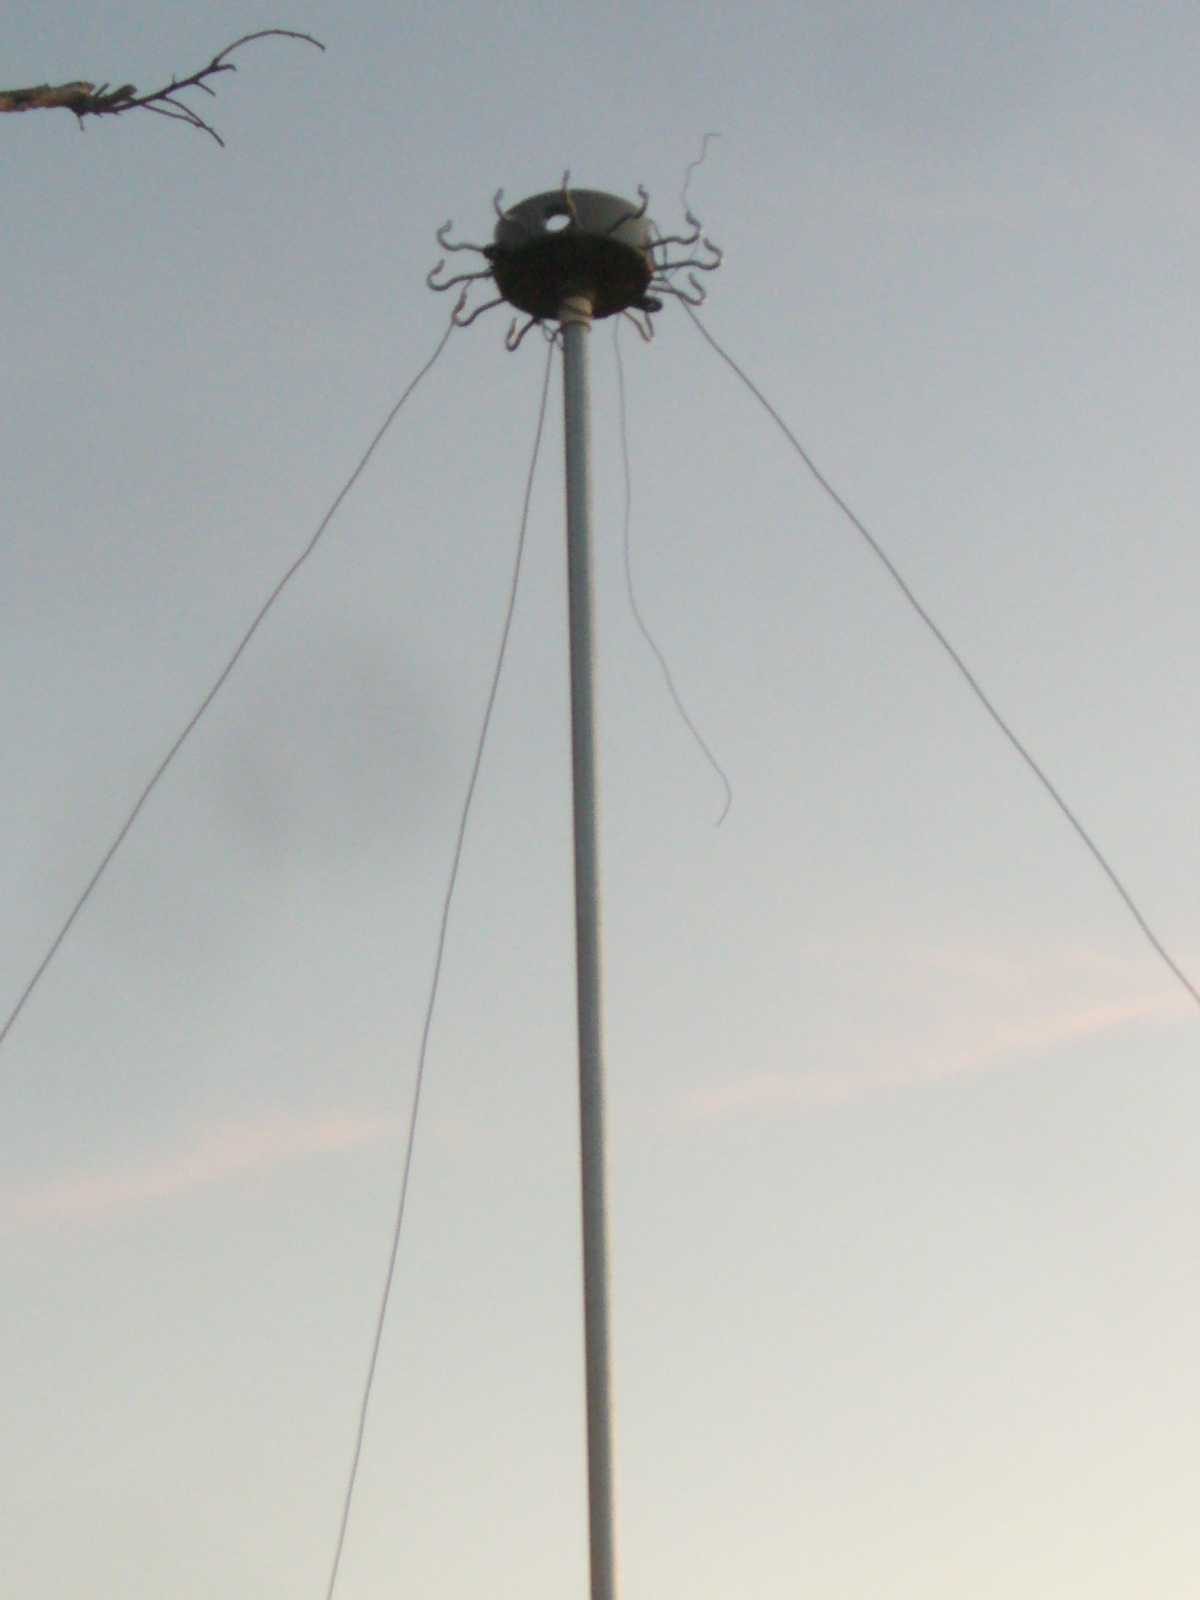
  • Installation - guy wires

    Installation - guy wires

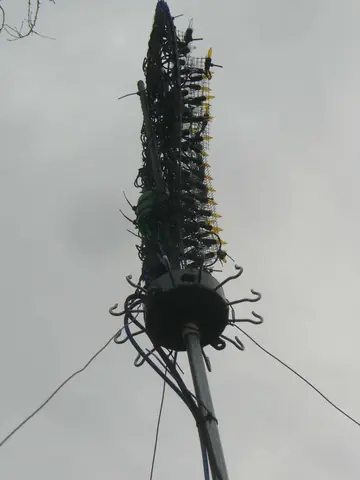
  • Installation - star added

    Installation - star added

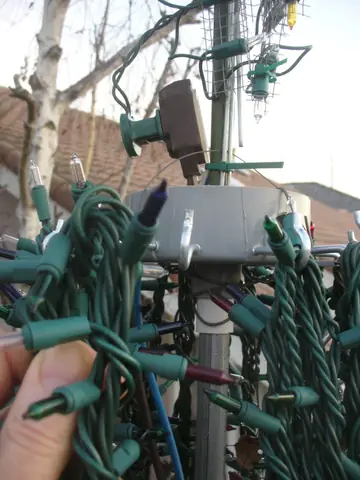
  • Installation - attaching the light strings
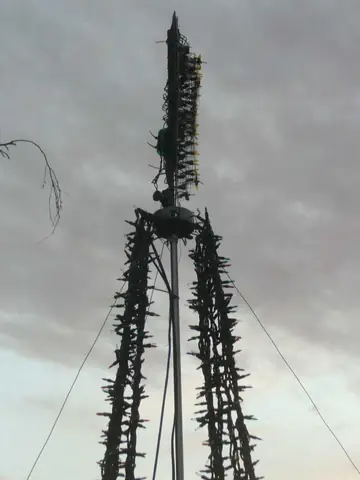
    Installation - attaching the light strings
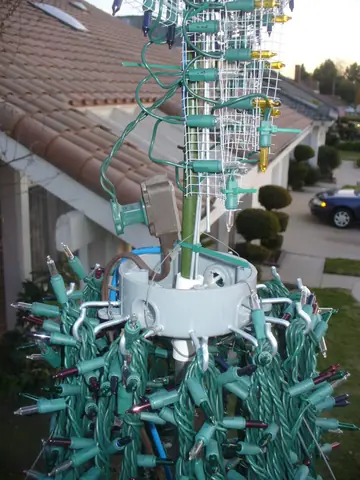
  • Installation - attaching the light strings

    Installation - attaching the light strings

  • Installation - light strings all attached
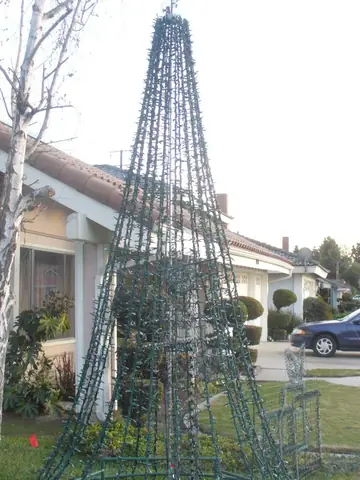
    Installation - light strings all attached

  • Installation - complete

    Installation - complete

All of the Gallery